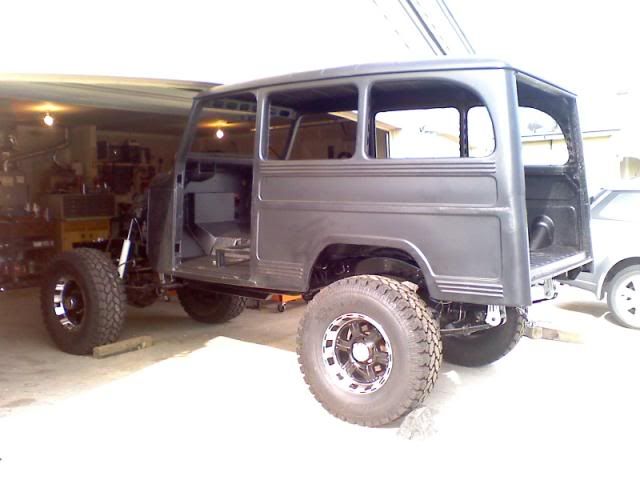
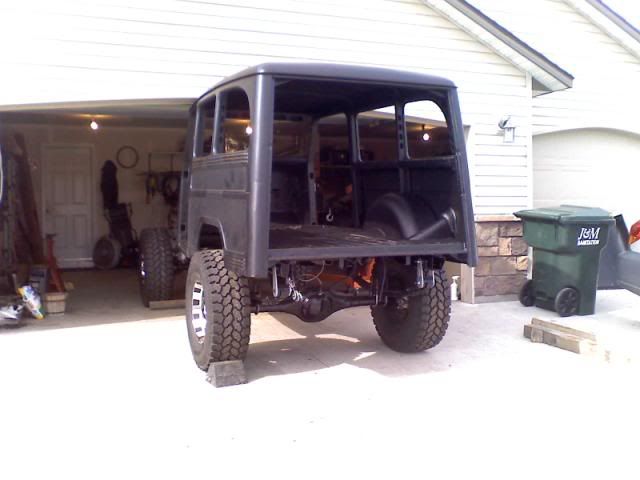
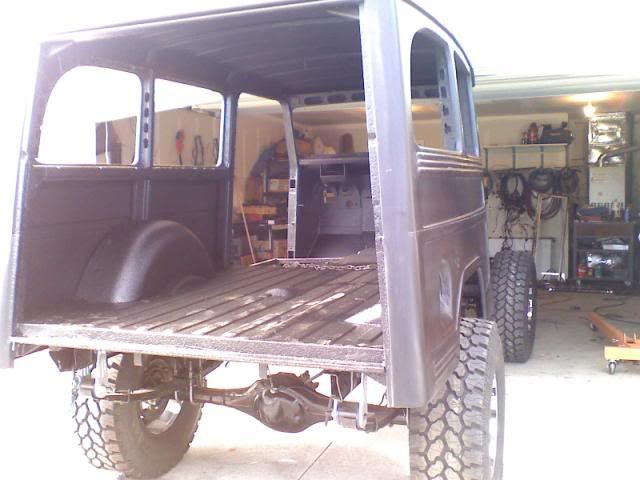
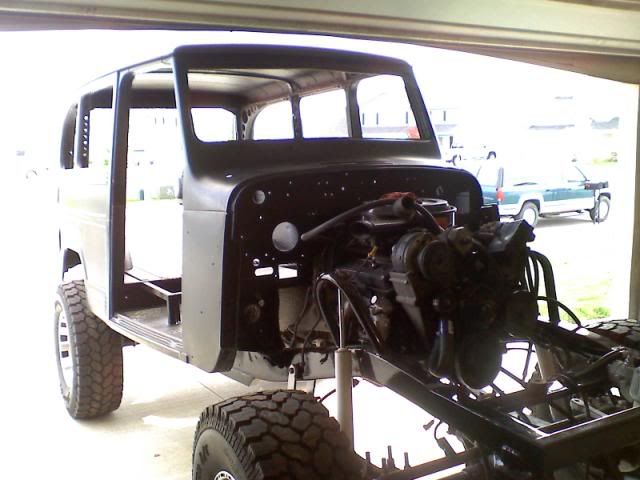
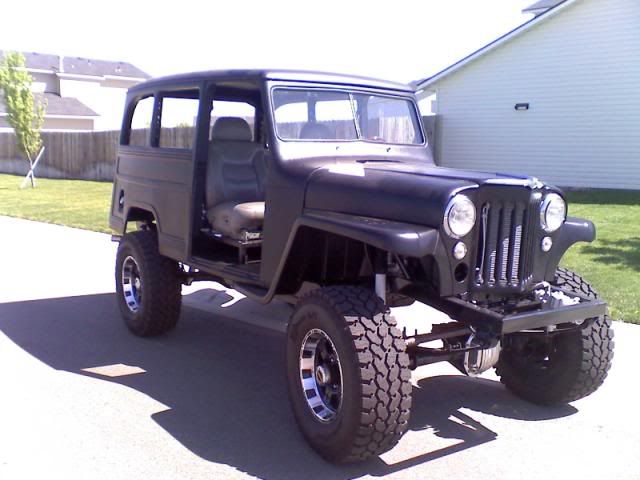
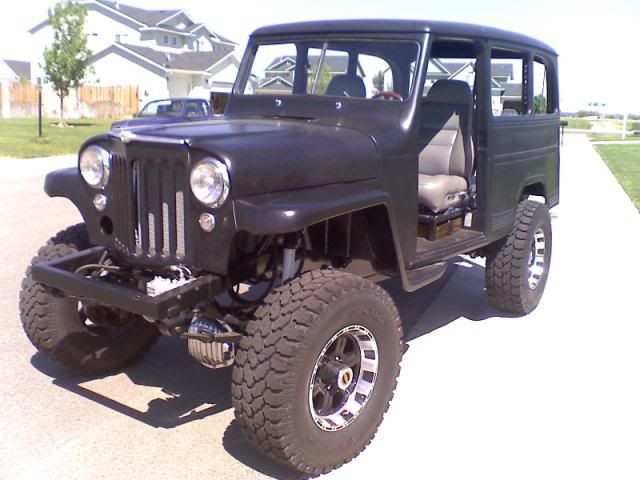
Midnight Willys

Midnightburn

Precision Fit
Sep 18, 2009
655
Idaho
Willys Model
Willys Year:
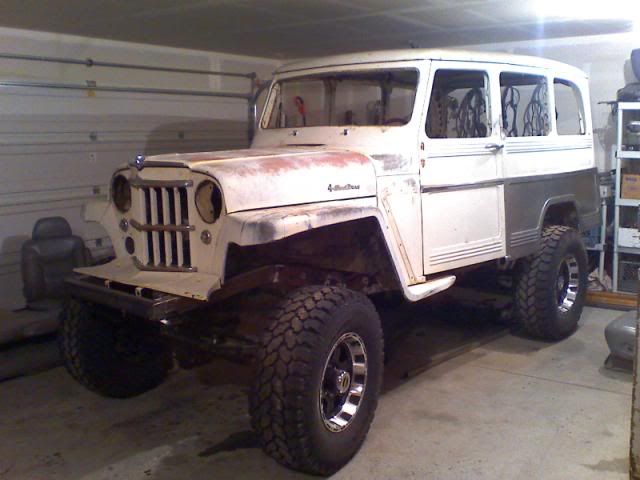
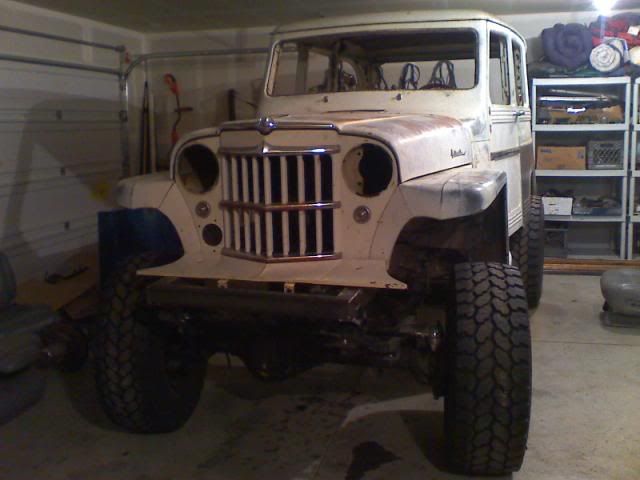
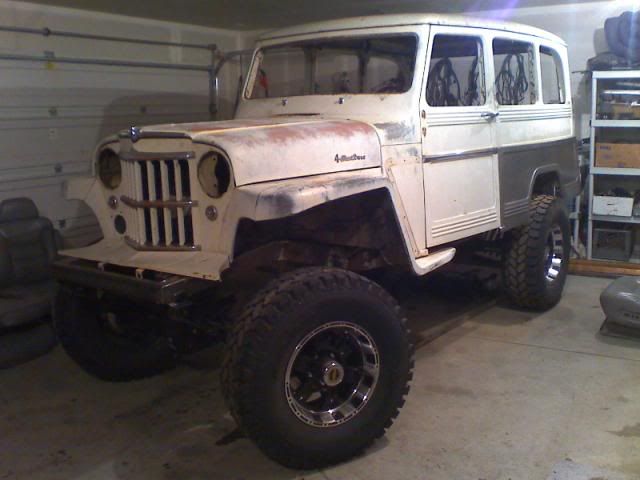
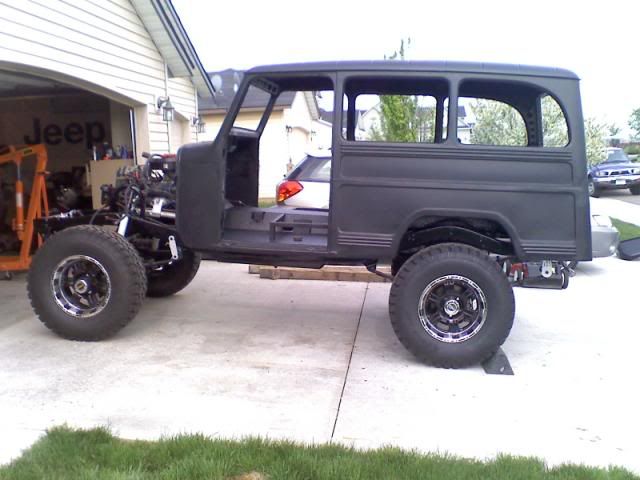
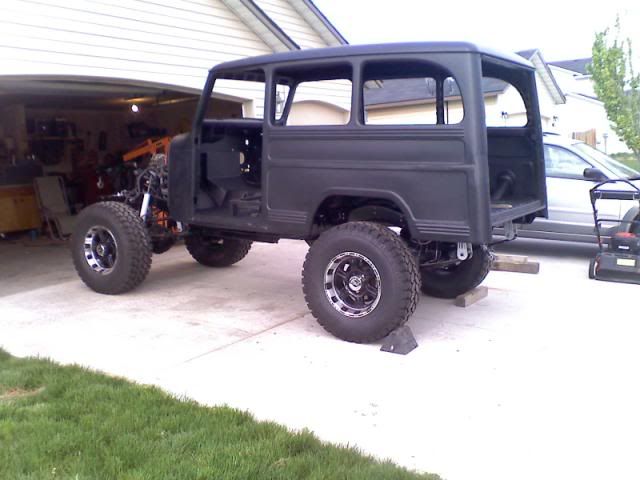
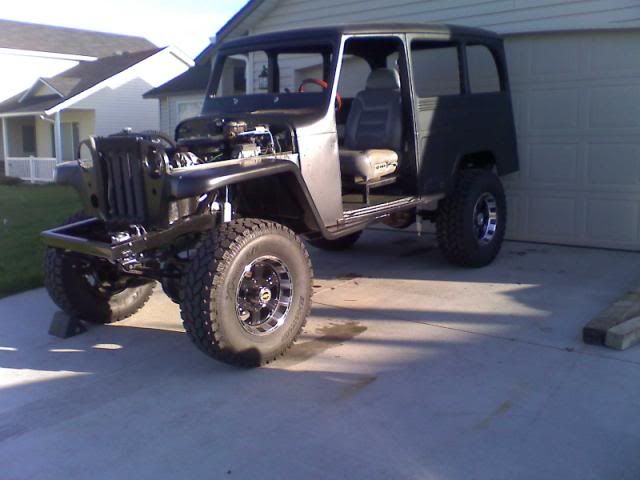
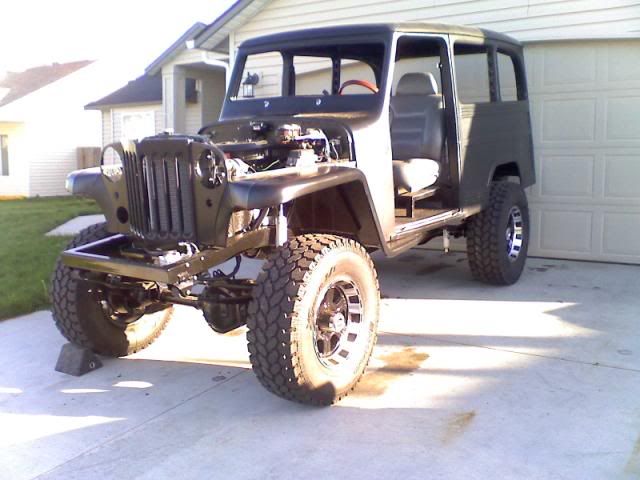
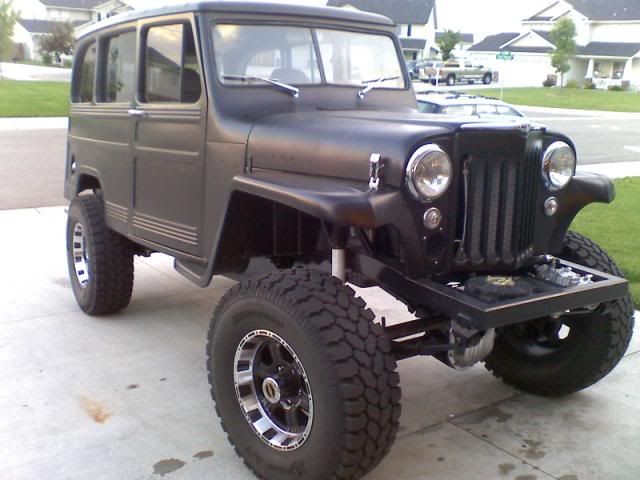
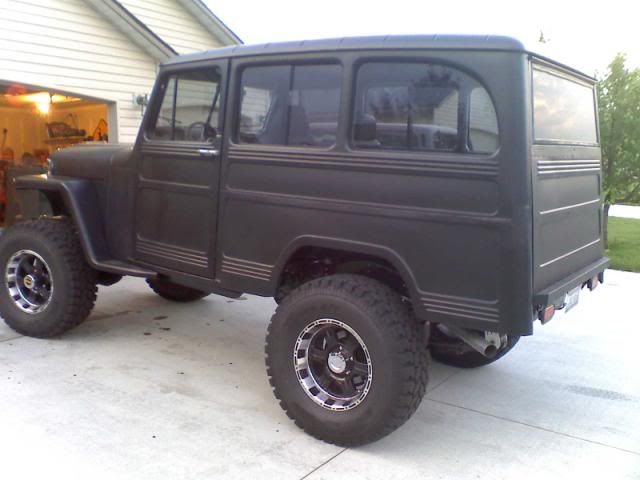
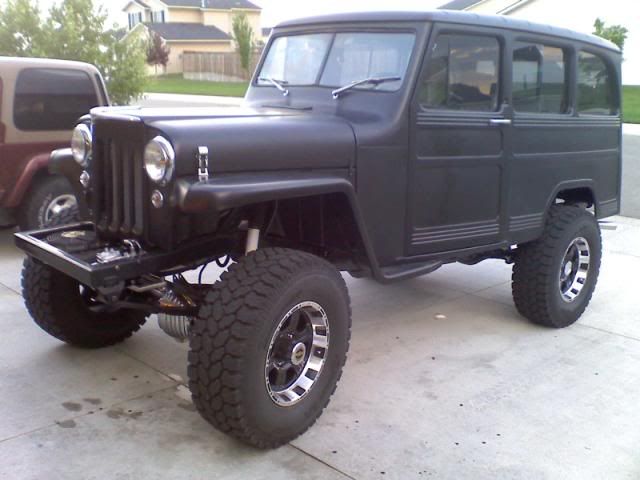
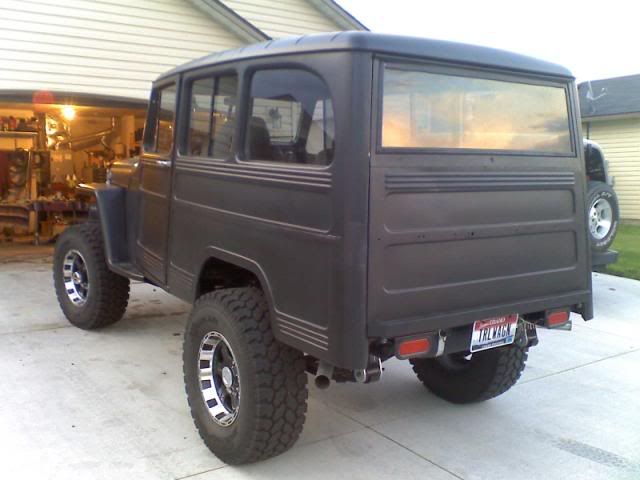
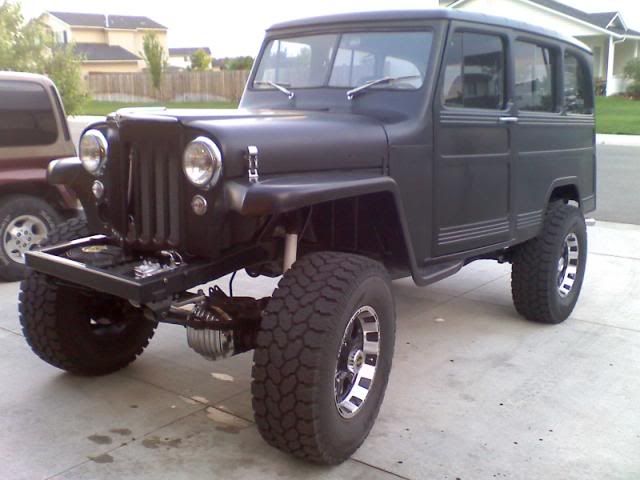
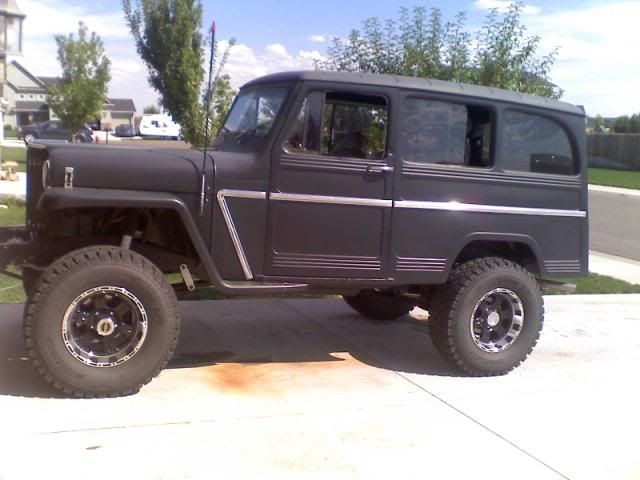
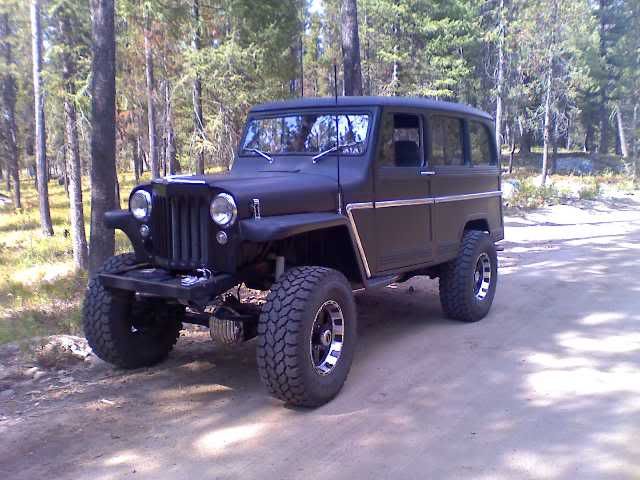
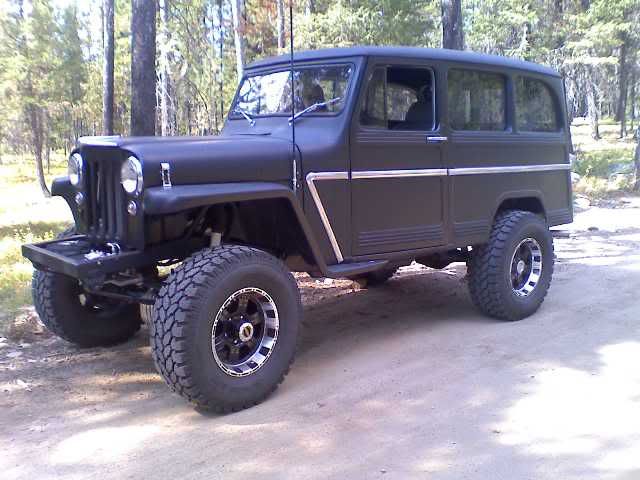
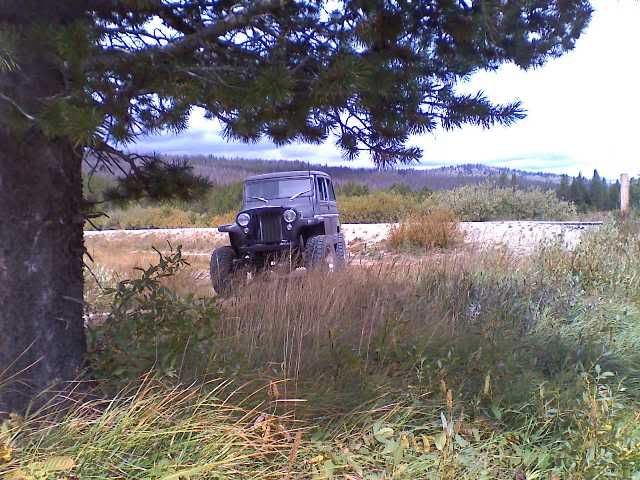
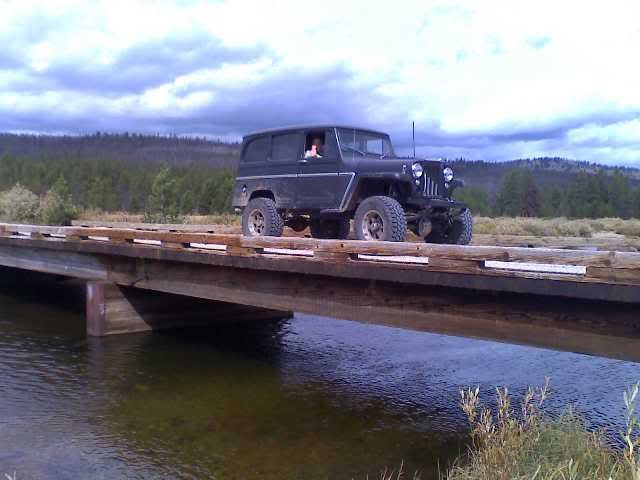
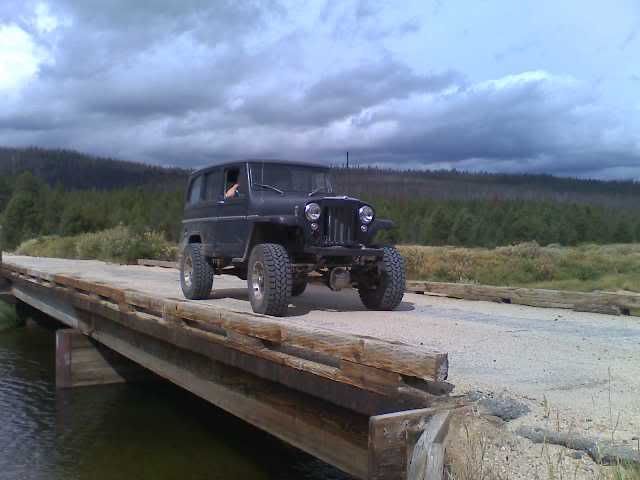
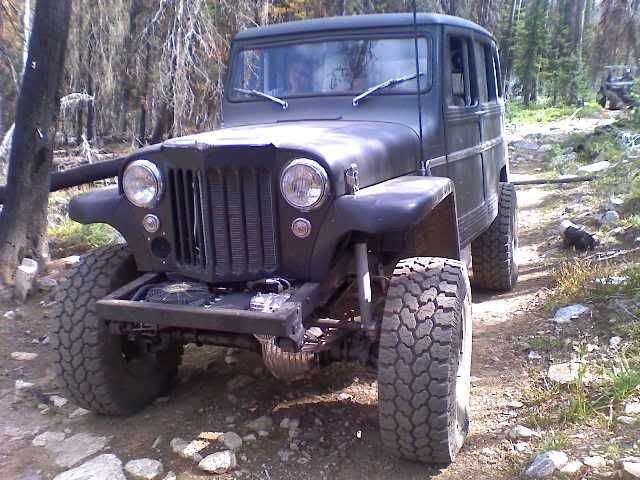
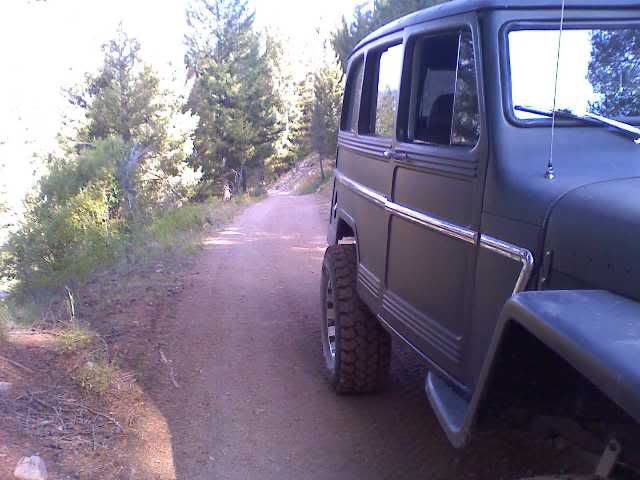
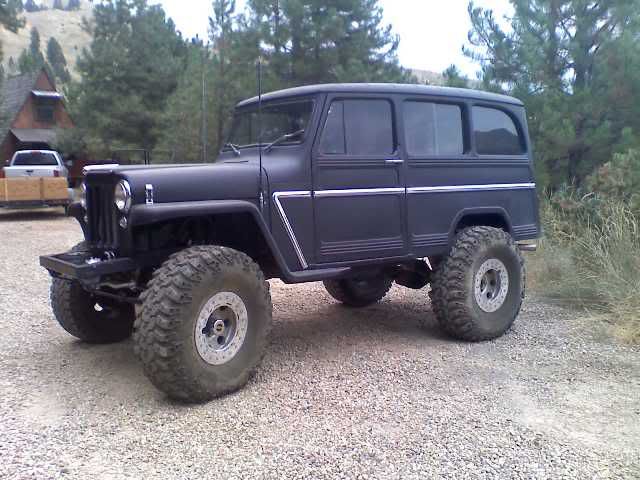
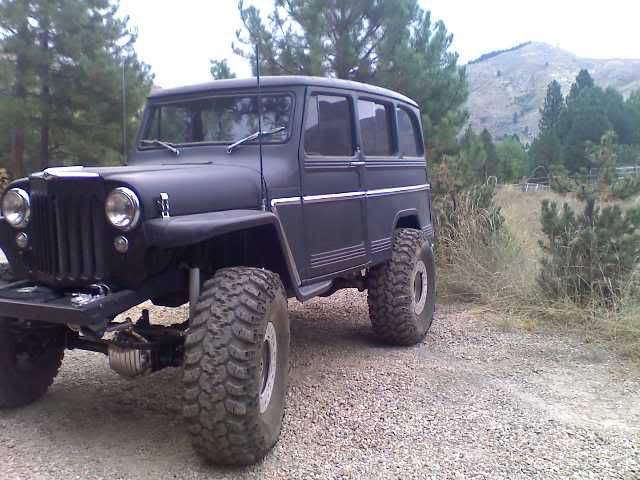
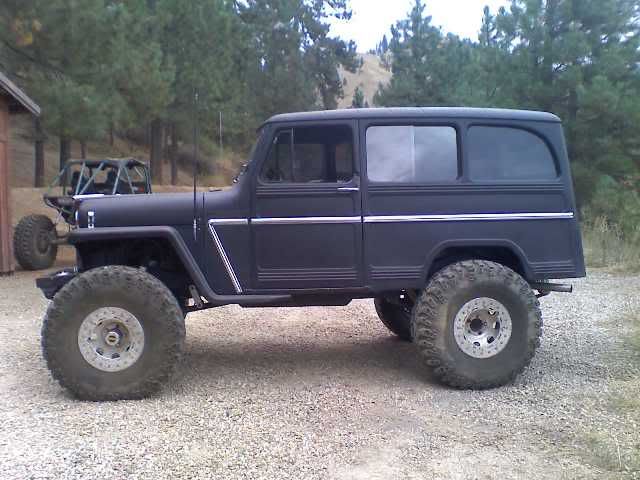
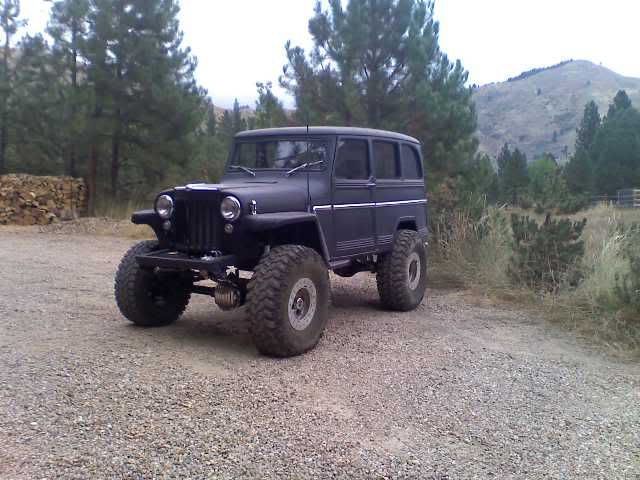
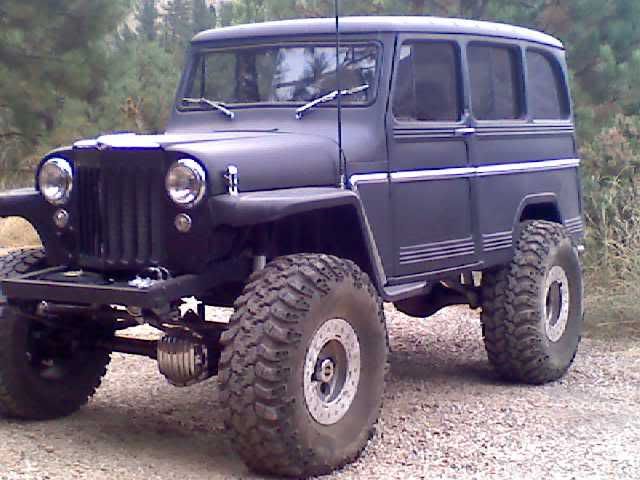
I thought I would take some time to share the project that I started in 08. It is only about 1/2 way done, but I drive it daily and it is a wonderful vehicle. It is very comfortable and rides beautifully.
The next step is to put all the finishing touches on it. The list is long, but it's all really fun stuff to do. To name a few, interior panels and upholstery, interior lighting, paint, AC, custom bumpers, winch, custom rocker guards, and a dozen other things that will make this Willys truly one of a kind. I am also installing 41"x 14.50 x 17 Super Swamper IROK Radials, which will require some slight modifications to the rear fender wells. But when I am done it will look amazing and it will be ready for anything and everything. Here is a list of the major components it will have when complete:
1995 GM 5.7 from a Chevy Tahoe
Dual HushPower Flow Master mufflers
4L60E 4 speed automatic (this could changed if I don’t figure out what the heck is going on with the shifting issues.)
241 w/SYE
Cruise control
Tilt column
Hydroboost and 4 wheel disc brakes
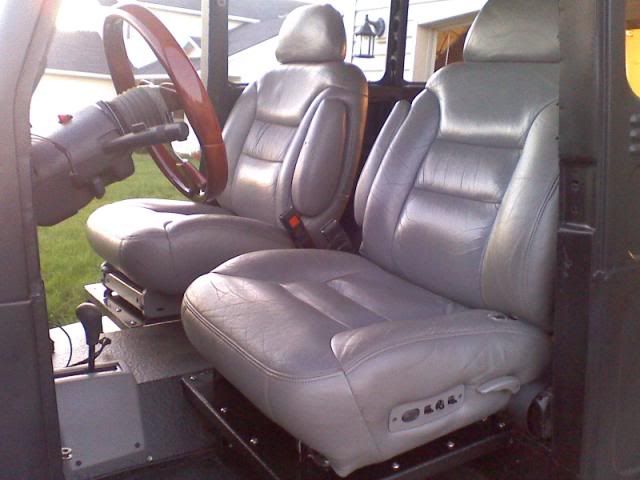
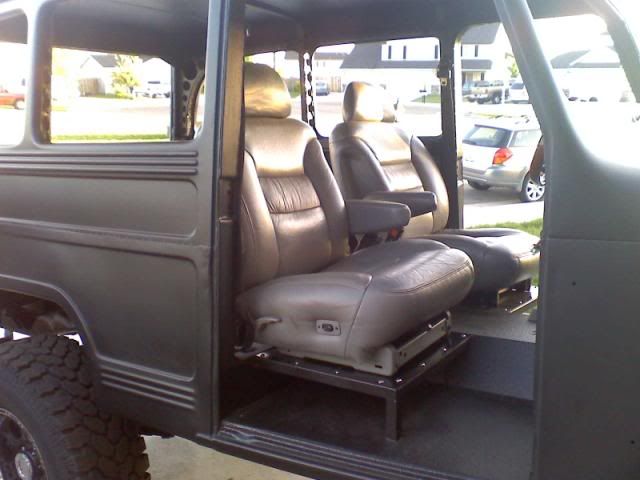
Power leather seats
Delay wipers
Air conditioning
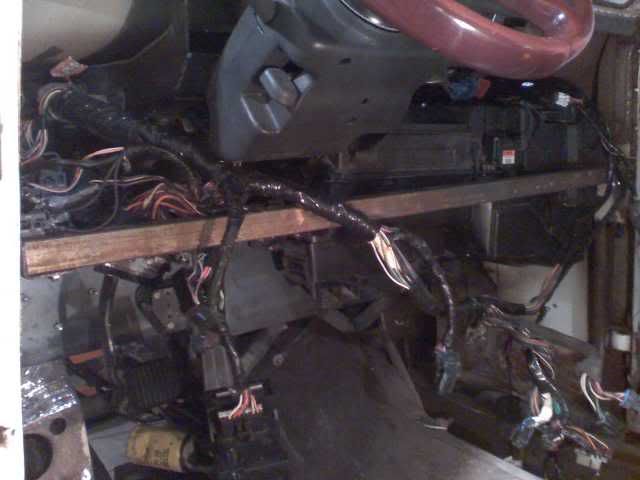
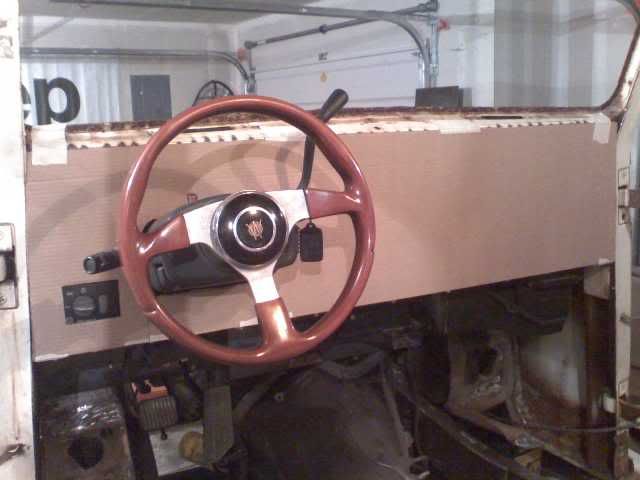
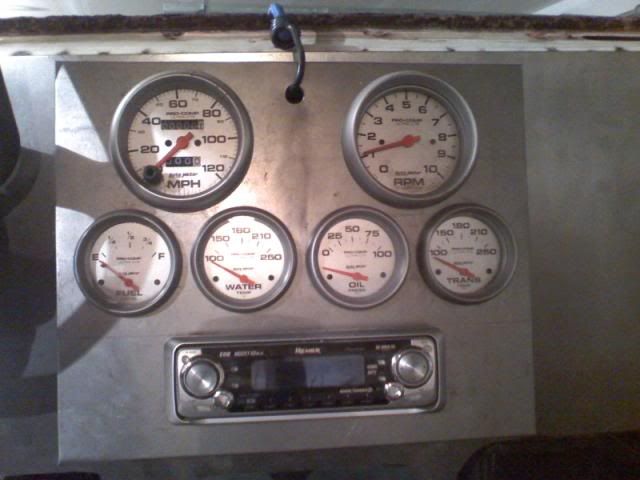
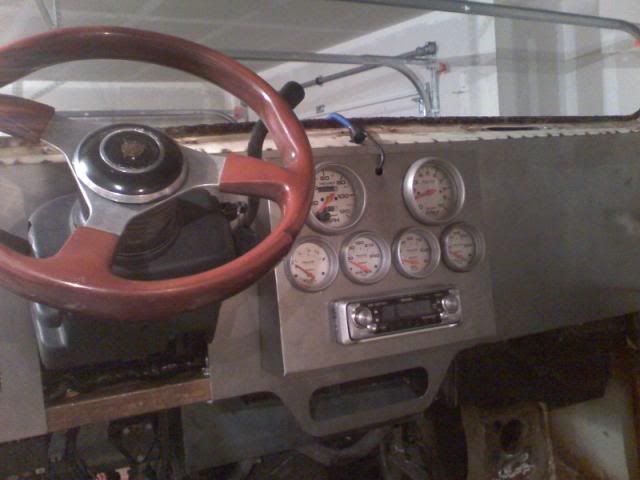
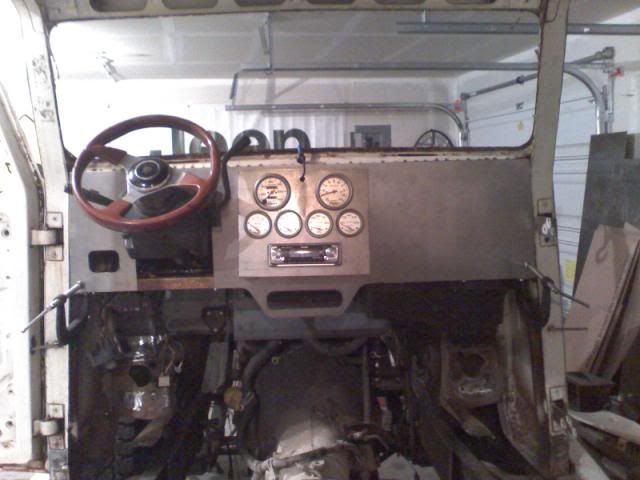
Custom dash
AutoMeter Gauges
Power windows
Sun roof
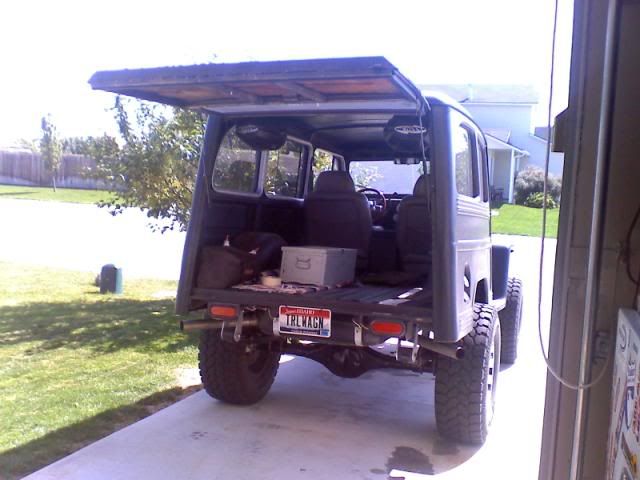
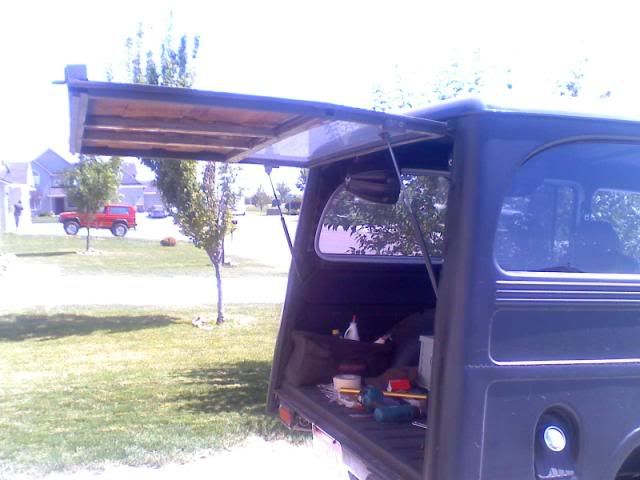
One piece rear lift gate
Optima battery
All new glass and weather stripping and rubber components
HP Dana 60 front with Detroit and 4.56 gears, 35 spline Superior Evolution inner and out front axles with Yukon Super Joints, 35 spline Warn locking hubs, Ballistic Fab high steer arms, 1 1/2" .250 wall tie rod and drag link with ¾” rod ends
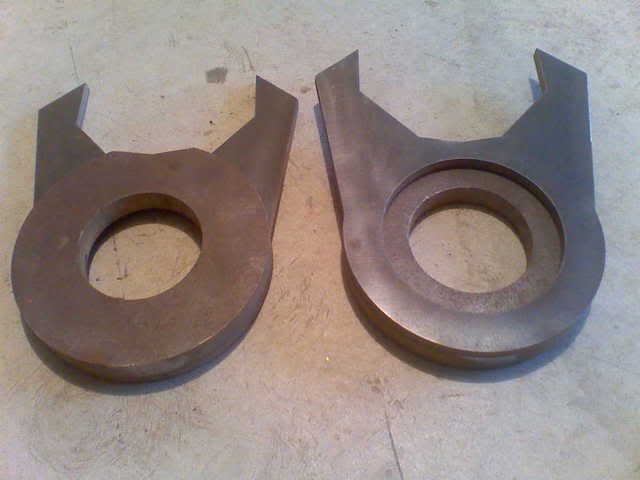
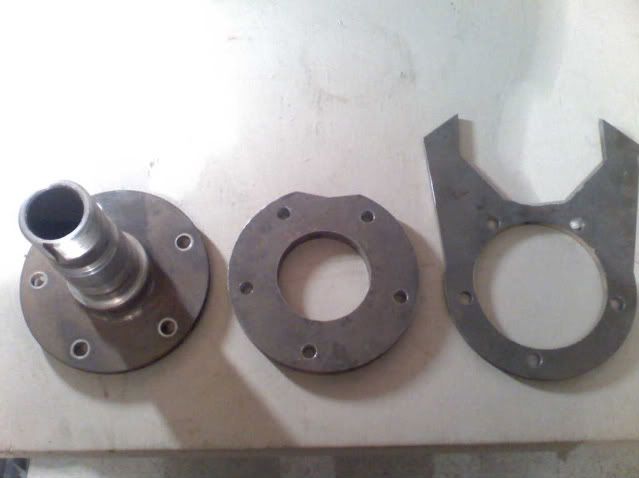
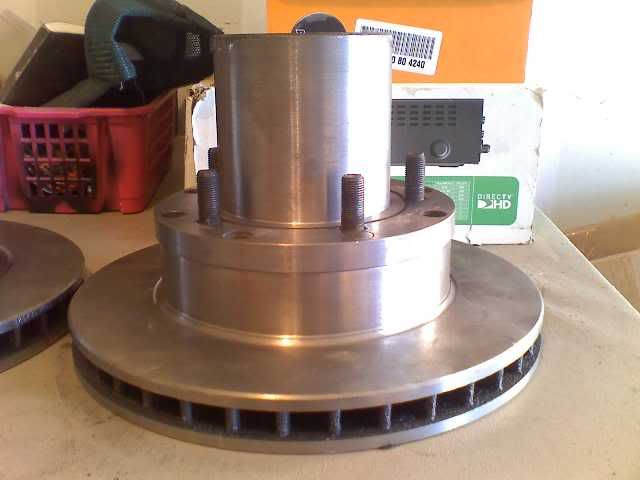
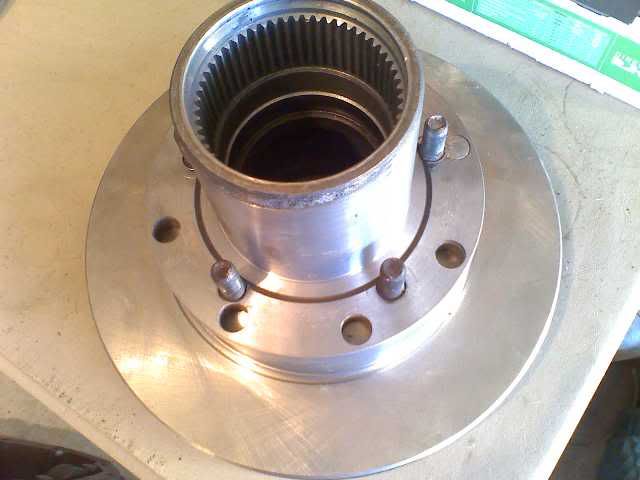
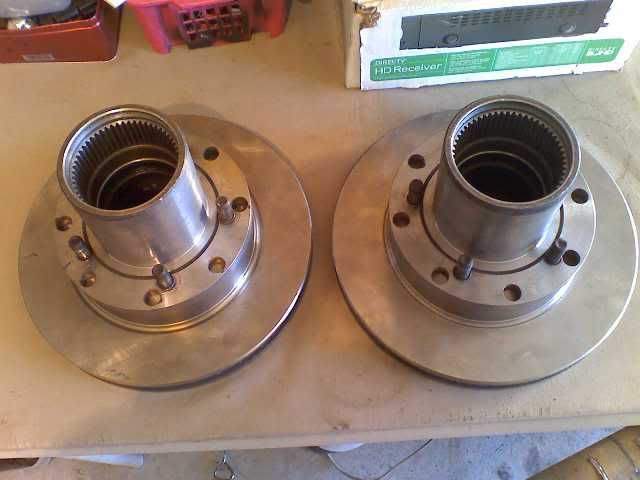
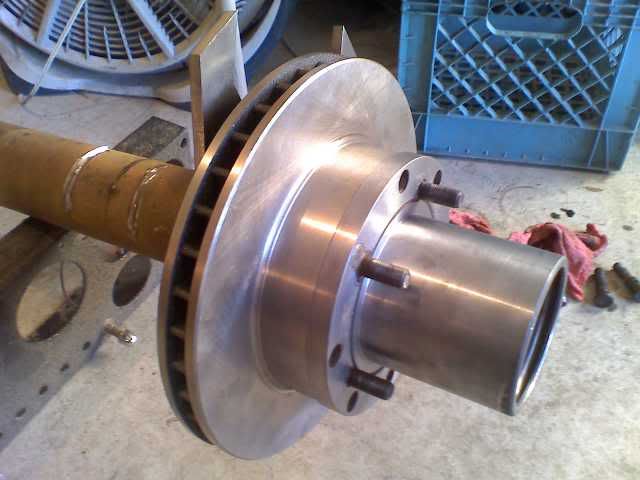
Narrowed Dana 60 rear with Detroit and 4.56 gears, dual splined 35 spline axles, redrilled and machined front Dana 60 hubs to allow 5 on 5 ½ lug pattern, 35 spline Warn locking hubs, F150 rotors, ½ ton GM disc brake, and a custom-made collar and caliper bracket
41x14.50x17 Super Swamper IROK Radials
Pro Comp Extreme 8089 Aluminum Wheels
BDS Wrangler front and XJ rear springs
Tom Woods driveshafts
Full interior cage
Custom bumpers and rocker guards
On board air
Ready Welder II
12 volt cooler
8274-50 Warn winch
iPod Stereo
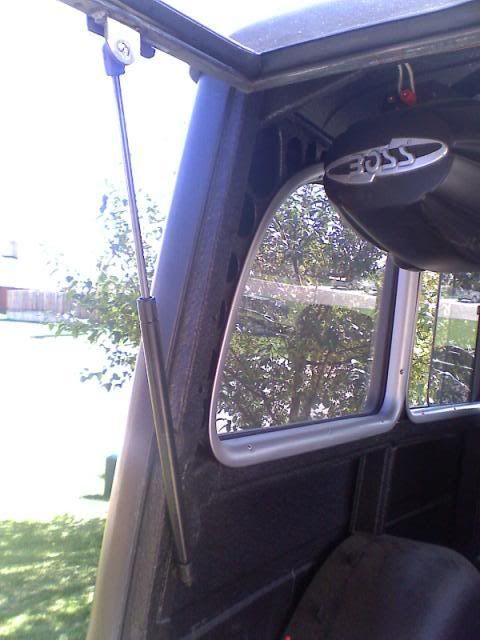
Boss marine speakers
Hella headlights
LED tail lights
Off-road, fog, and trail lights
Completely rust free body
Brand new paint
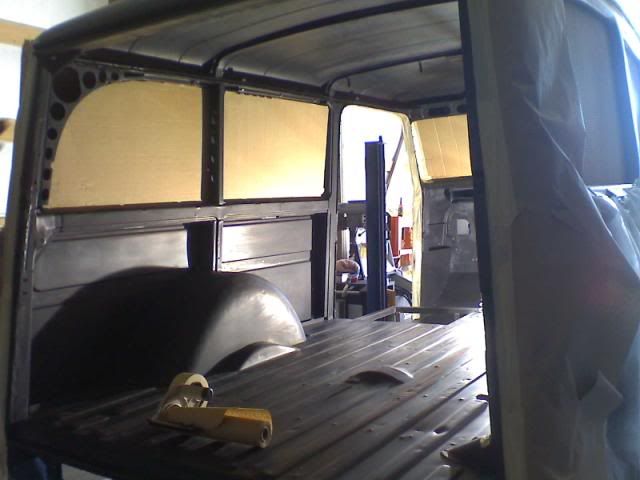
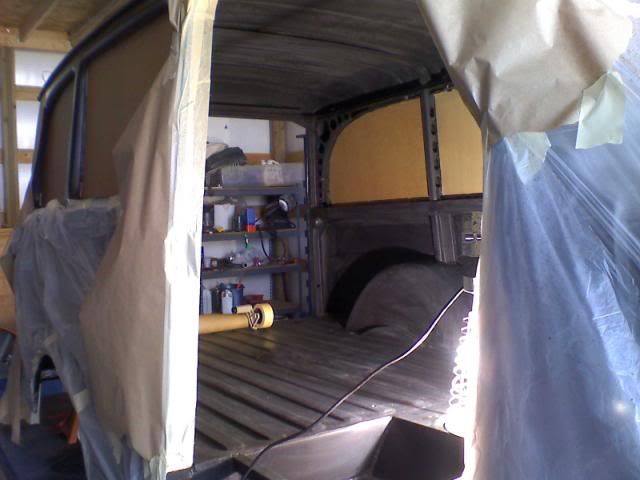
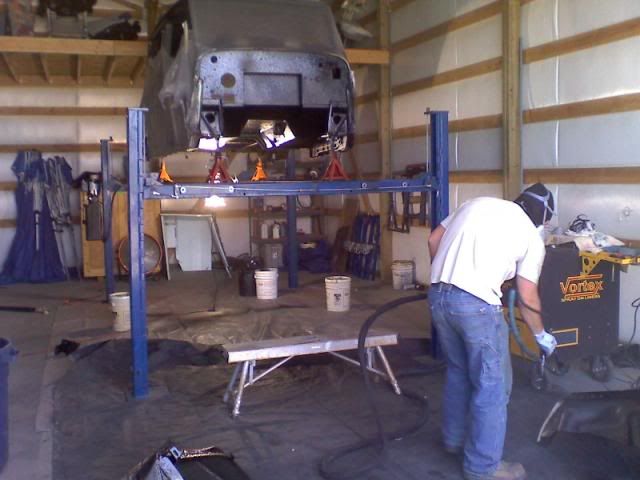
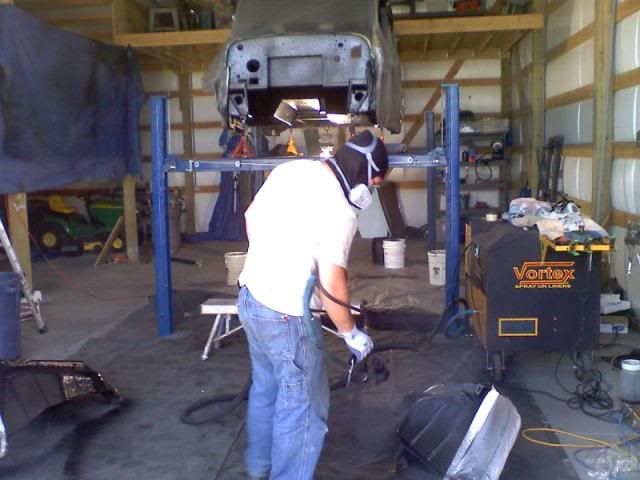
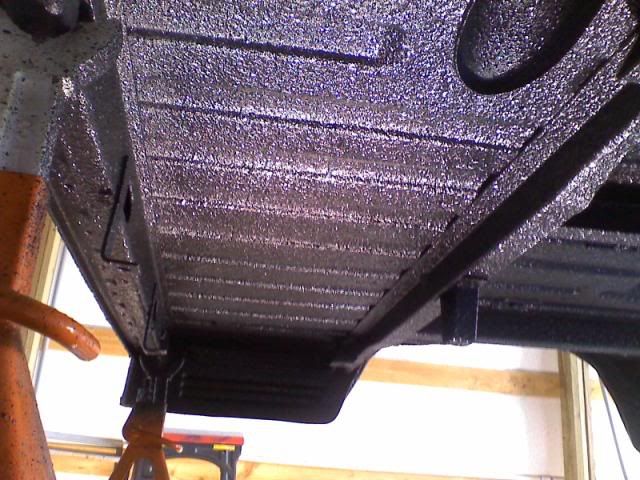
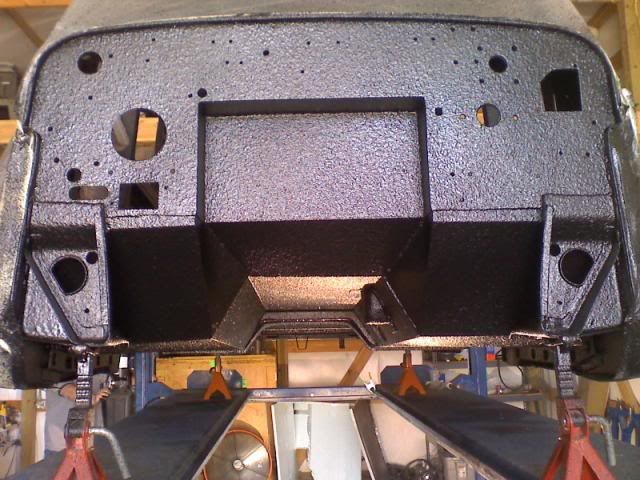
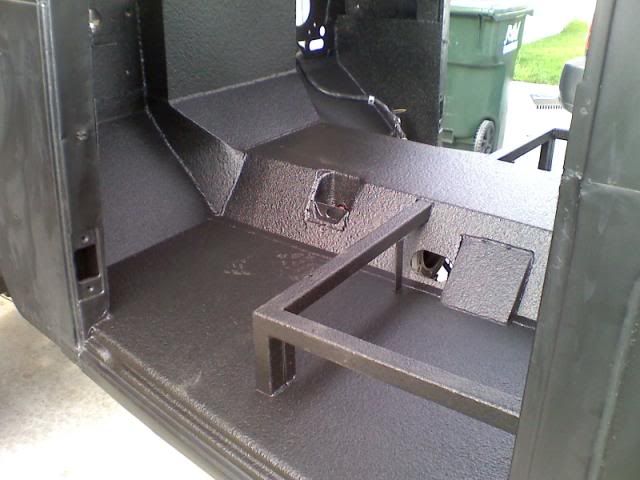
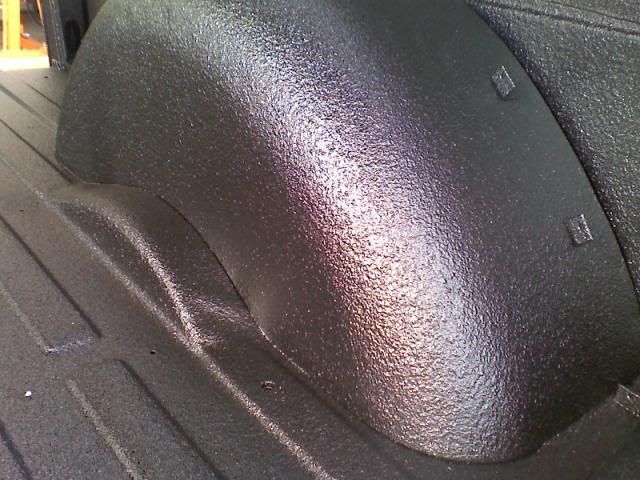
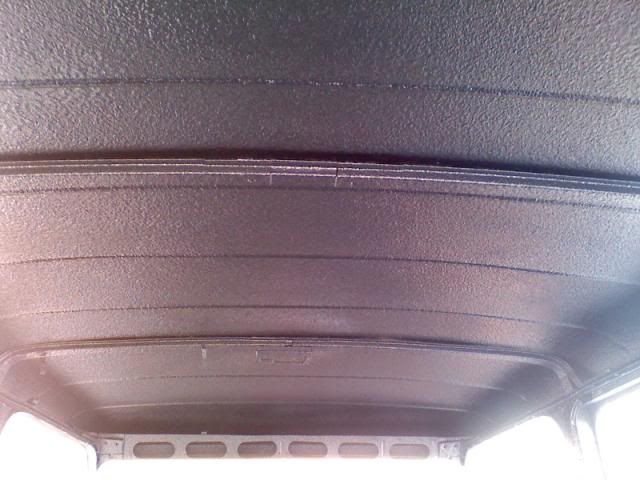
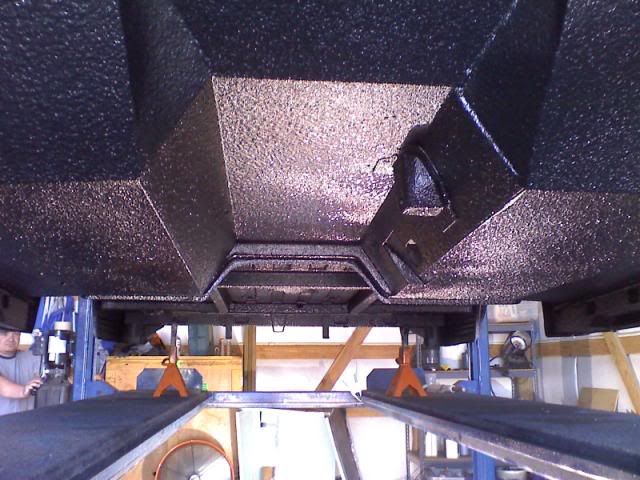
Vortex bed liner sprayed on everything but the outside
Fully sound deadened
Fully upholstered/Custom interior

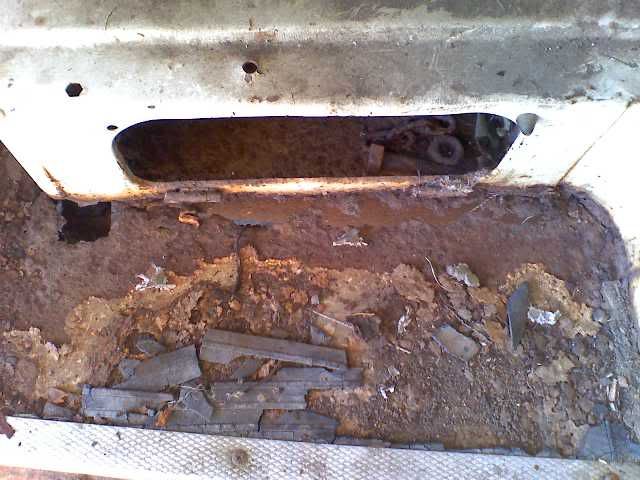
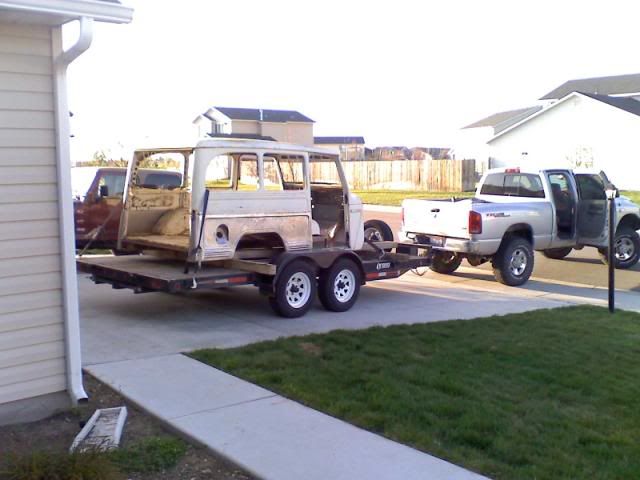
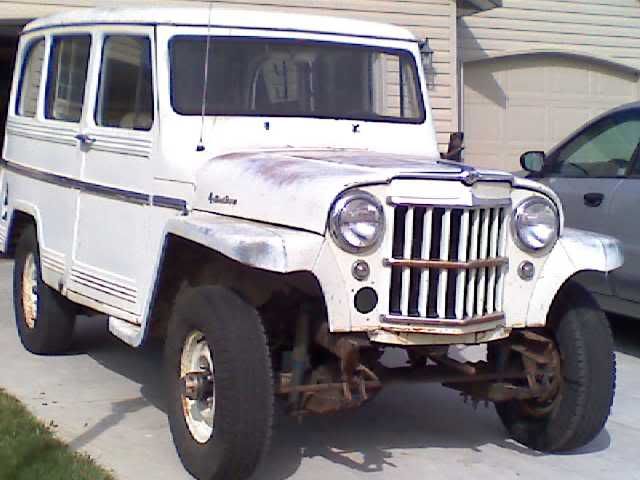
When I started this project I remembered that it had been about 20 years since I last owned a Willys Wagon. I thought they were the coolest vehicle ever back then and I still do. They are versatile and simple. They have a style all their own and they have plenty of room for all kinds of gear. So, I set out to find one. It didn’t take long. It’s like my Willys radar knew exactly where to go. Only 2 weeks after starting my search, I found a 1962 in totally original, running condition up in Garden Valley, Idaho. I drove up there to take a look and found that it was not too bad. There was some pretty bad rust on the front floorboards, but otherwise, the critical areas of the body including the front fenders, hood, and front side of the doors were almost perfect. I decided that it would work so I handed him some cash and loaded it on the trailer. I couldn’t wait to get home.
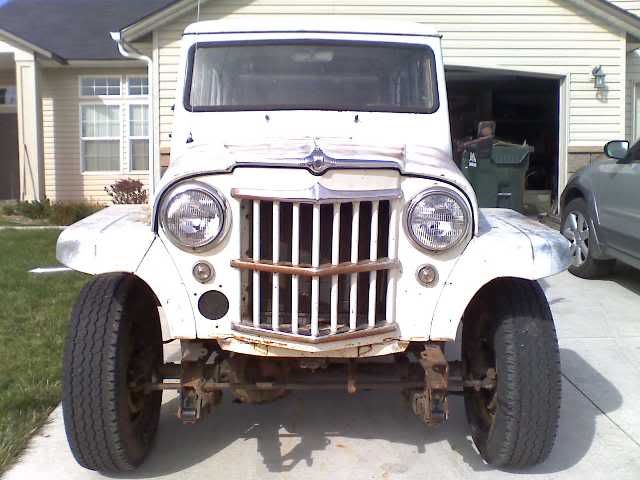
FrontPassenger.jpg


Drivewayfront.jpg


When I got it home, I couldn't resist the temptation to drive it around the block a few times before I started tearing into it. The motor ran perfectly. Everything worked as well as could be expected I suppose. Even the vacuum-powered wipers did their funky little dance across the pitted windshield. I pushed on the throttle just to watch them slow down, which brought back memories of climbing the snowy hill in my 55 wagon as I drove to my home in the mountains near Lake Tahoe. The brakes were as unpredictable as I had always remembered them being. I didn’t know if it was going to pull to the left or to the right each time I pushed on the squeaky old brake pedal sticking through the rusty floor. I had to laugh the first time I tried to stop. Oh the memories.

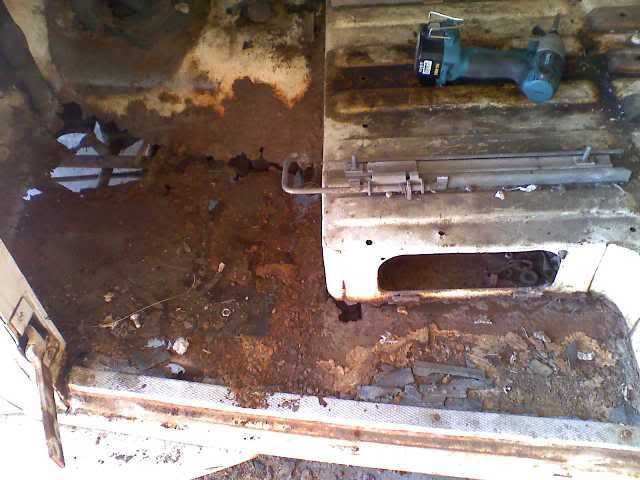
It definitely wasn't abused in its past life, but it was in a wet climate. There was some nasty rust on the front floor boards and in all of the secret places, so I knew immediately that I would be seeking out a place that could dip the entire body in acid to eliminate it all. All I really cared about was the exterior and the overall structural integrity. The floorboards would be the easy part. I really wanted to keep driving it around the back roads for a few hours, but decided that the last ceremonial cruise had to end. It was time to step into the 21st century with this old beauty.

So, I backed it into the garage and prepped it for surgery.
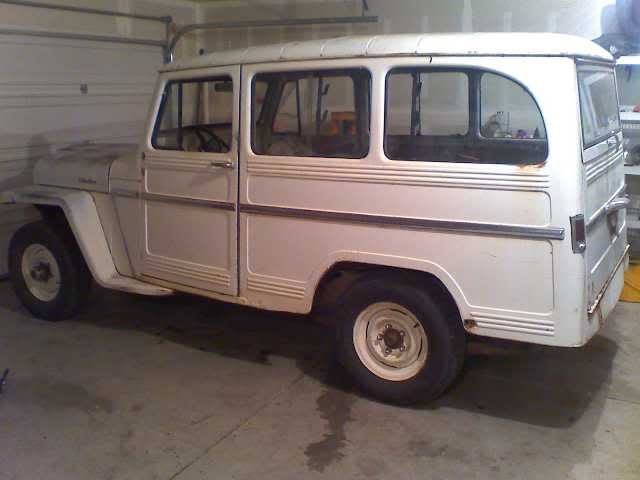
Garageside.jpg


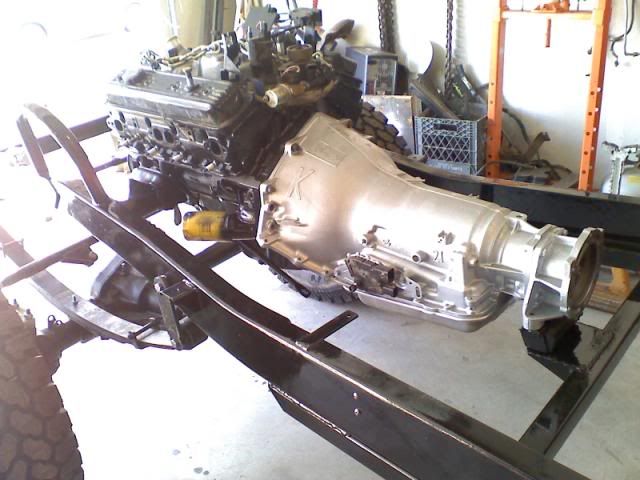
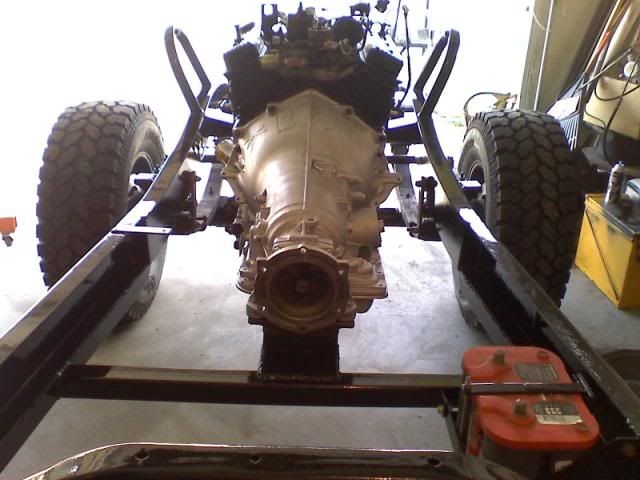
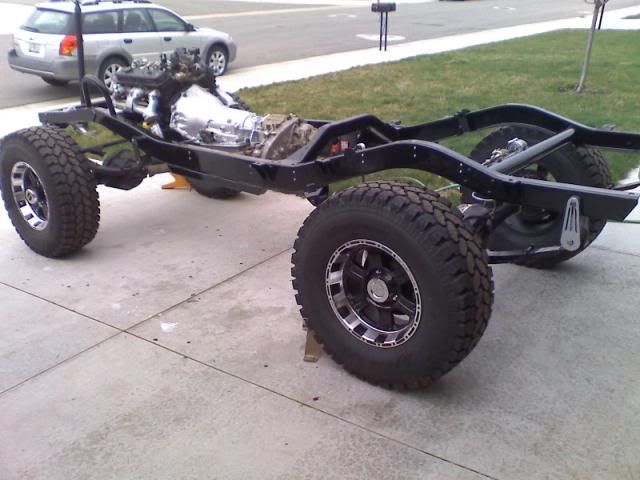
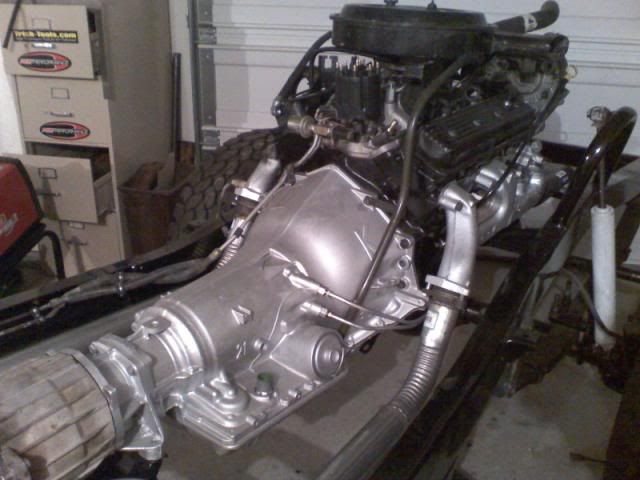
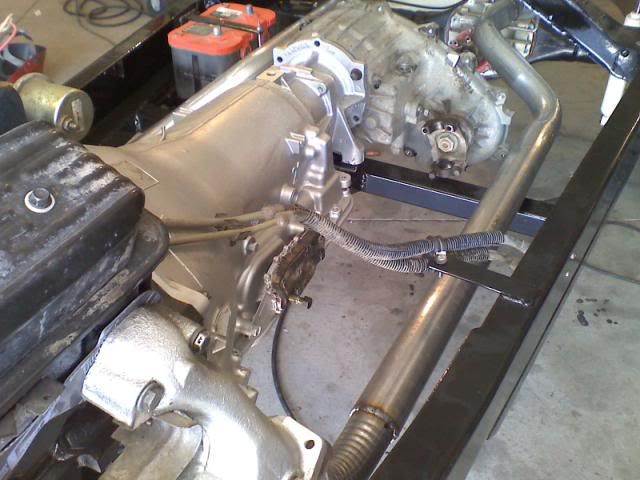
This was going to be a complete modern restoration from the ground up. I had no intentions of running any of the stock drivetrain. The motor, trans, t-case, and axles would all be removed and in their place would be a TBI 5.7 engine, a 4L60E 4 speed automatic transmission, and an NP241 t-case from a 1995 Chevy Tahoe that I bought for $1200.
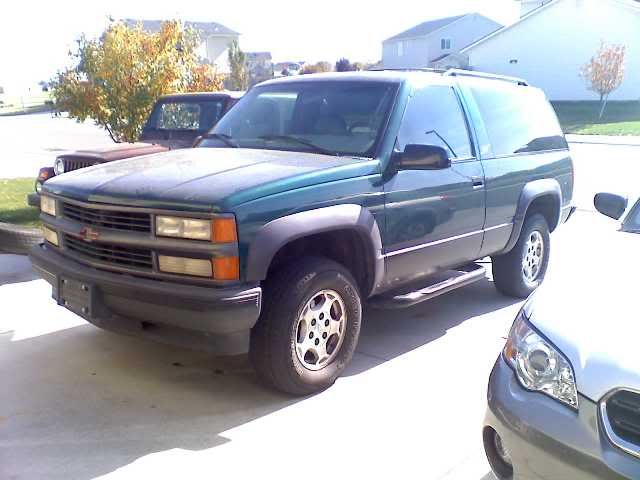
Tahoe.jpg


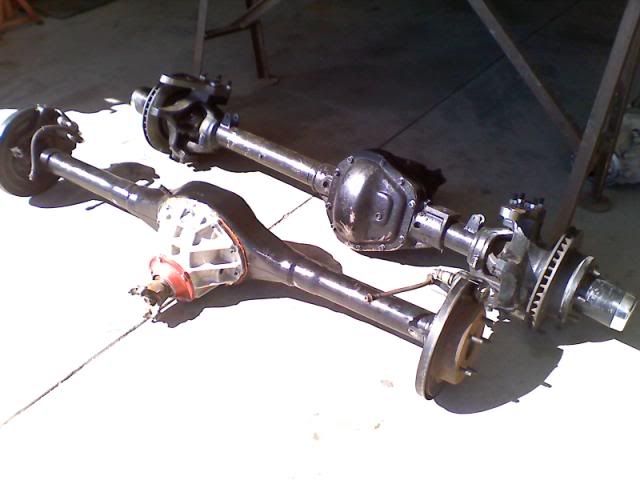
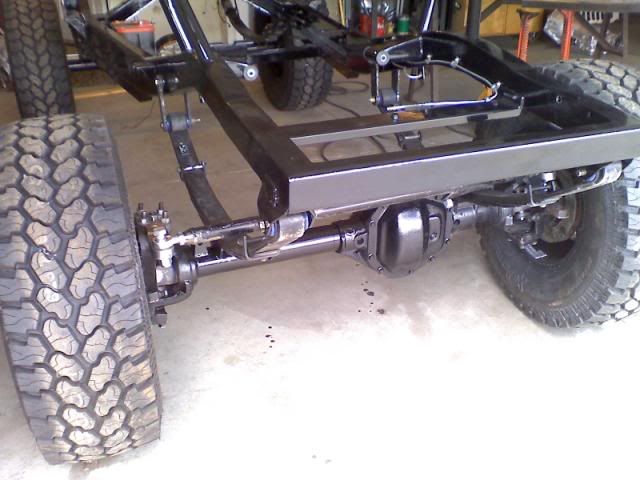
I did plan to utilize the differentials from my CJ-7/Commando rock crawler. The front axle is a custom width high pinion Ford Dana 60. A few years ago, I narrowed it approximately 8" and installed 4.56 gears, a Detroit locker, 35 spline Superior Evolution chromoly inner and outer axle shafts and Yukon Super Joints. It also has 35 Spline Warn locking hubs. I had the 8 lug hubs machined and redrilled for a 5 on 5 1/2 lug pattern. I installed Ballistic Fab high steer arms and I built a custom tie rod and drag link with 1 1/2" .250 wall tubing and ¾ rod ends. This thing is bomb proof.

For the rear axle, I have a Currie Enterprises Ford 9" differential with 4.56 gears, Detroit locker, 35 spline chromoly axle shafts, and Explorer disc brakes.

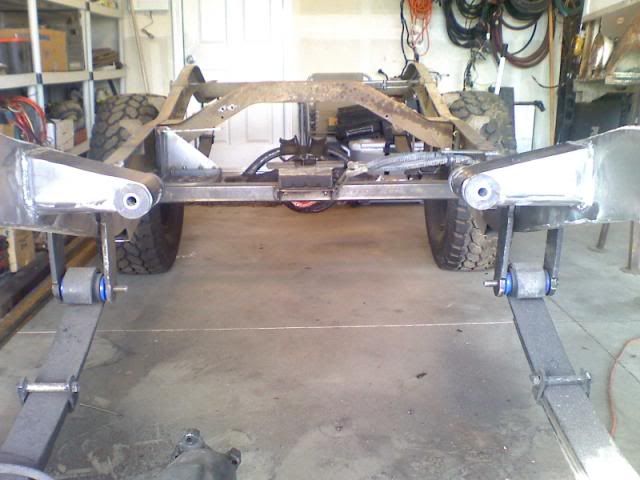
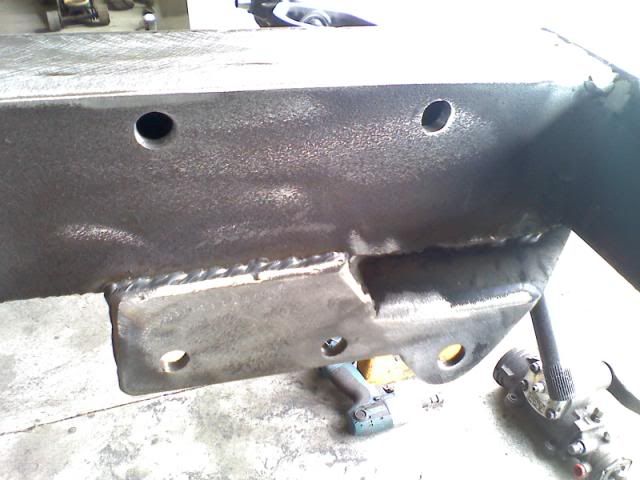
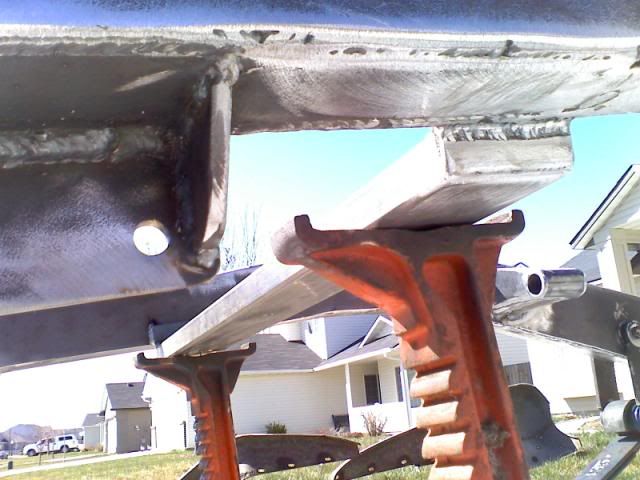
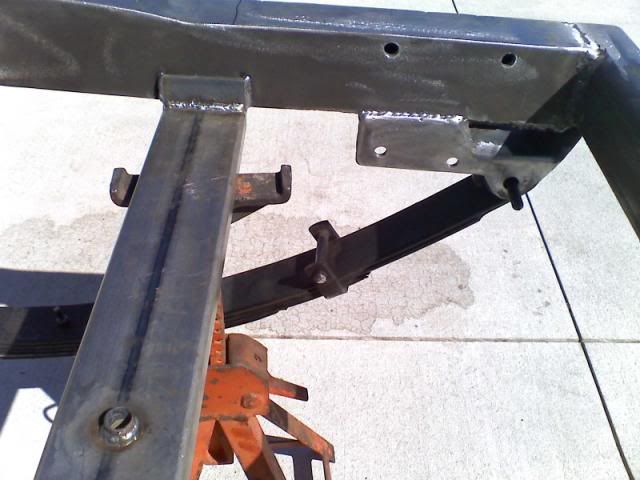
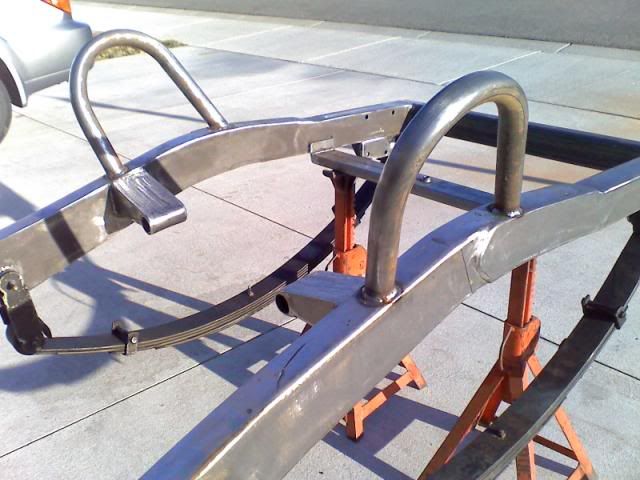
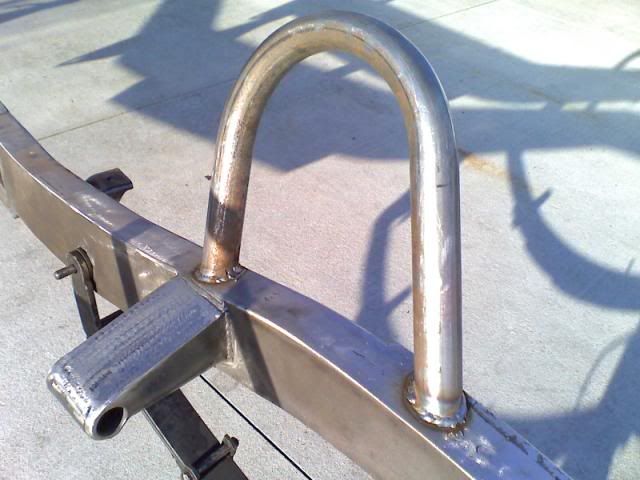
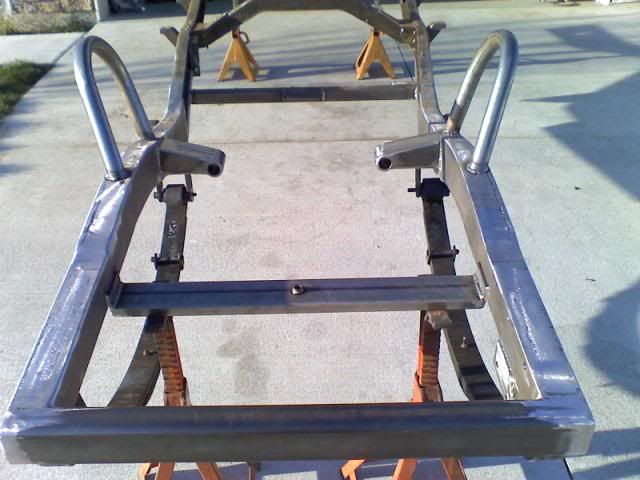
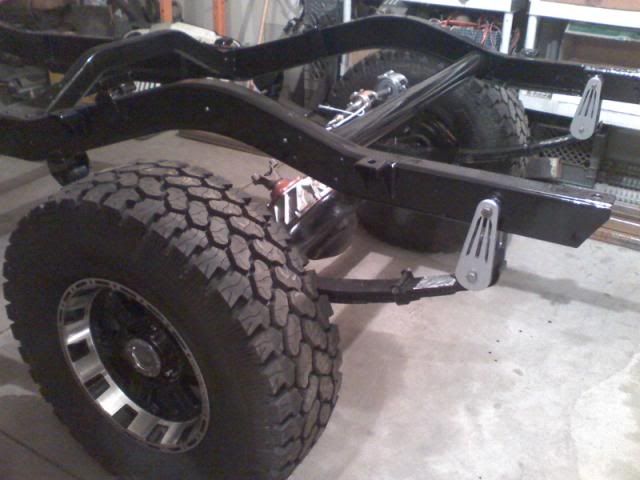
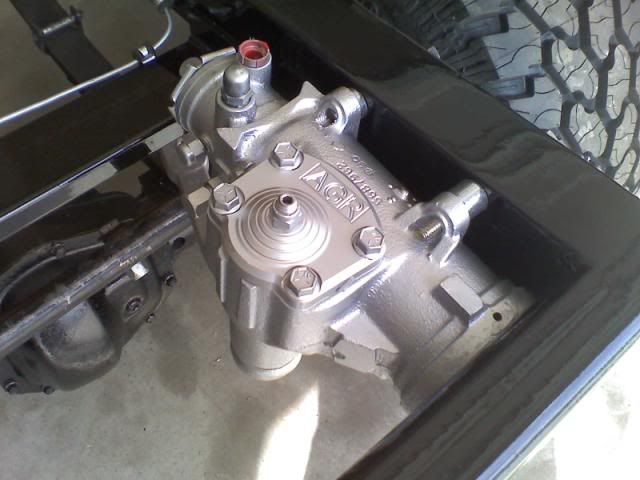
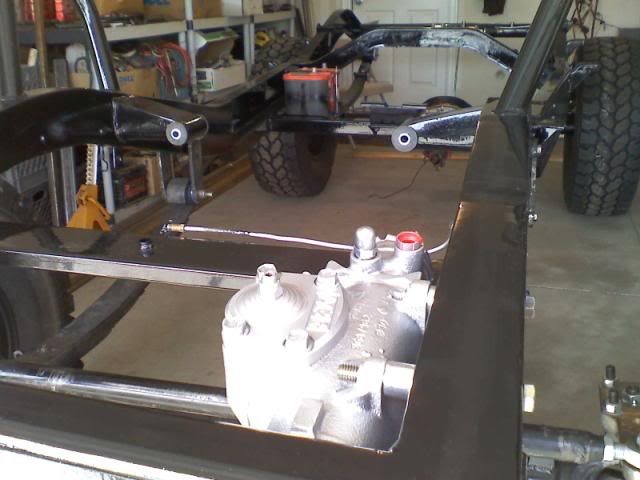
For the suspension, I decided to stick with simplicity and use leaf springs all around. I am using BDS leaf springs front and rear. Wrangler 3” springs in front and XJ 3” springs in back. They are a perfect fit for the Willys Wagon frame. I extended the front frame rails to accommodate the longer springs and power steering box. The steering system is an AGR Rock Ram System with the high output pump, new Saginaw box, and hydraulic steering ram.
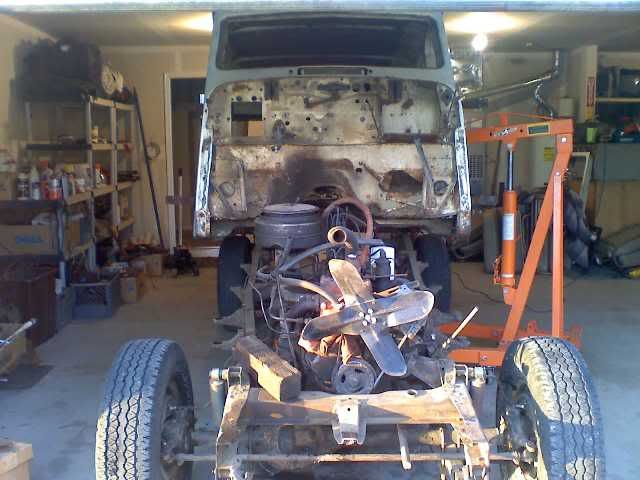
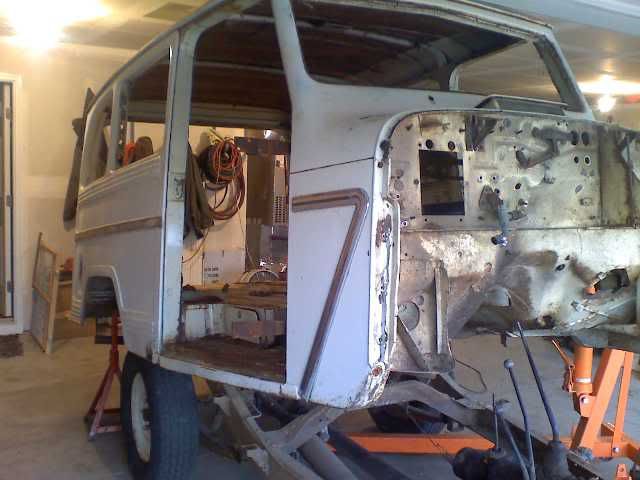
Tubliftoff.jpg


Bodyonsaws_side.jpg


Completely stripped and ready for front floorpan replacement and other rust repairs.
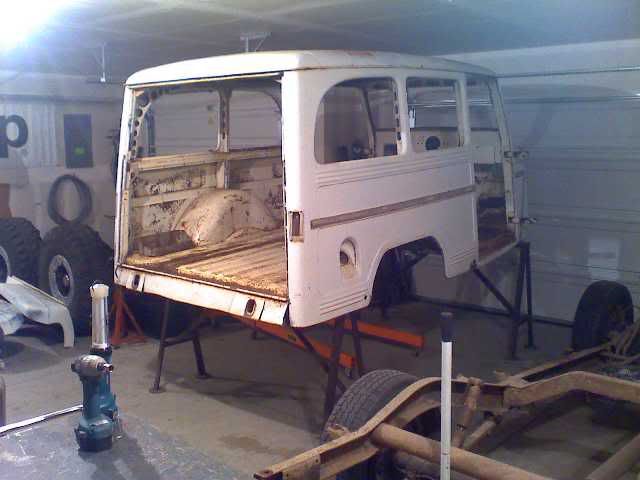
Bodyonsaws.jpg


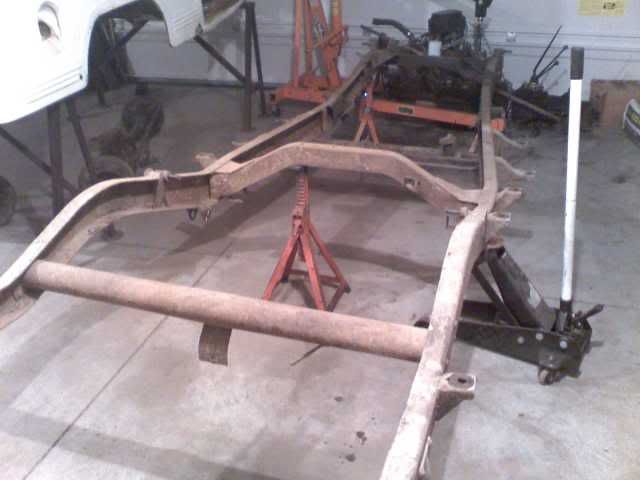
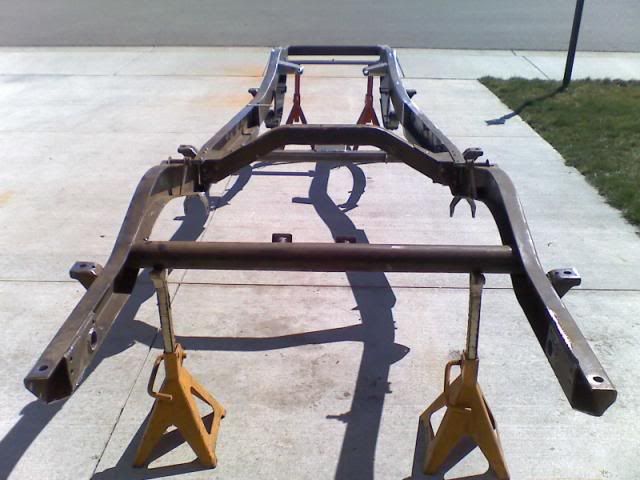
Original frame ready to be stripped down.
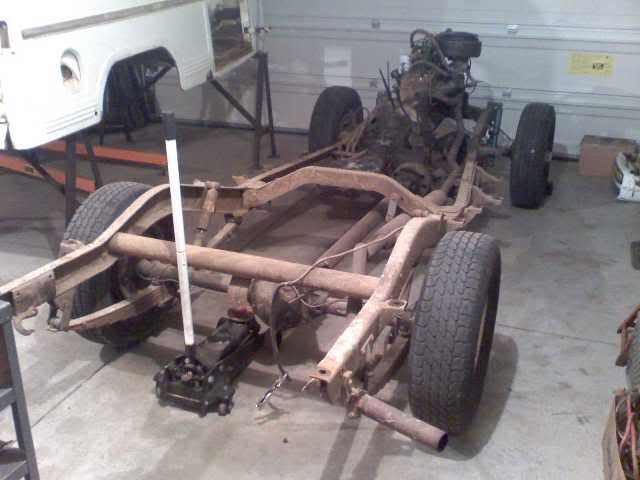
OriginalFrame.jpg


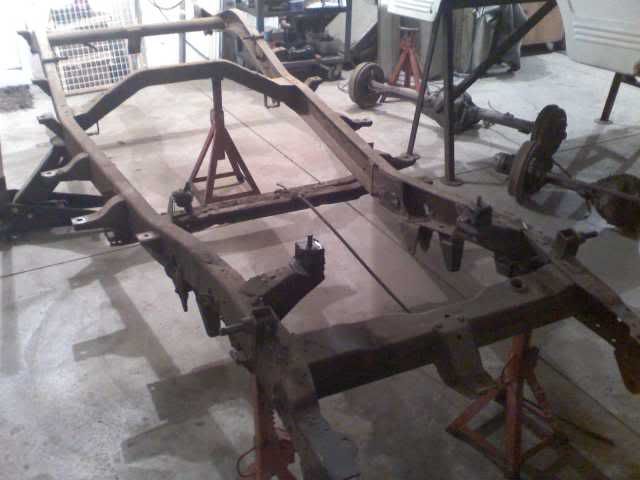
Framework.jpg


Framework2.jpg


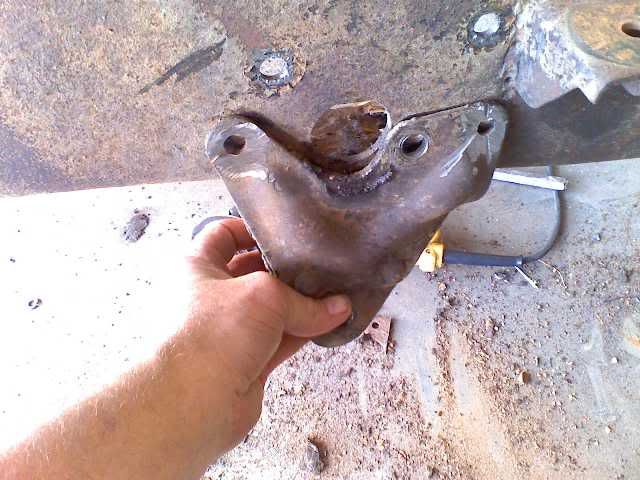
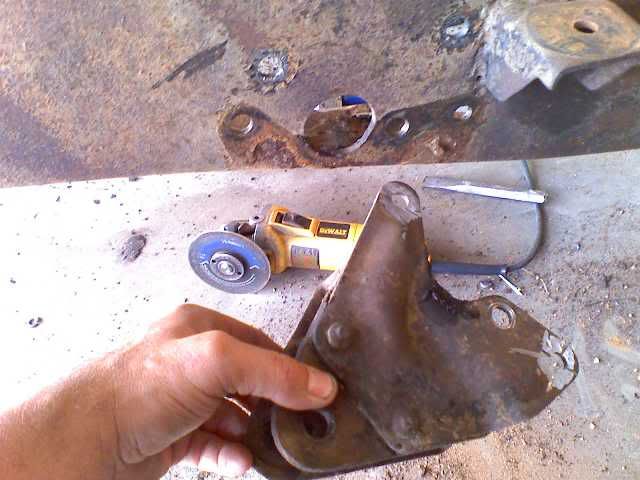
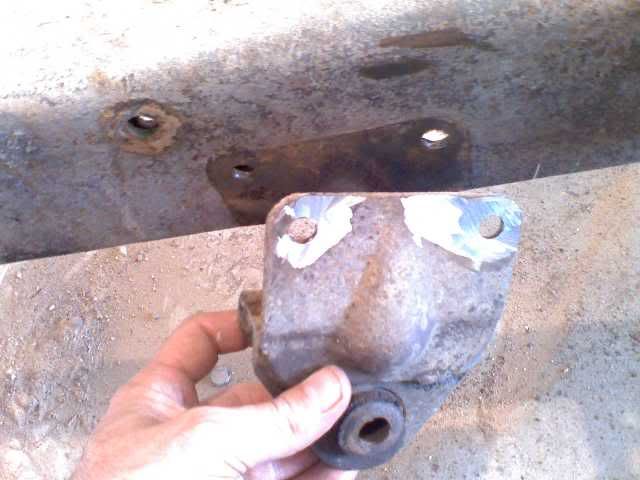
I cut the factory brackets and spring hangers off the frame. It had to be completely stripped down to build it up again.

Master cylinder bracket removal (one on the left and one on the right; for right hand drive wagons).
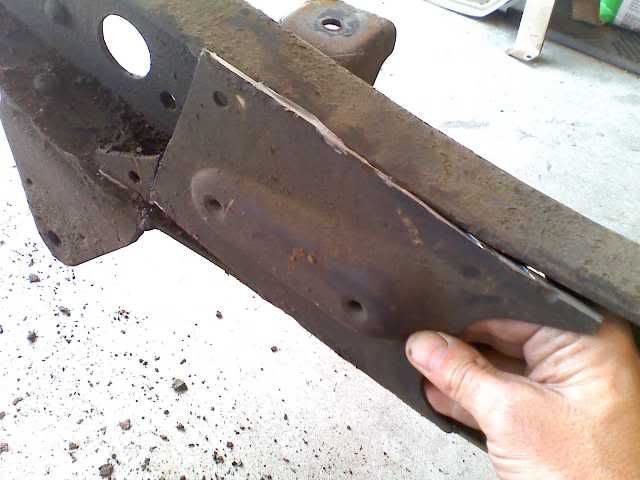
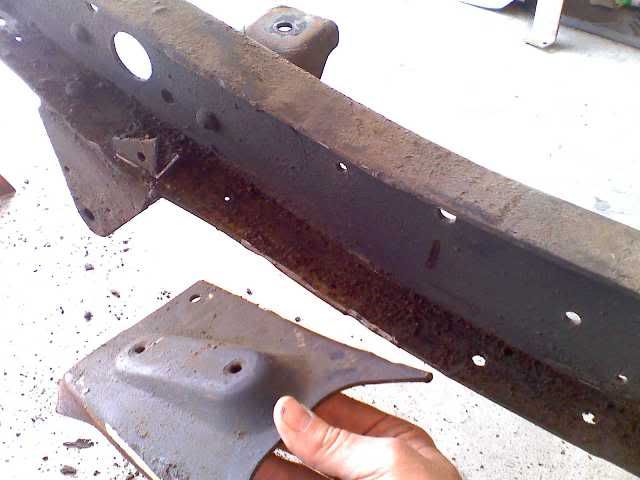
Bracketsoff2.jpg


Bracketsoff.jpg


Front spring anchor removal.

Frontspringanchoroff2.jpg


Frontspringanchoroff.jpg


Rear spring anchor removal

Rearanchoroff.jpg


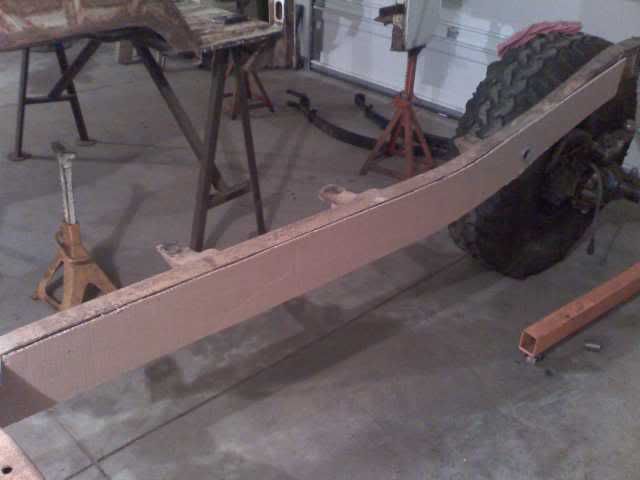
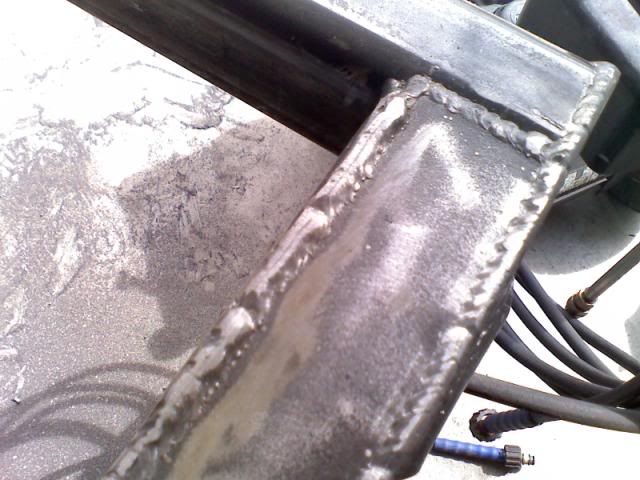
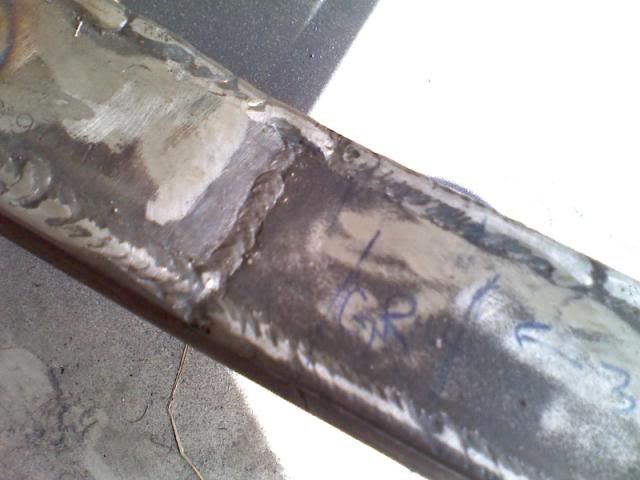
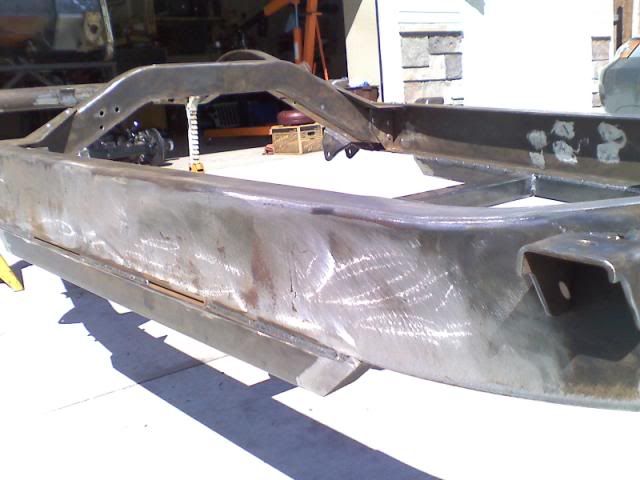
I created cardboard templates for plates to extend the frame and box it.
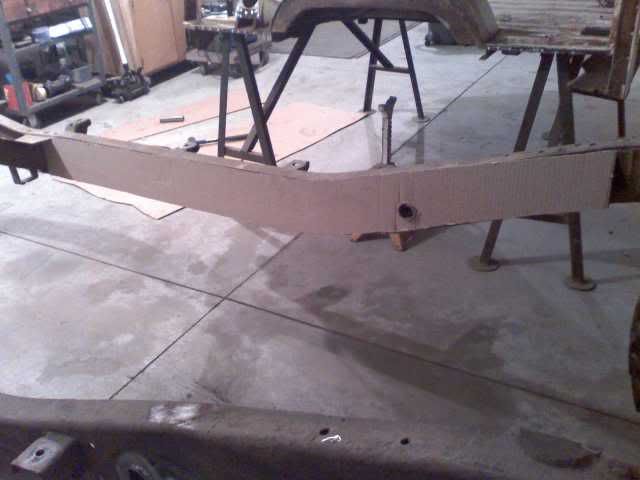
Frameboxtemplate2.jpg


Frameboxtemplate.jpg


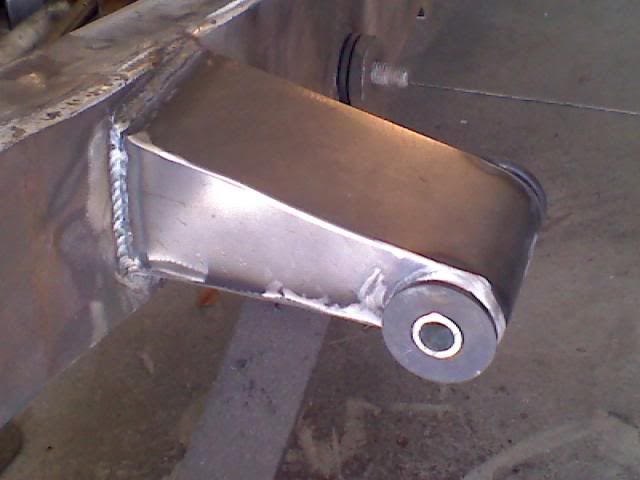
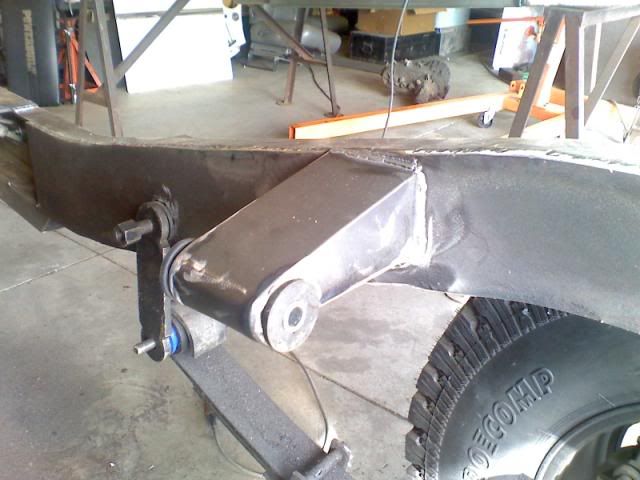
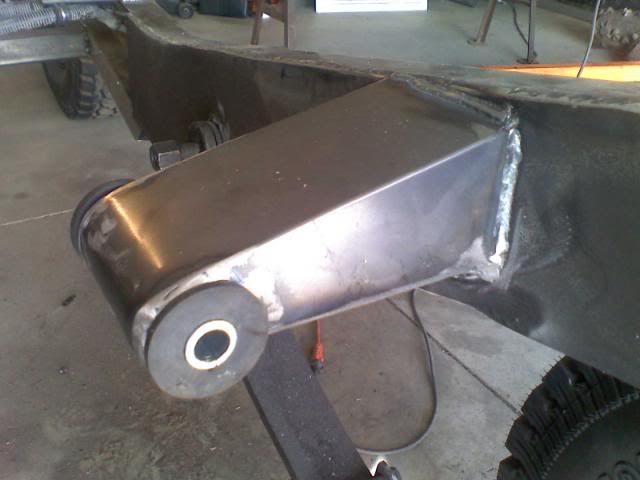
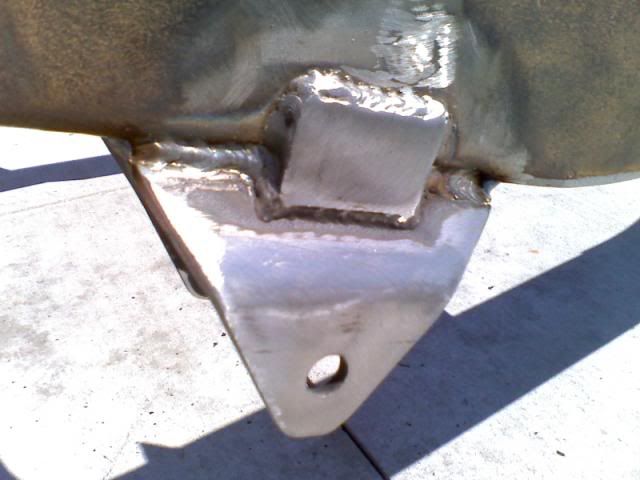
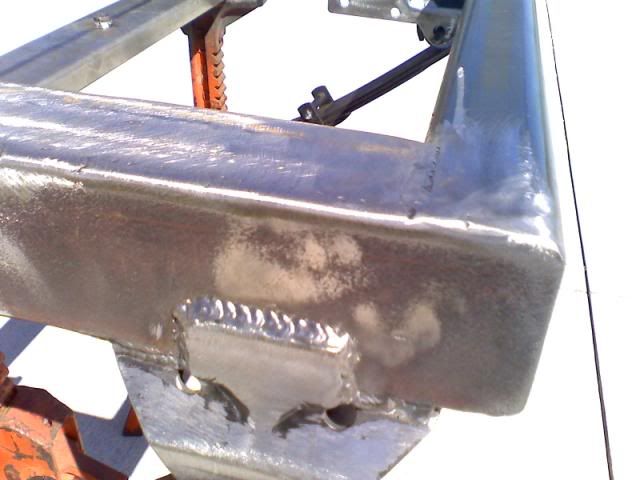
All done and ready for motor mounts and power steering box. I also got the spring anchors tacked in place and shackle reversal tubes welded through the frame. I used Wrangler spring bushings and 1 ¾” .120 wall tubing approximately 3” long.
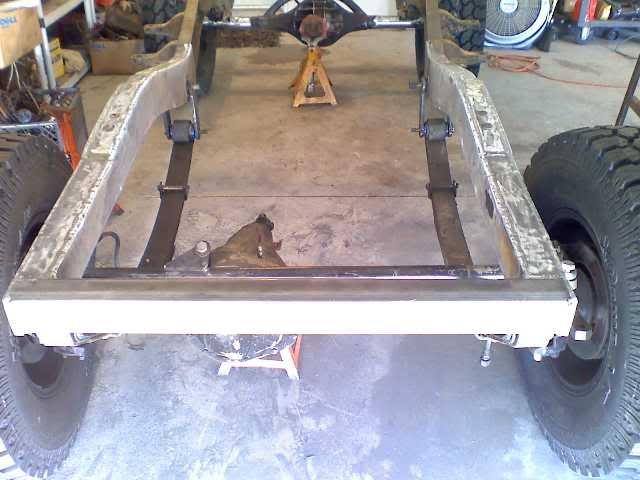
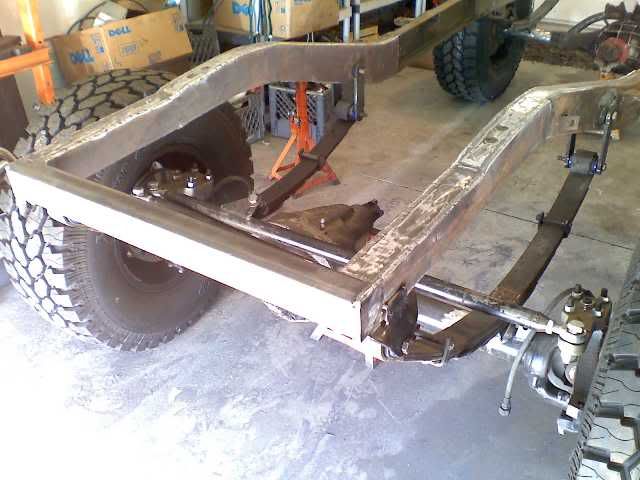
Frameboxdone2.jpg


Frameboxdone3.jpg
 
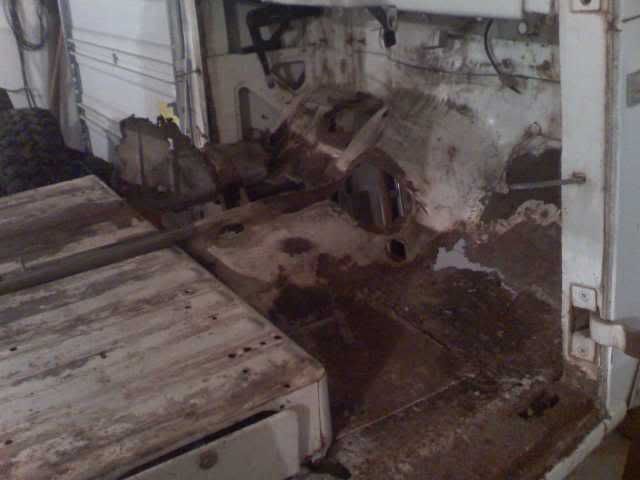
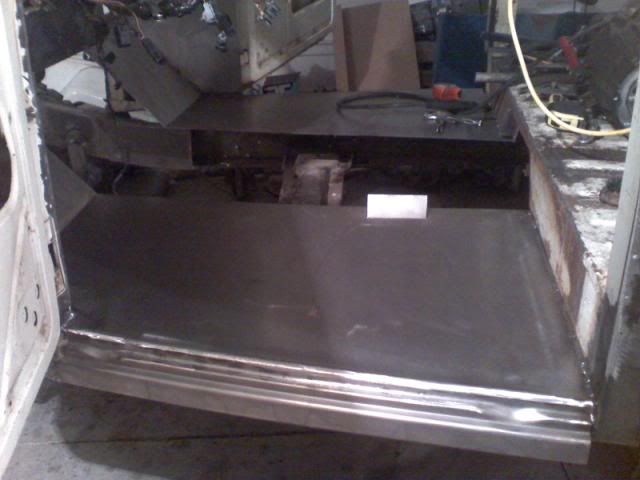
I cut the front floor boards out.

Floorboards.jpg


Floorboards_driver.jpg


Floorboards_driver2.jpg


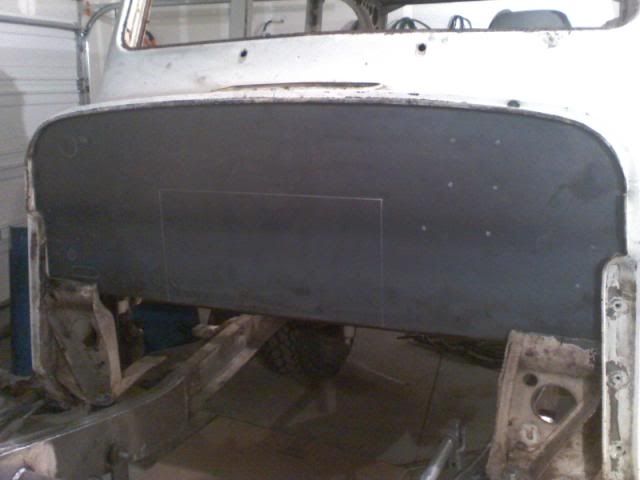
I cut out the entire firewall and replaced it with new sheet metal. It's much easier than trying to fill a thousand holes. And I wanted all signs of rust to be gone. Lots of work!

rustremoval2.jpg


firewall.jpg


Worked until late in the night. Got everything picked up and swept the floor. Ready for another day of fun!!

latenight.jpg


latenight2.jpg


OK, so here is where things started getting serious.

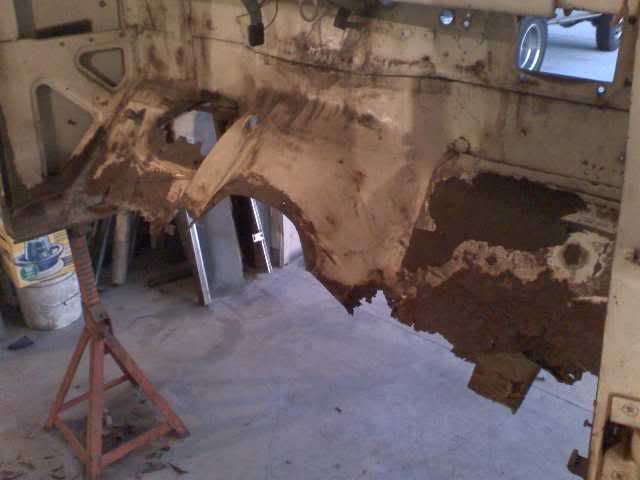
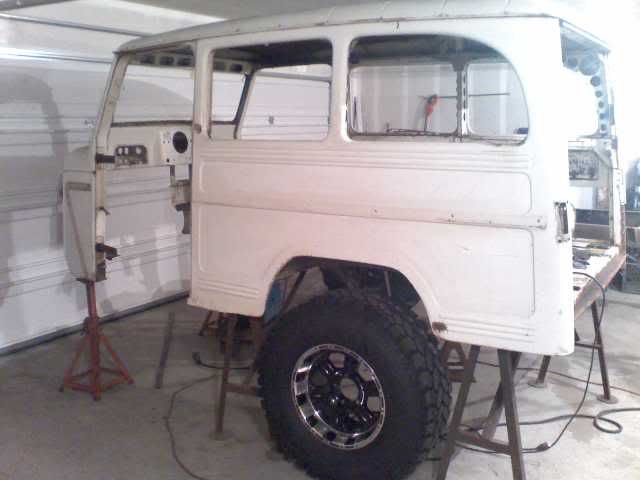
I knew if ever I bought another Willys wagon that I was going to do a complete resto on the body. Of course that means getting behind the rear fender wells where serious rust lurks. The poorly designed inner fender on these old wagons left a very vulnerable spot that dirt and moisture can get into.

The fender wells are double wall, so the only way to get to the rust is to remove the side panels. Fortunately, they are available new from Kaiser Willys, Walck's 4WD, and Willys America. In fact, the entire front floor and supporting structure is also available. Very cool and the prices are reasonable.

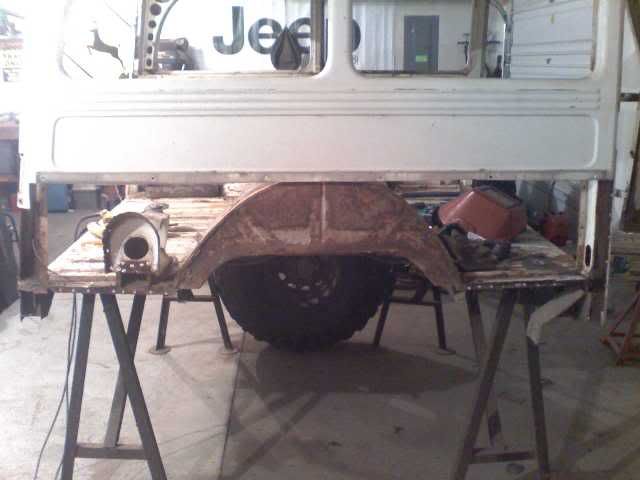
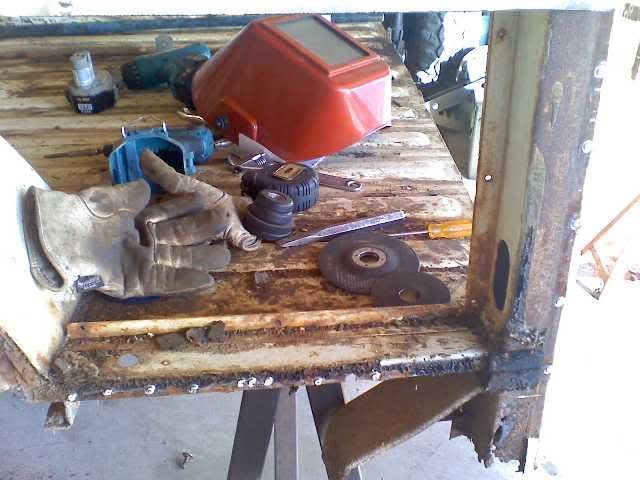
I bought a spot weld drill bit (cutter) and drilled out all the spot welds holding the lower half of the quarter panel on.

Quarterpanelremovedrust.jpg


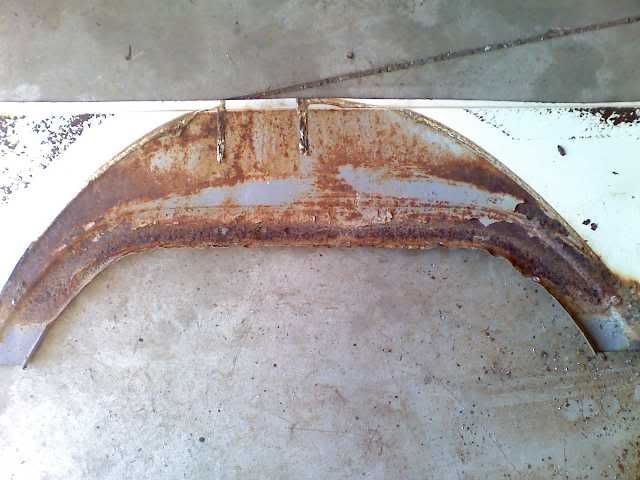
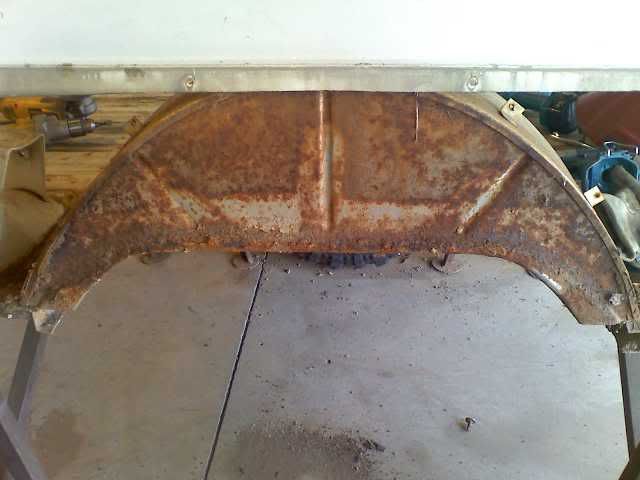
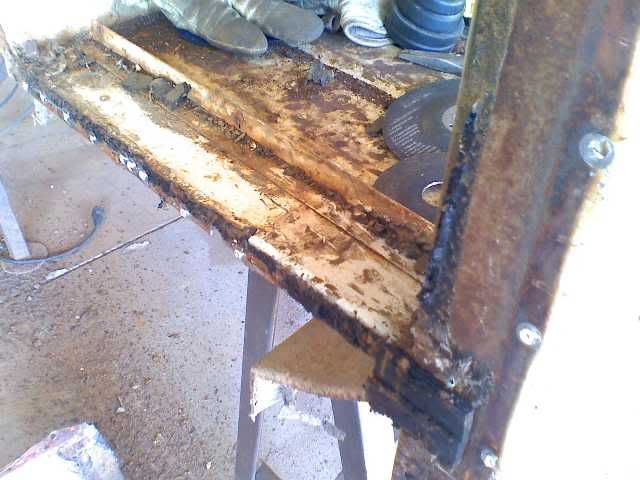
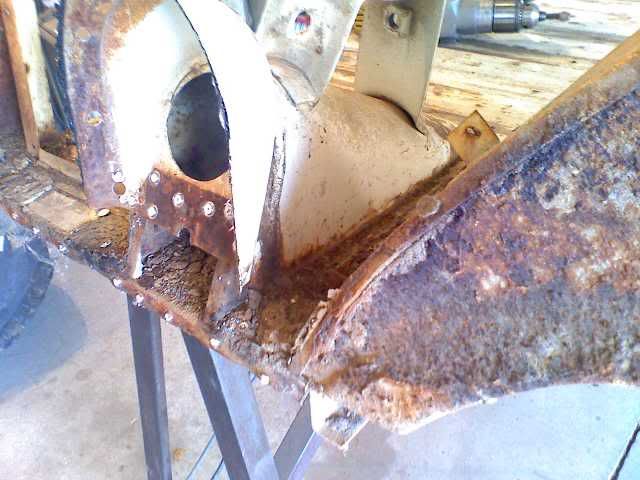
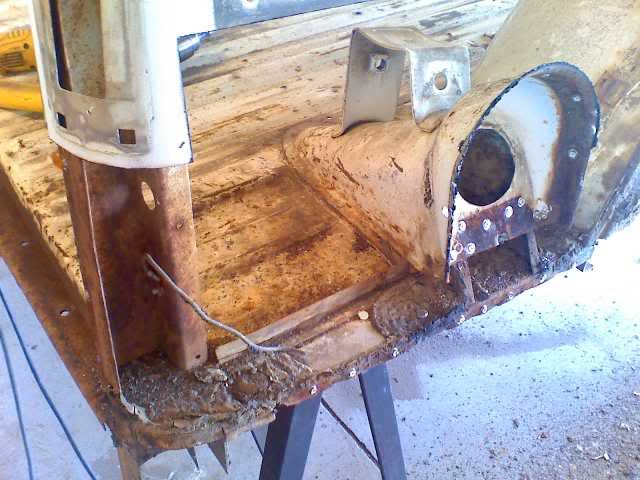
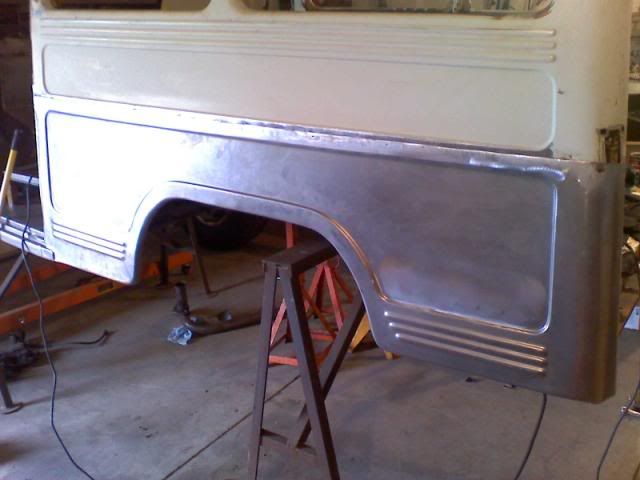
Just as I expected, it revealed some serious rust on the inner fender well and back side of the quarter panel.

Behindfenderwellrust.jpg


Inner fenderwell:

Fenderwellrust.jpg


Bpillarrust.jpg


Behindquarterpanelrust2.jpg


Fuelfillerrust.jpg


Behindcornerrust.jpg


By the time I was done I had more than a gallon of rust all over the floor. It was amazing. I then rebuilt some sections of the pillars as they were rusted through too.
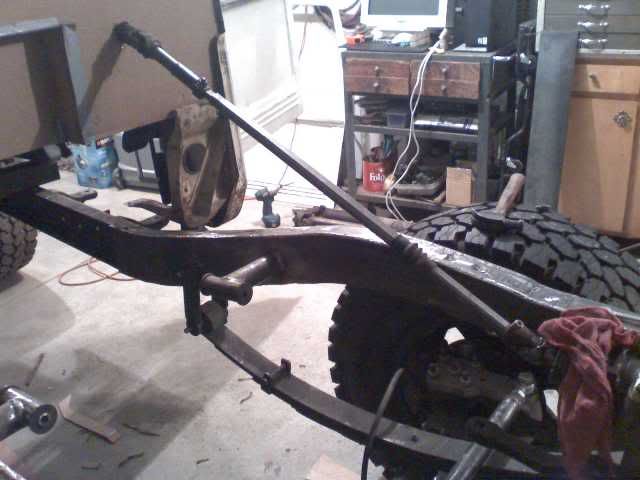
I got the XJ rear springs mounted. This was not a major task, but I had to perform some trickery to make everything work.

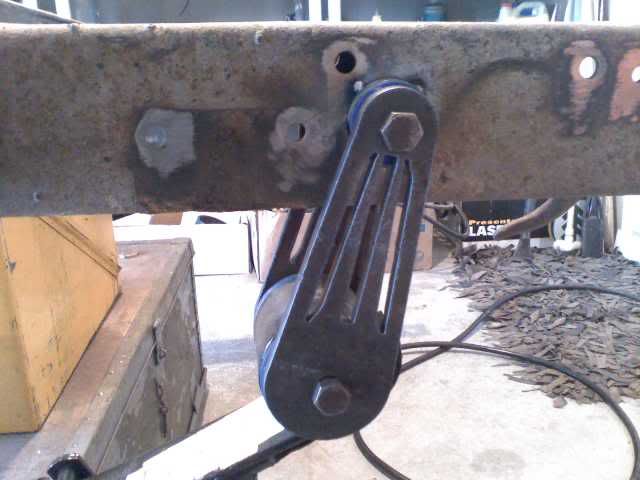
The center pin of the springs is offset and to mount the spring anchor under the frame meant it would end up right where the frame goes from a flat surface to an angled surface. This wasn't going to work obviously, so I had to figure out a way to maintain the correct axle centerline and wheelbase. So, I simply took the spring pack apart and flipped all but the main leaf around then drilled a new center pin hole in the main leaf. I then bolted the springs back together and everything lined up perfectly. Now the spring anchor is mounted on a solid surface.

I decided that I wanted a set of custom shackles to cover the large XJ rear spring bushings, so I drew one up on the computer and exported it out as a .dxf file then had them cut out on a water jet table.

CustomRearShackle.jpg


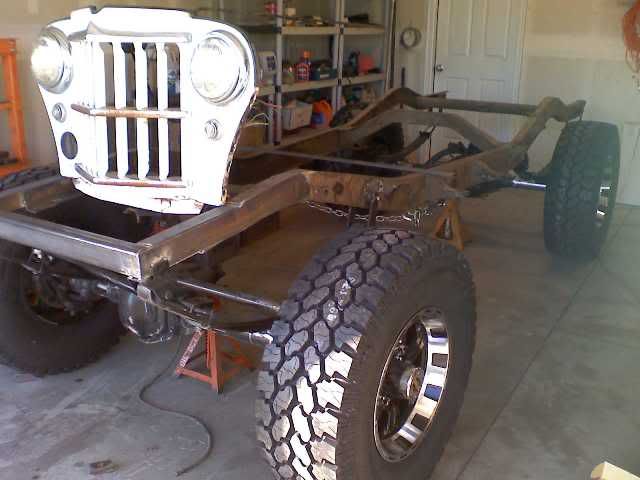
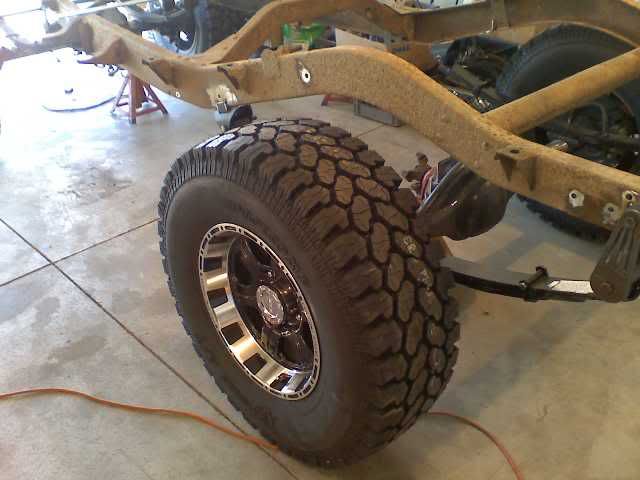
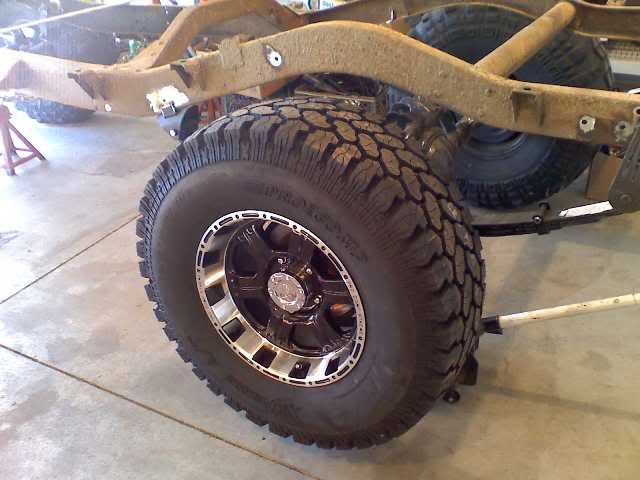
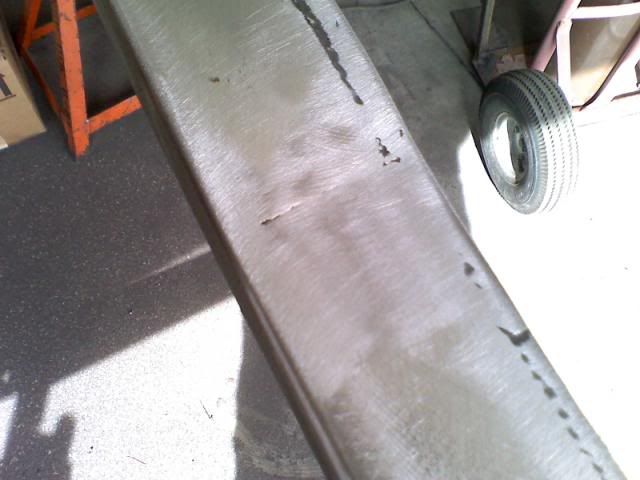
I bought 35x12.50x17 ProComp Extreme All Terrains and ProComp 8089 wheels with 4.75” backspacing. Later, you will see that I didn’t think these were big enough and I changed them out for 41’s.
NewTiresWheels.jpg


NewTiresWheels2.jpg


NewTiresWheels3.jpg


NewTiresWheels5.jpg


NewTiresWheels6.jpg


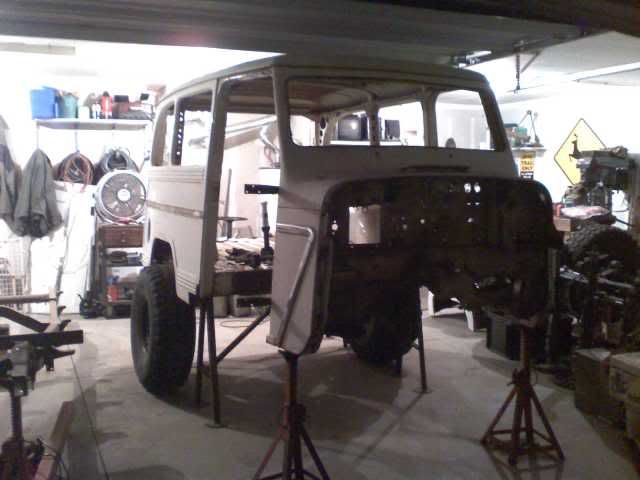
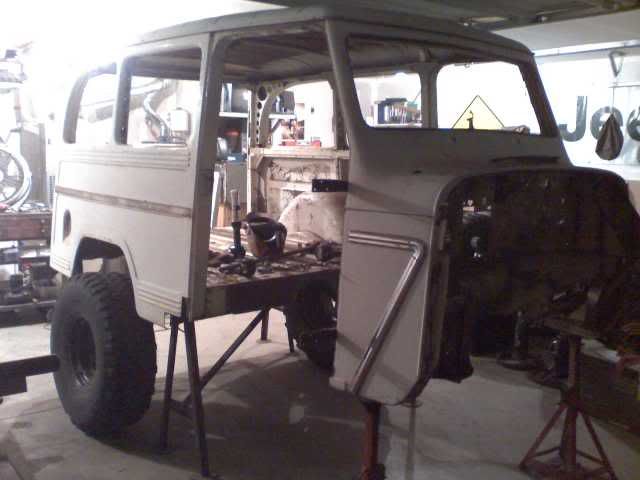
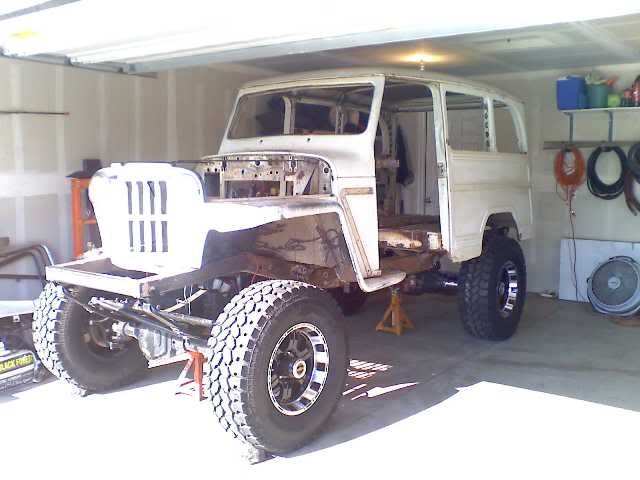
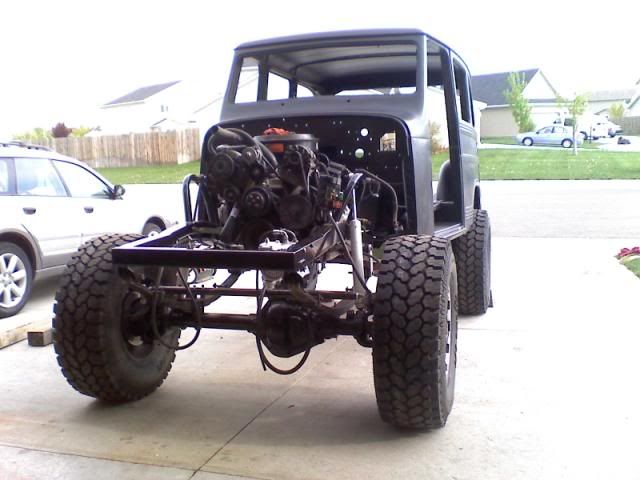
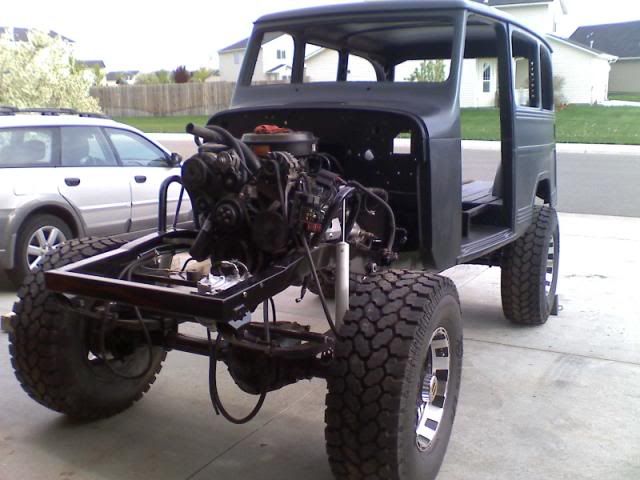
I got the body back on the frame for a mock-up and overall evaluation of the progress. It is obviously going to settle down about 3" more, but looks GREAT!!

Frontshotmockup.jpg


I just stood and drooled for about an hour after this stage! I just had to get it to this point so I could see some results from all the hard work.

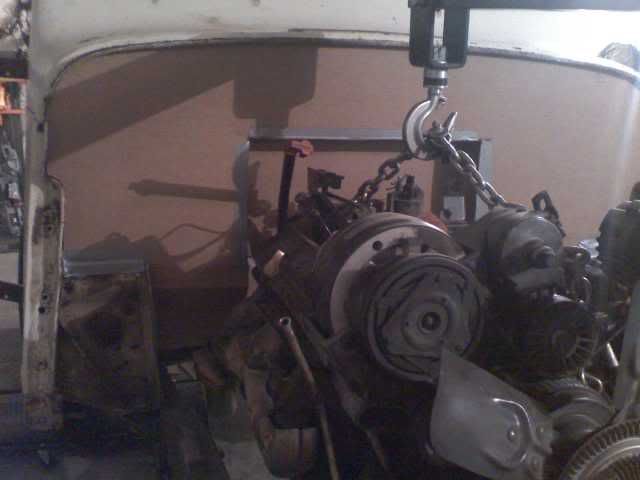
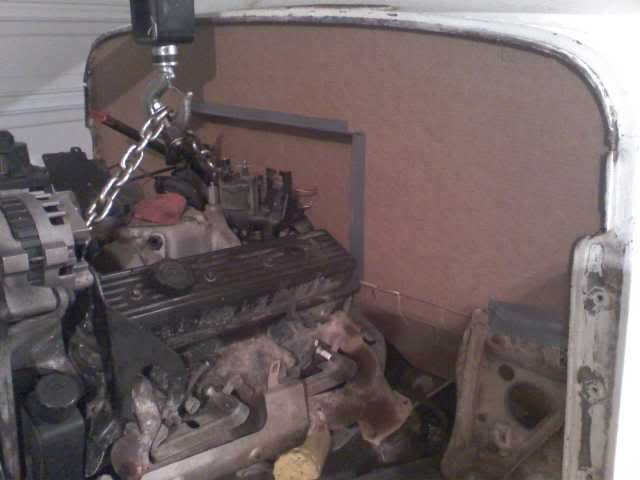
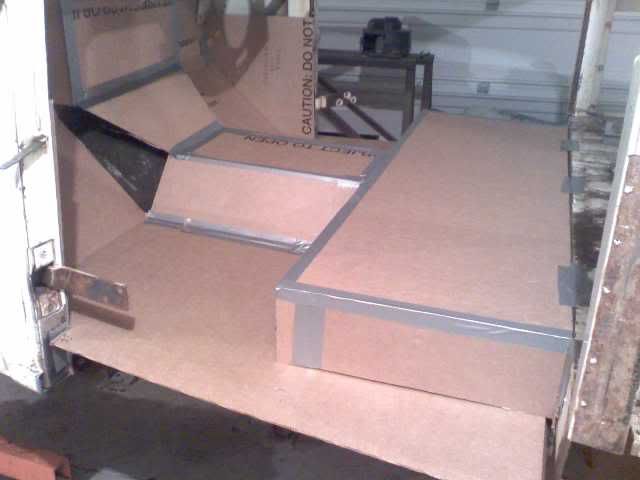
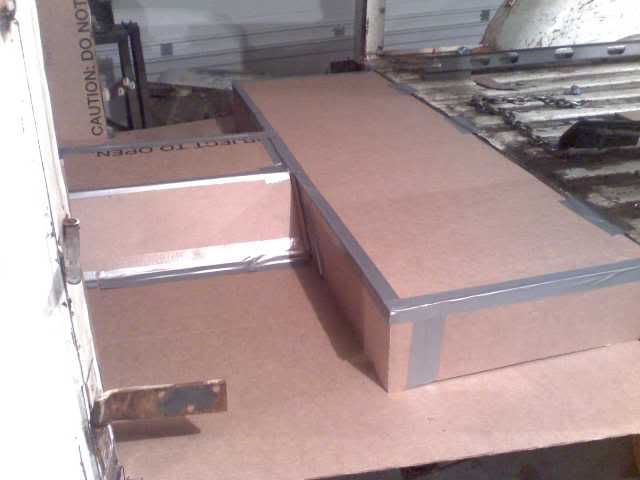
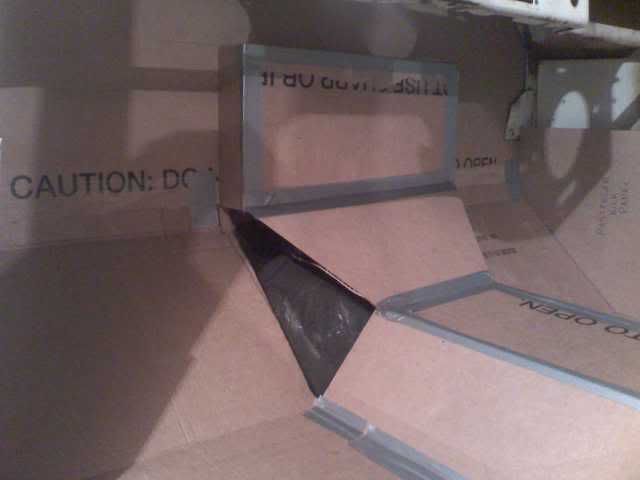
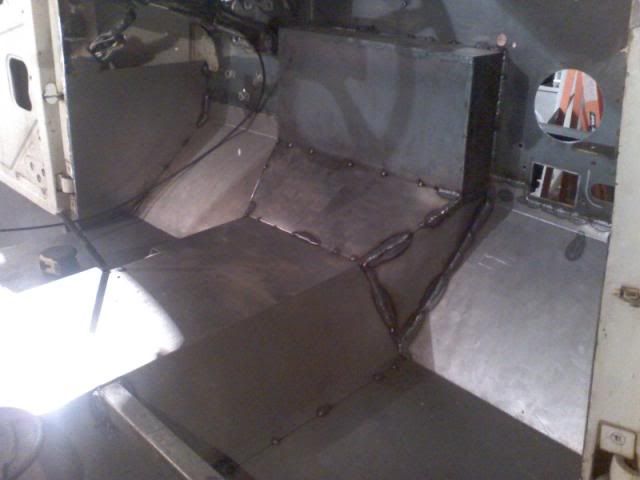
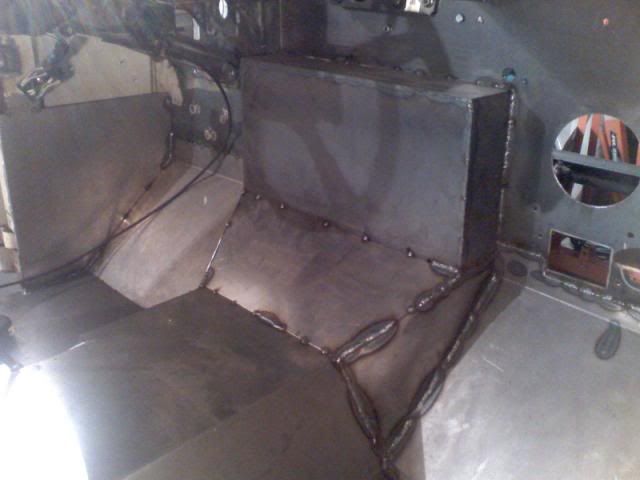
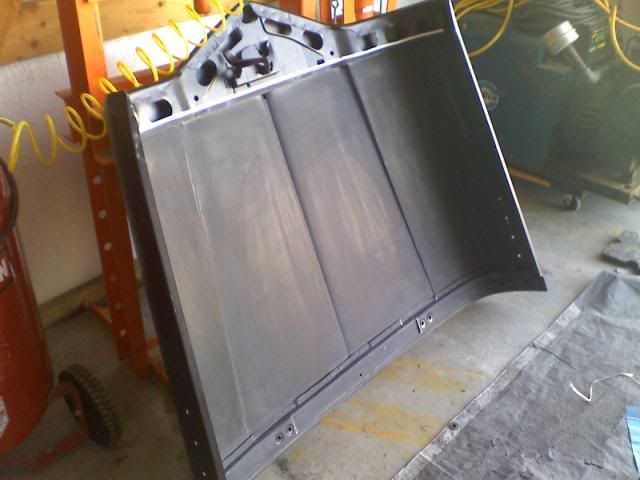
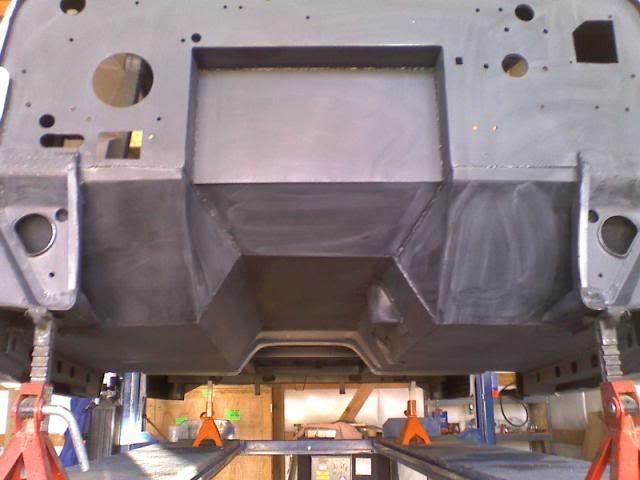
After I got the engine placement completed, I spent the rest of the day making cardboard templates of the floor, kick panels, and firewall. It turned out very nice and will be easy to build. I will go have the pieces sheared then weld them all together. Here are the photos of how it worked out.

Firewall4.jpg


Firewall5.jpg


Floor4.jpg


I decided to rebuild the original floor design with the tool box under the seats. But I may use it for batteries and speaker mounts. Not quite sure yet.

Floor3.jpg


Floor1.jpg


It took quite a bit of work to cut out the original floor, firewall, and kick panels.

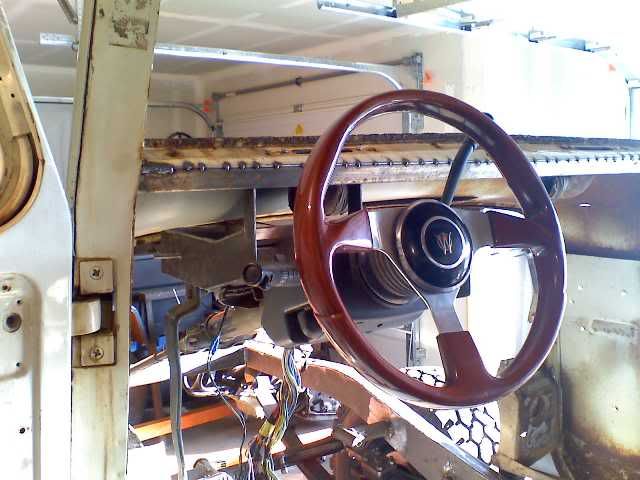
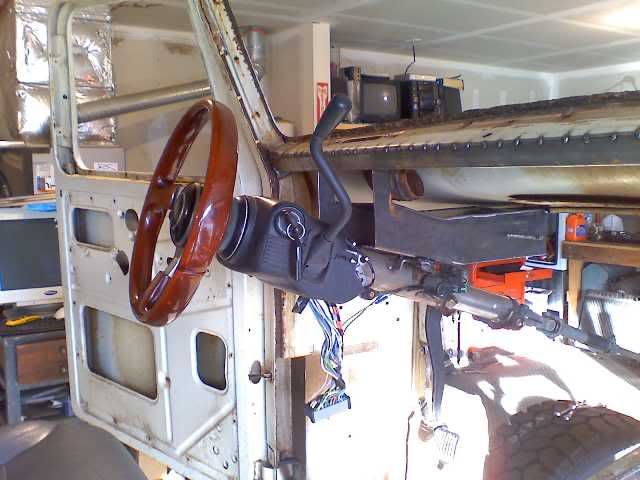
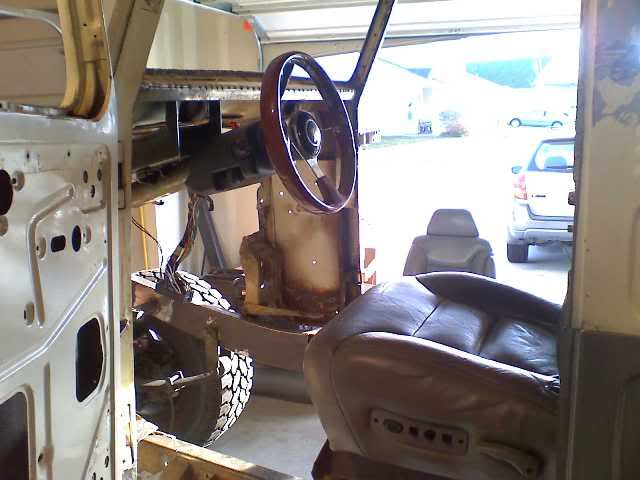
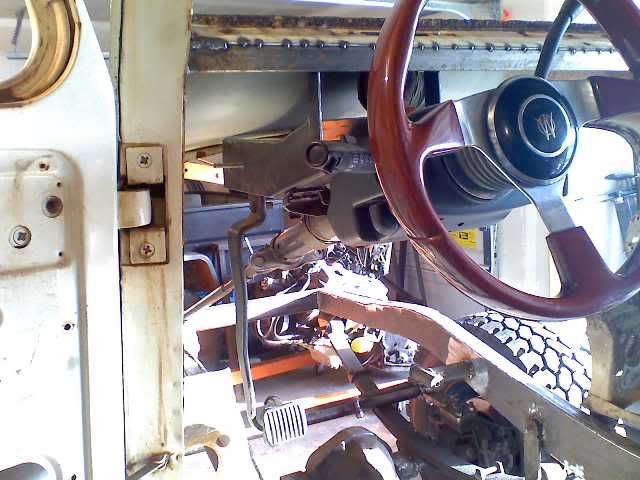
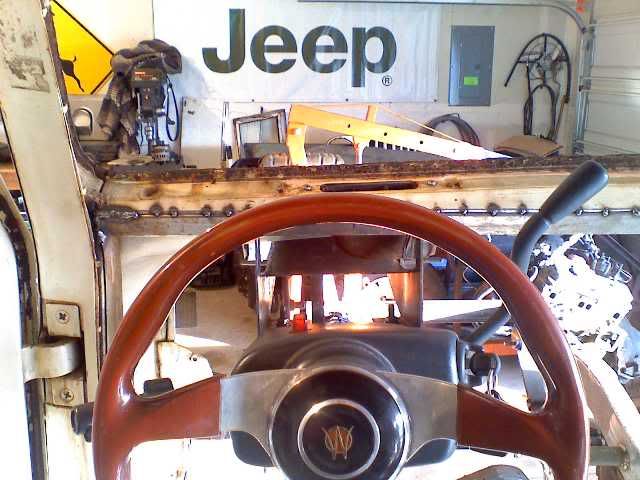
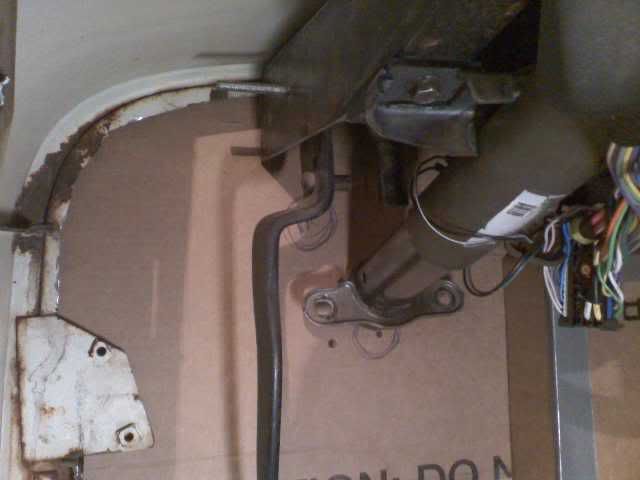
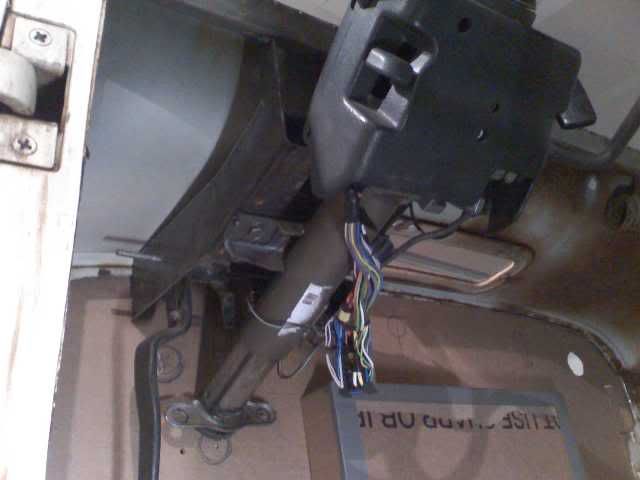
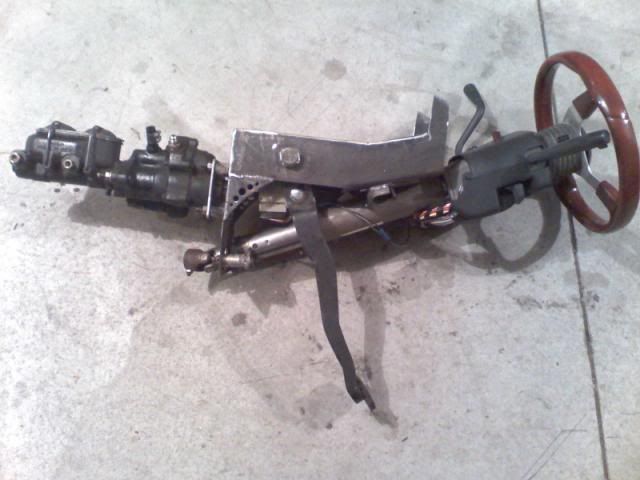
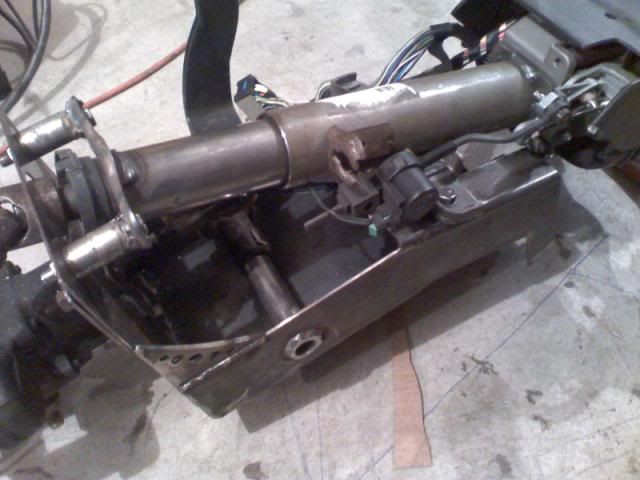
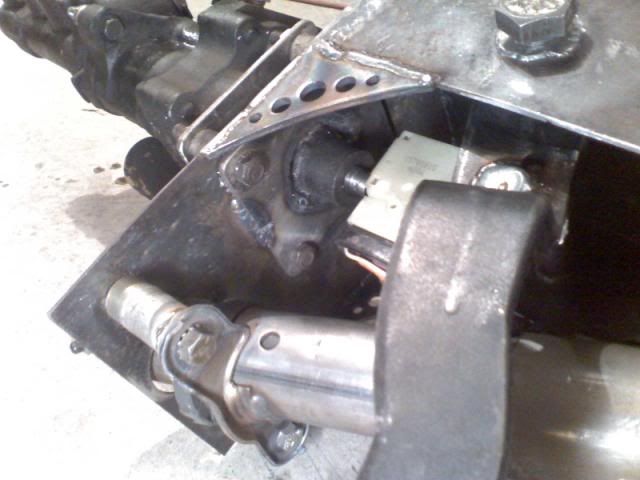
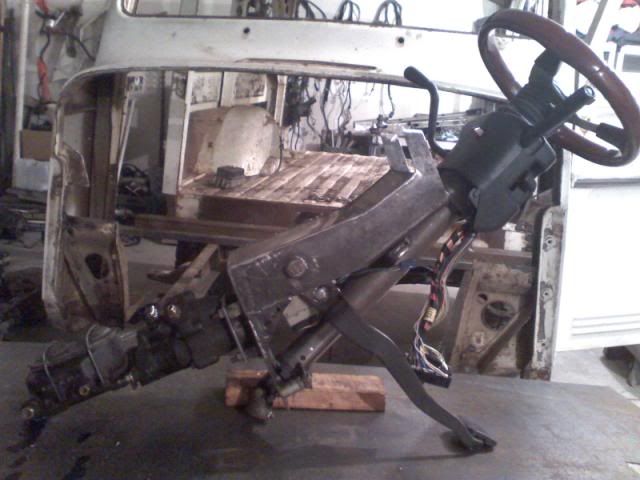
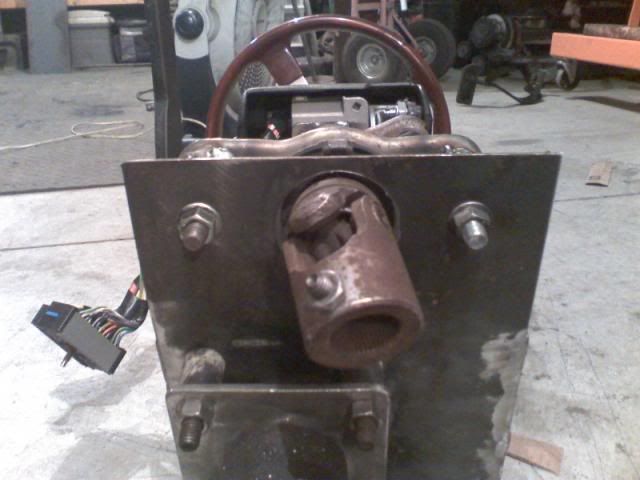
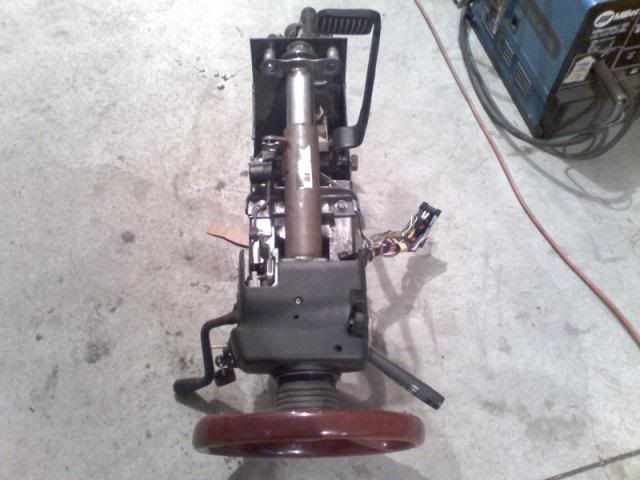
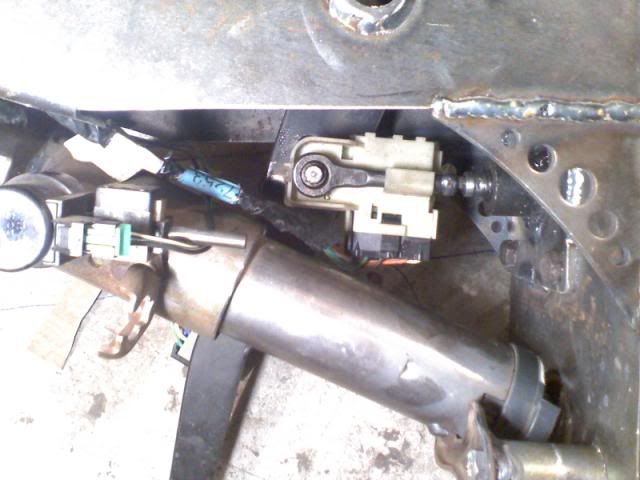
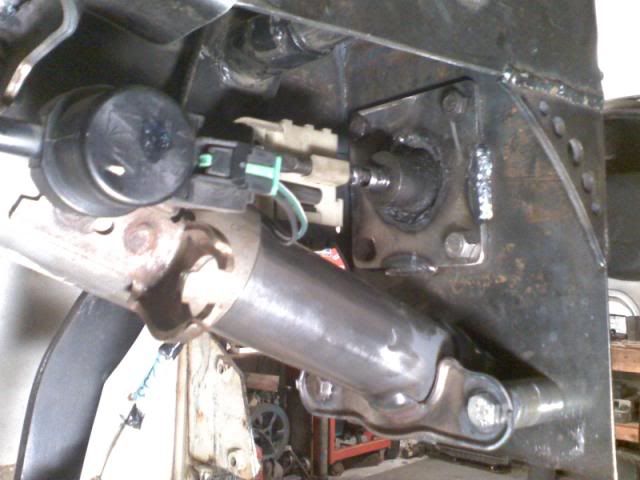
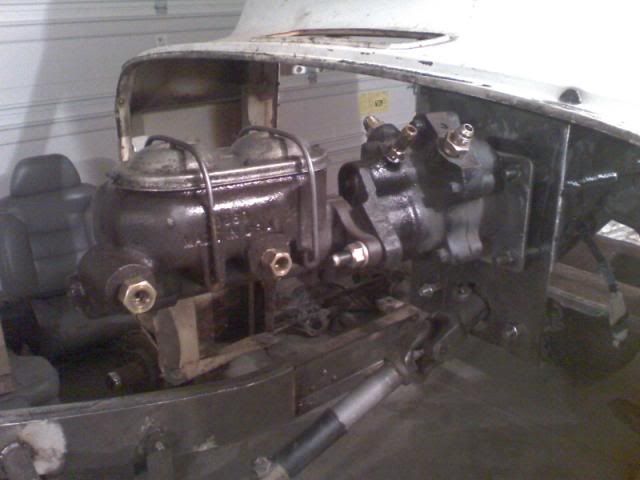
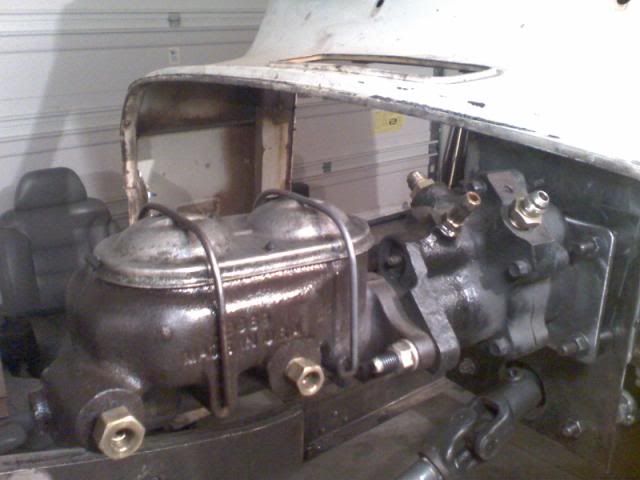
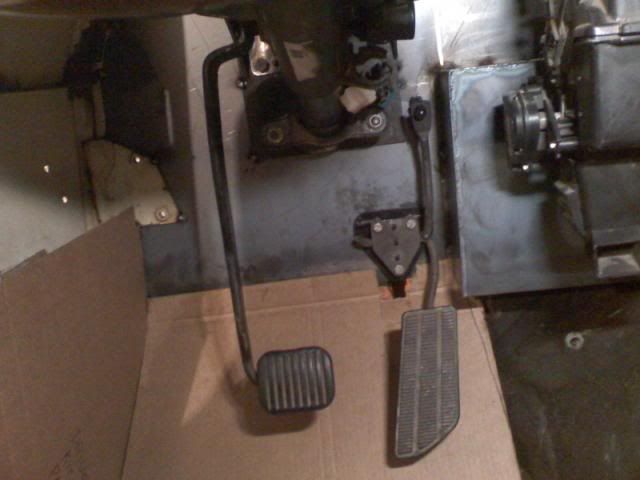
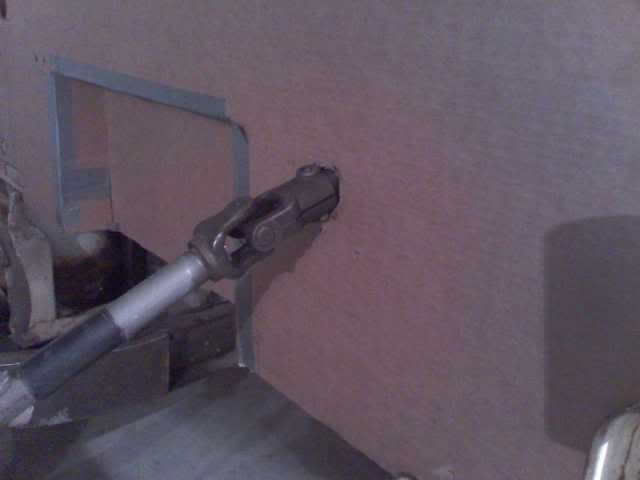
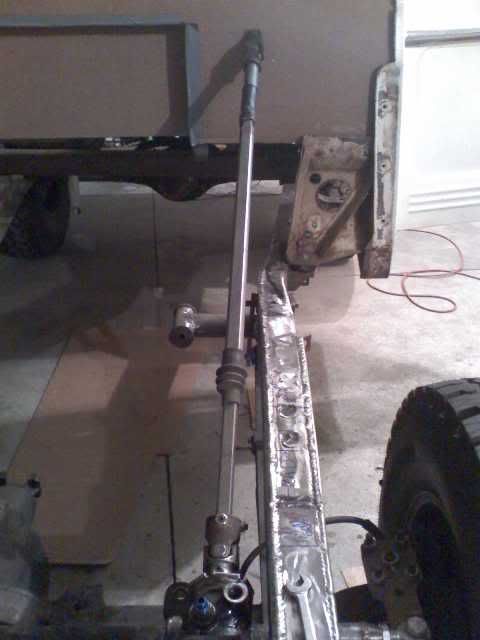
I built a custom bracket to mount my steering column, brake pedal, brake light switch, and hydroboost/master cylinder. It was quite challlenging. I had to build it to clear the hood hinges, pulley mechanism for the Willys wiper system and defrost vent.
ColumnIn.jpg


ColumnIn2.jpg


ColumnIn3.jpg


ColumnIn4.jpg


ColumnIn5.jpg


ColumnIn6.jpg


ColumnIn7.jpg


SteeringLinkage.jpg


LinkageConnection.jpg


LinkageConnection2.jpg


Ok, well I finished the steering column bracket. I built it into a combination bracket that now holds the steering column, brake pedal, and master cylinder/hydroboost. The cool thing is that I was able to build it so I could use the original Tahoe brake light switch. It has 6 wires coming into it, so it's not quite as easy as the old style 2 wire switches. Now it plugs right into the factory Tahoe harness.

The brake pedal is my old Commando pedal, but I drove out the master cylinder pin and replaced it with the pin from the Tahoe pedal. I wanted to use the Tahoe pedal, but it had some pretty funky angles that weren't compatible. I also used part of the push rod from the Tahoe vacuum booster and welded it to the rod from my hydroboost. The pedal is a little high right now, but that's easy to adjust. Once I get the floor in I will dial it in.

ColumnAssembly17.jpg


ColumnAssembly13.jpg


ColumnAssembly15.jpg


ColumnAssembly8.jpg


ColumnAssembly12.jpg


ColumnAssembly11.jpg


ColumnAssembly9.jpg


ColumnAssembly3.jpg


ColumnAssembly7.jpg


ColumnAssembly6.jpg


I bought sheet metal for the firewall and floor and headed home to get to work.

Firewall1.jpg


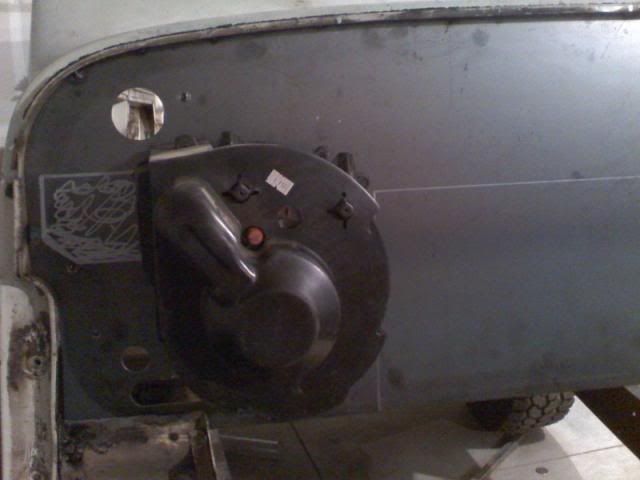
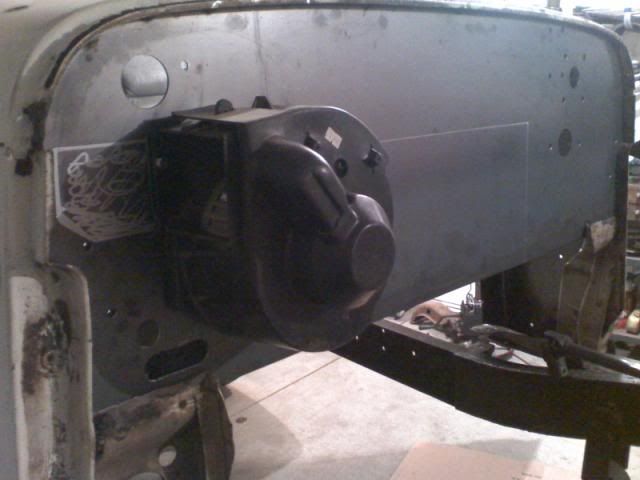
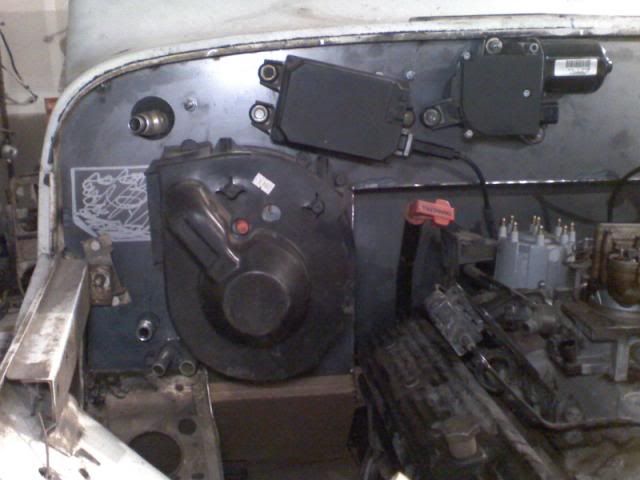
Heater/AC fan mounted

Fan1.jpg


Fan2.jpg


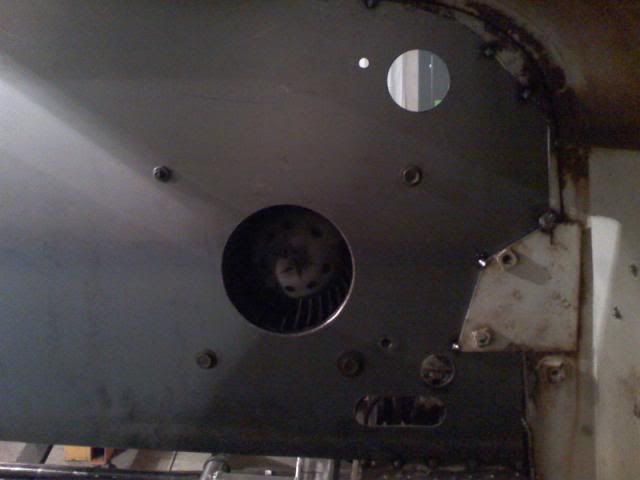
The suck side of the fan will pull air from inside the cab just behind the main heater/AC unit. There is a ton of room back there. At this time it will only work in recirculating mode. I just didn't have the room to install the fresh air mechanism.

FanInside.jpg


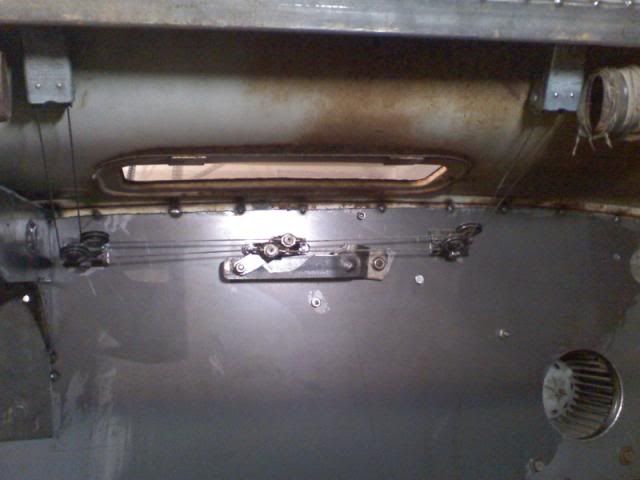
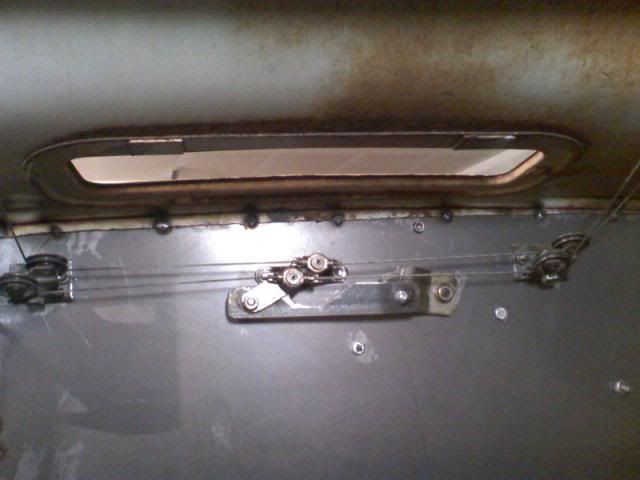
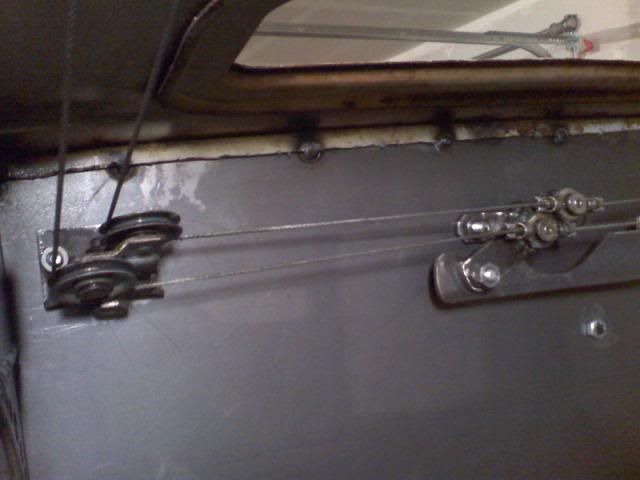
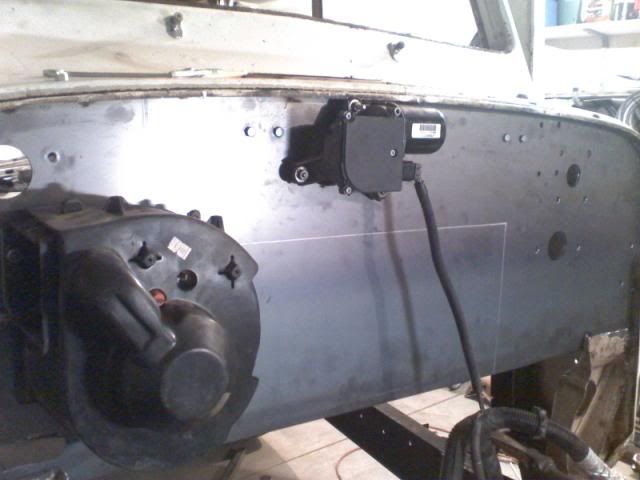
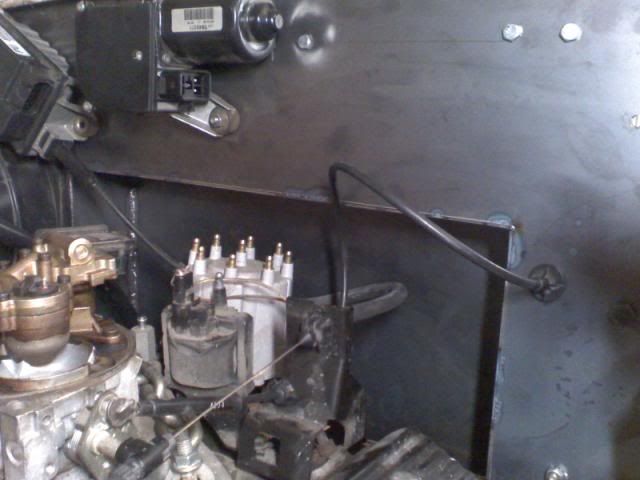
And the biggest news of the day! I got the wiper system completely done. It works SO awesome! The second I had everything hooked up I grabbed the wiring harness and plugged it in to the motor and column to see how it worked. It worked AWESOME!! I am so stoked about this!! Now that I know it all works perfectly, I will build a nice looking main link and clean everything up. It looks a bit clunky at this point.

WipersInterior1.jpg


WipersInterior2.jpg


WipersInterior3.jpg


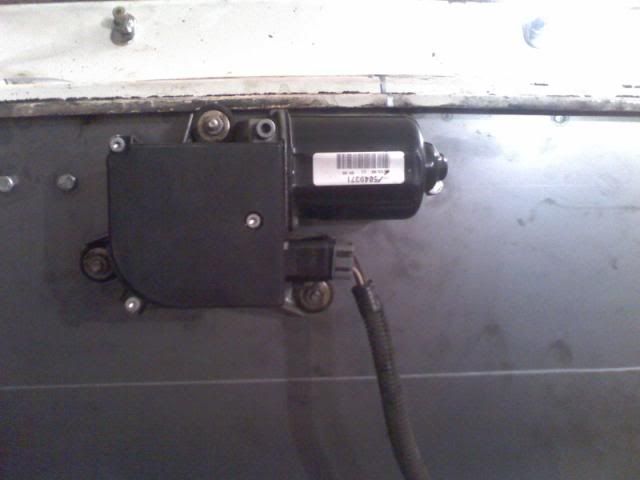
Wiper motor mounted. I had to mount it right at the top of the firewall. It doesn't look like I will have any clearance issues with the hood. I put it on and it cleared fine.

WiperMotor1.jpg


WiperMotor2.jpg


Throttlelinkage1.jpg


Pedals1.jpg


Cruisecontrol1.jpg


Milestone2.jpg


Milestone5.jpg


Milestone7.jpg


Wiring2.jpg


Dashtemplate2.jpg


DashDone1.jpg


DashDone2.jpg


DashDone3.jpg


Floor5.jpg


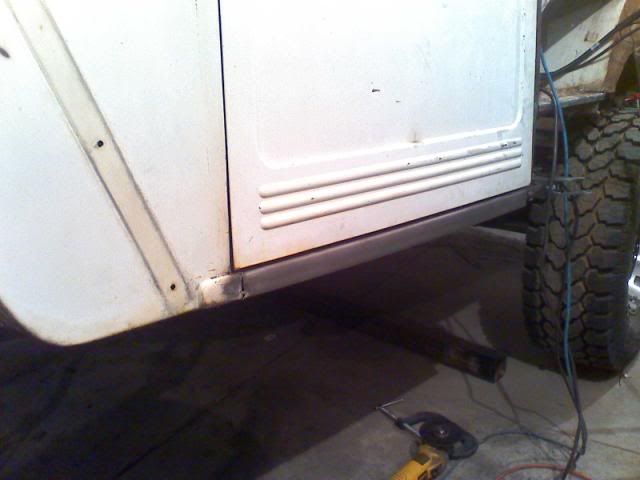
Rocker1.jpg


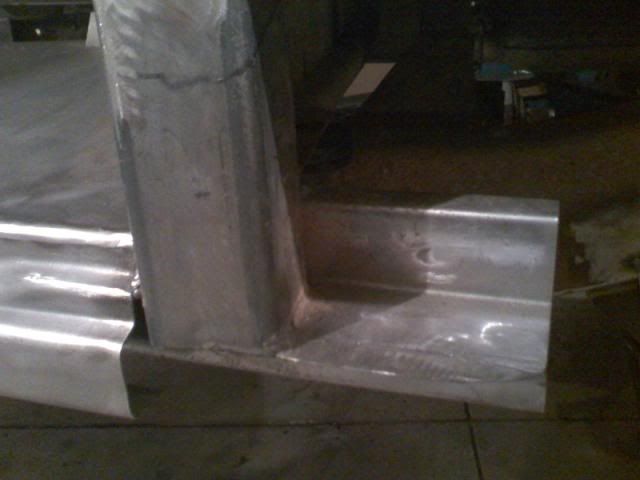
I had to replace the pillar at the door as it was rusted out.

Apillar1.jpg


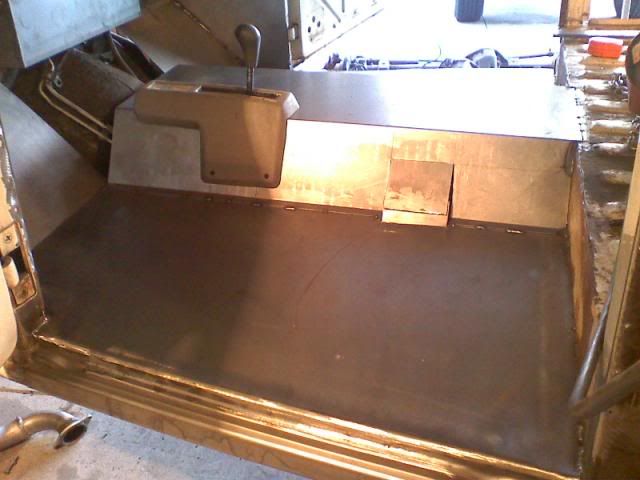
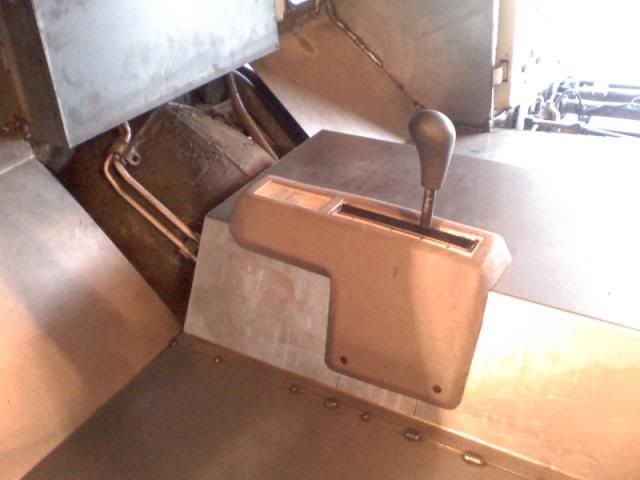
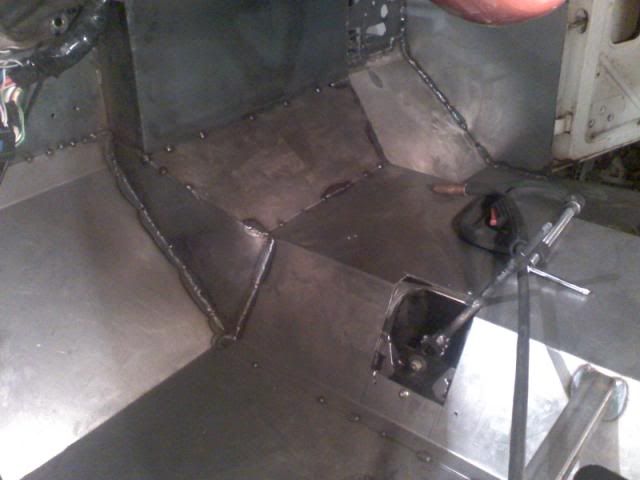
I also mounted the Tahoe t-case shifter. I just had to modify it a little to make it fit the tunnel, but it worked out well.

Floor6.jpg


Tahoeshifter1.jpg


Tahoeshifter2.jpg


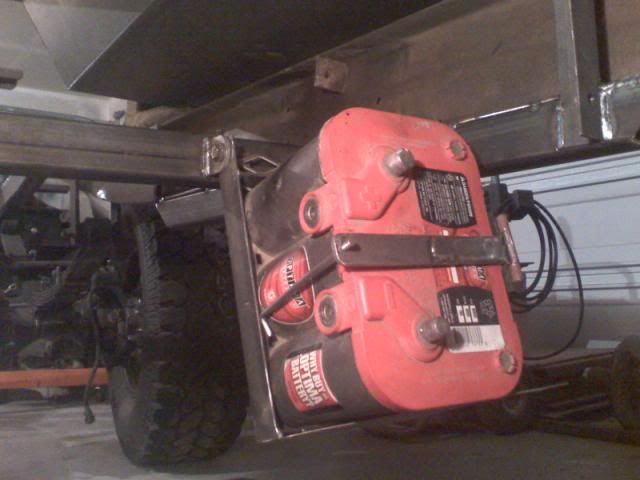
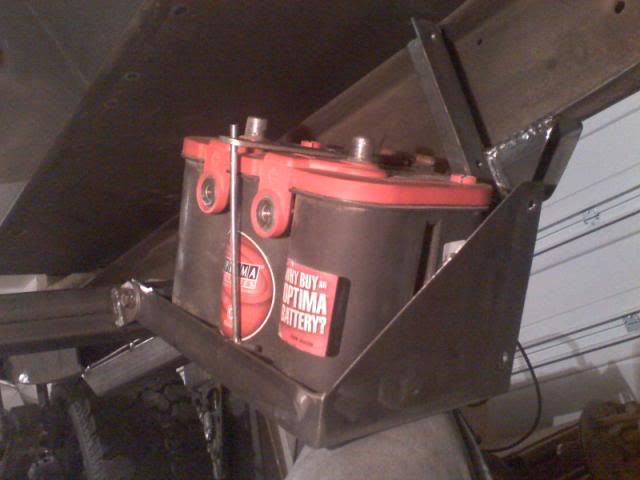
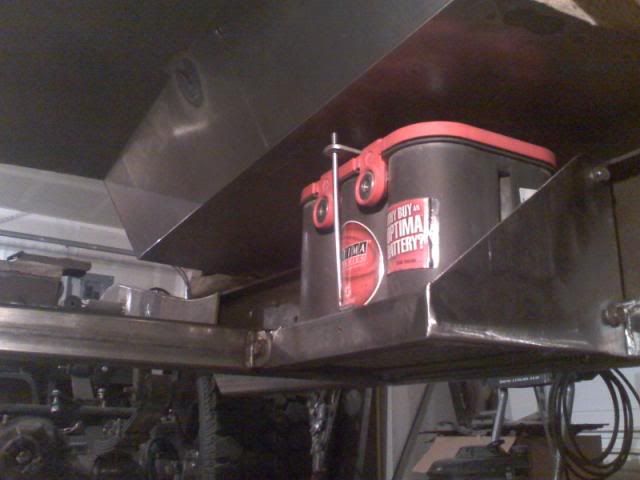
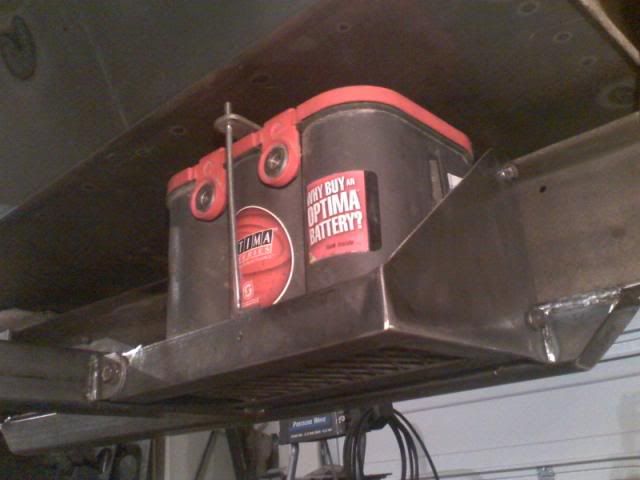
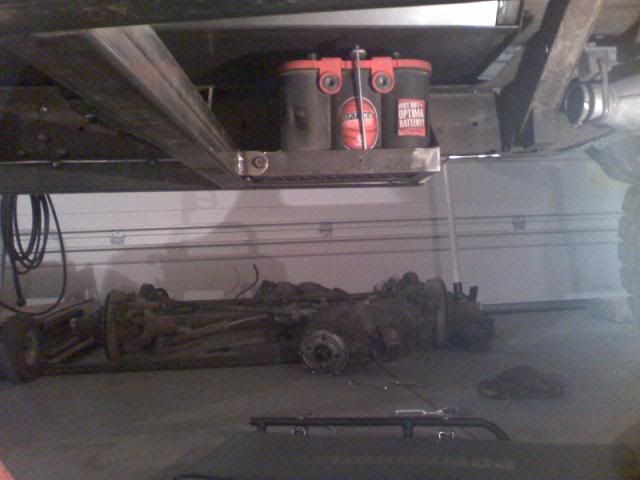
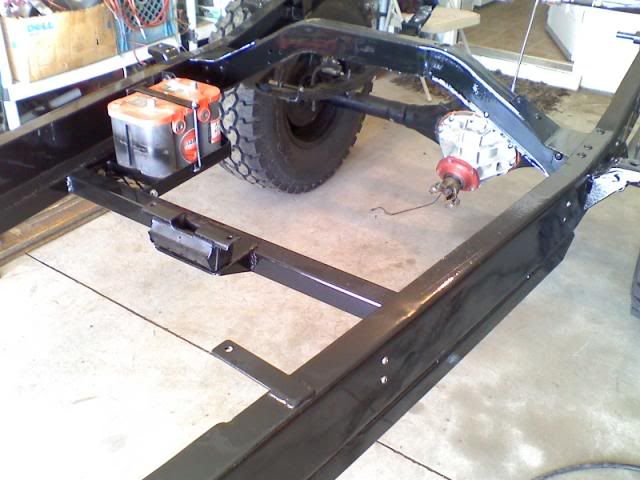
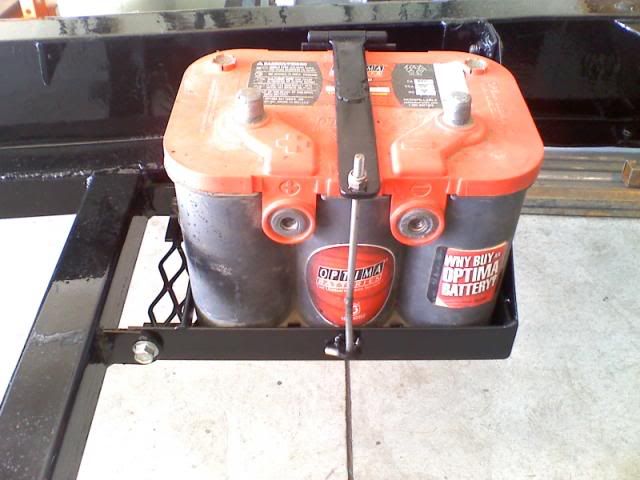
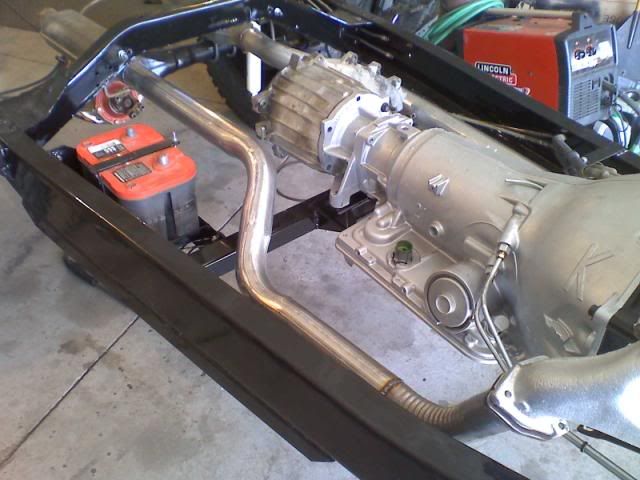
I built a custom battery box and mounted it underneath the body behind the cross member. I built it so it swings down for easy installation and removal. It is mounted right above the skid plate level.

Battery2.jpg


Going up...

Battery3.jpg


Locked in place...

Battery4.jpg


Battery5.jpg


Battery6.jpg


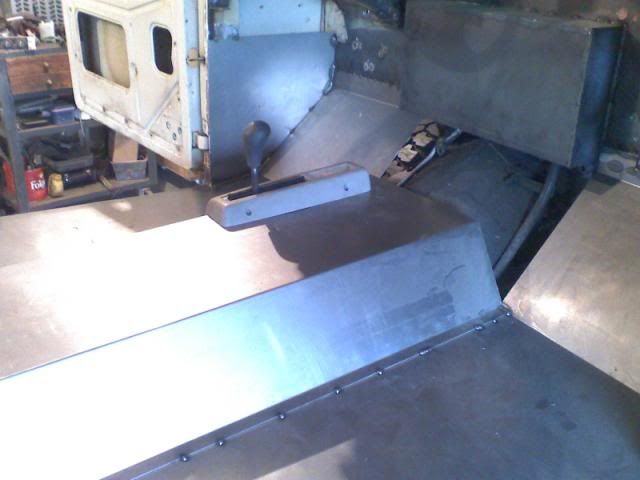
I finished the tunnel.

Tunneldone3.jpg


Tunneldone1.jpg


Tunneldone2.jpg


Motormount1.jpg


Motormount2.jpg


Motormount3.jpg


Motormount4.jpg


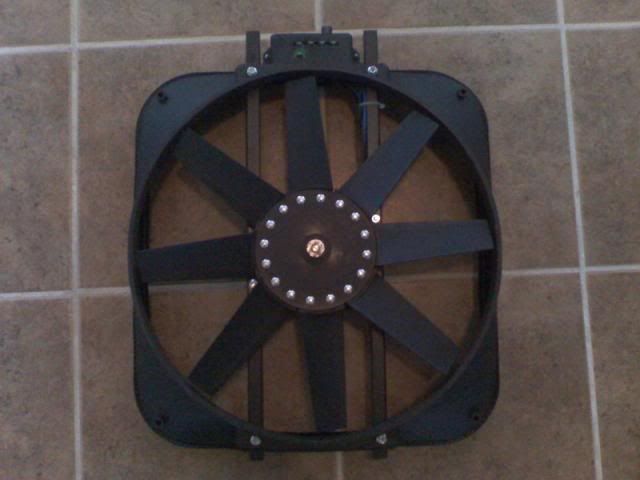
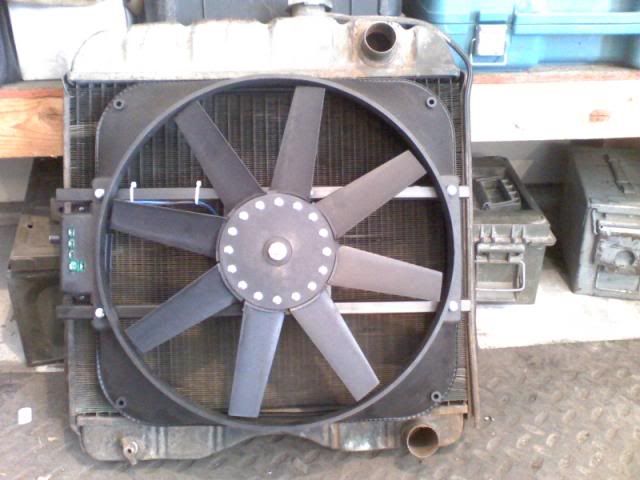
My electric fan.

Electricfan.jpg


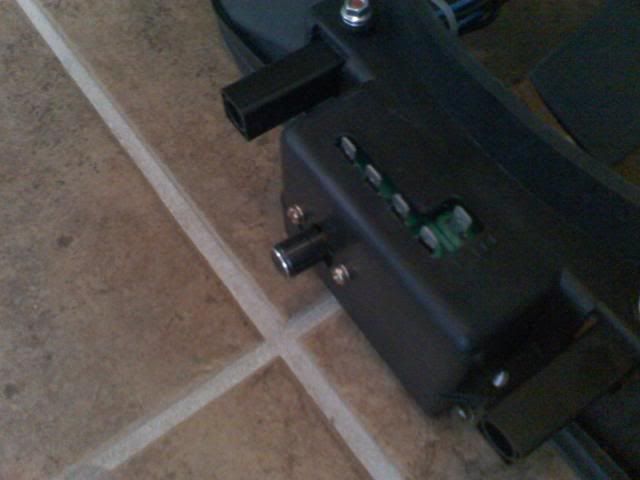
It has an adjustable thermostat.

Fancontrols.jpg


fanmountingsurface.jpg


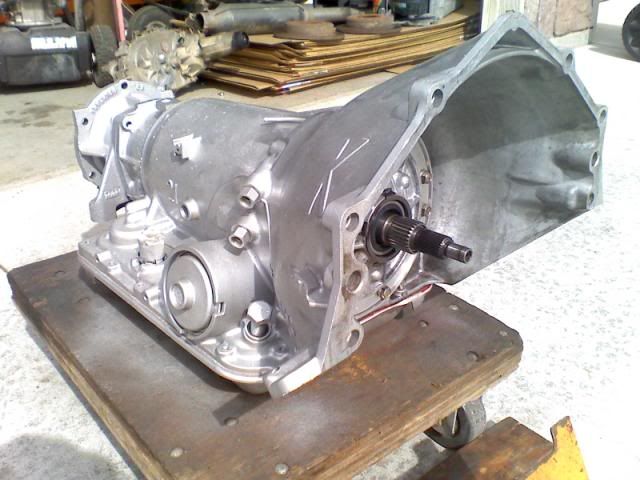
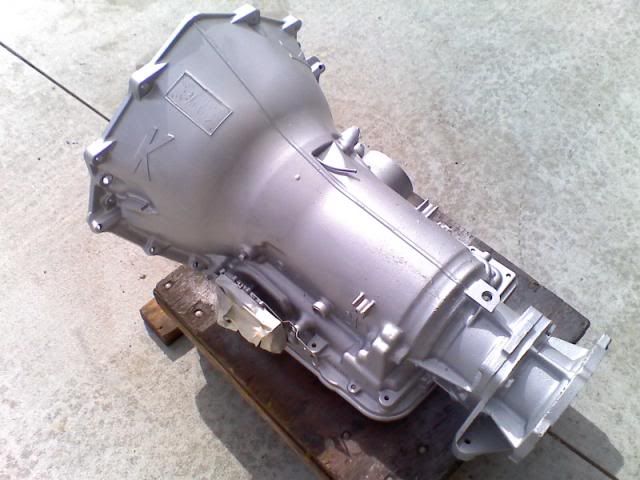
My new 4L60E with all the best components.

4L60E.jpg


4L60E2.jpg


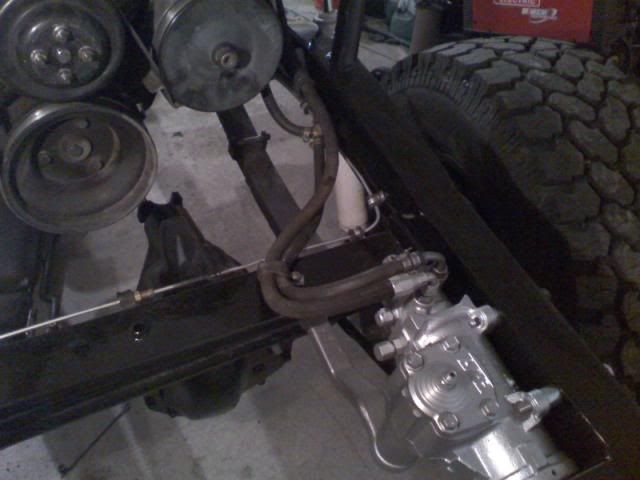
Completed power steering box mounting. The two top bolts run through the frame and the bottom bracket is integrated with the front spring anchor.
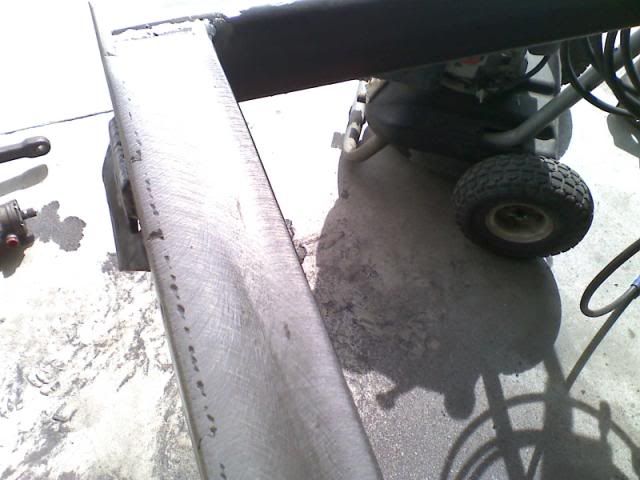
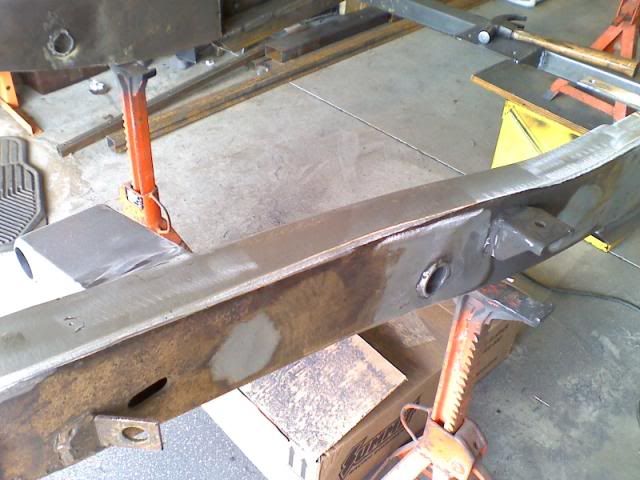
PSboxmount1.jpg


PSboxmount2.jpg


Before

Roughframe1.jpg


Roughframe2.jpg


After

Smoothframe2.jpg


Smoothframe3.jpg


Sandedframe.jpg


I bought the POR 15 straightline filler for all the little welding pits and imperfections in the frame.

Frameprepped.jpg


Frameprepped2.jpg


Smoothframe.jpg


Springhanger.jpg


Framefront.jpg


Grillesupport.jpg


Grillesupport2.jpg


Axlesdone.jpg


Shock towers.

Shocktowers.jpg


Shocktowers2.jpg


Shocktowers3.jpg


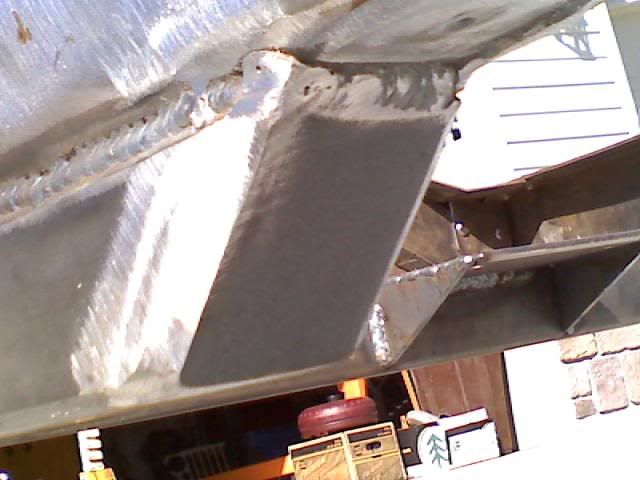
The crossmember/skidplate supports.

Boxedends.jpg


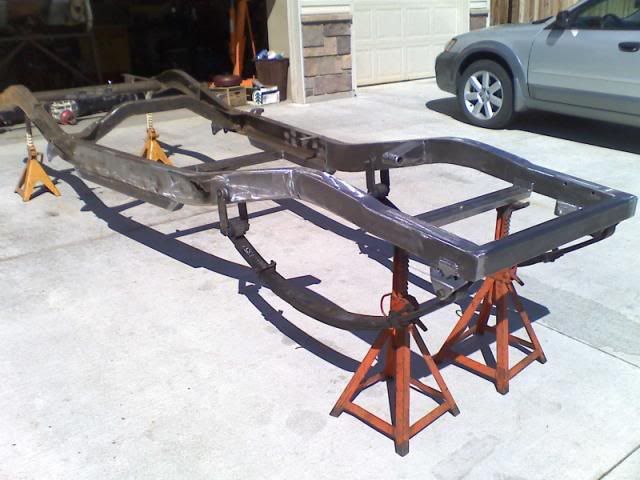
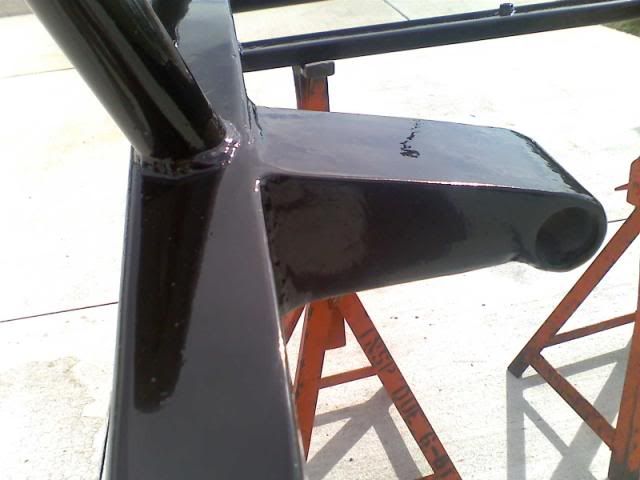
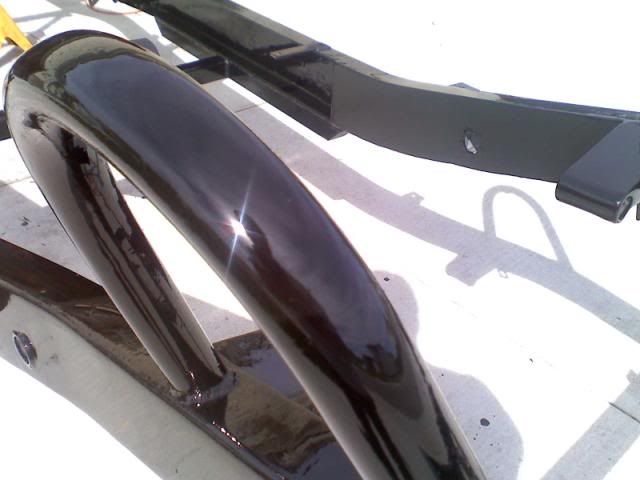
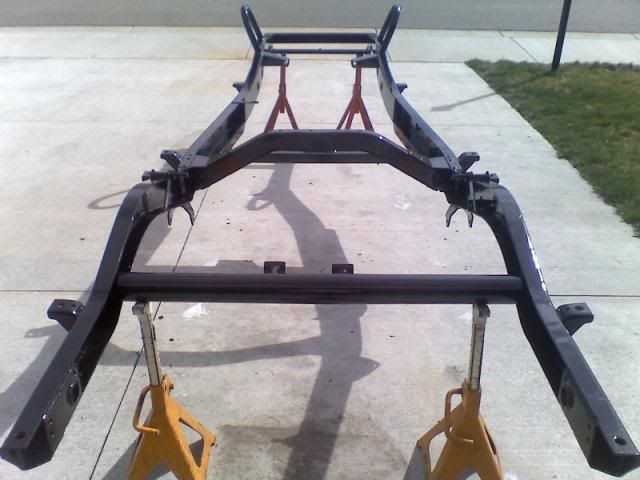
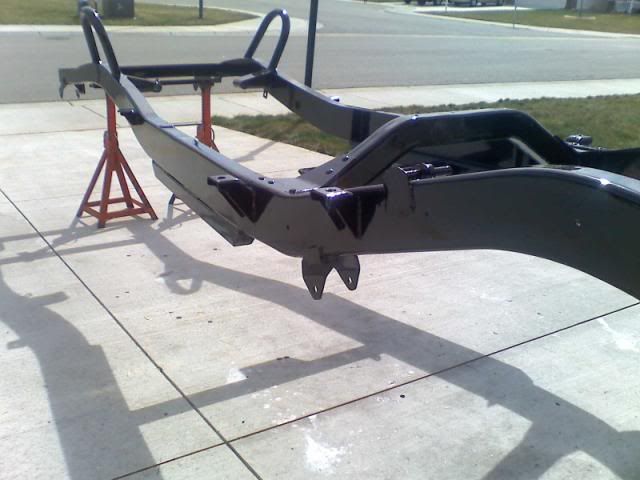
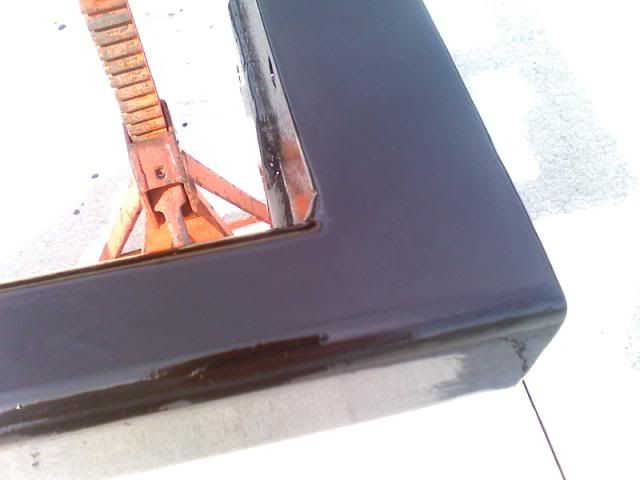
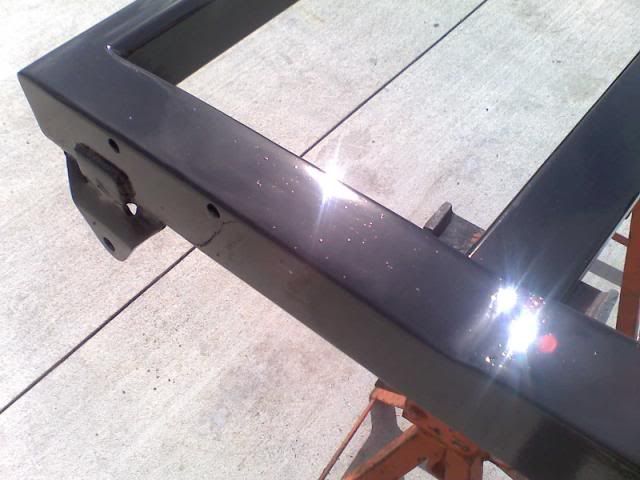
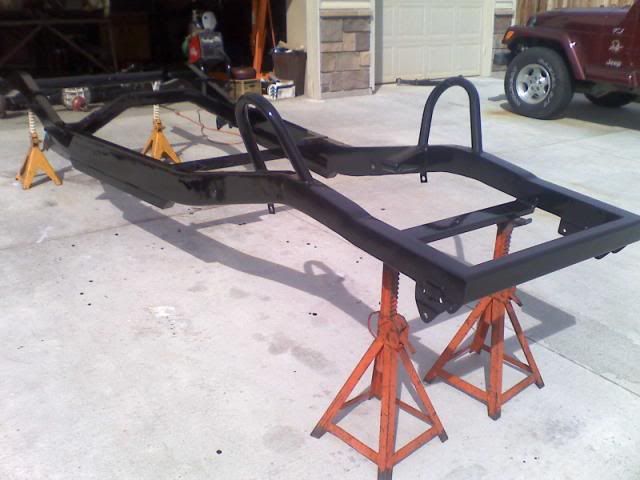
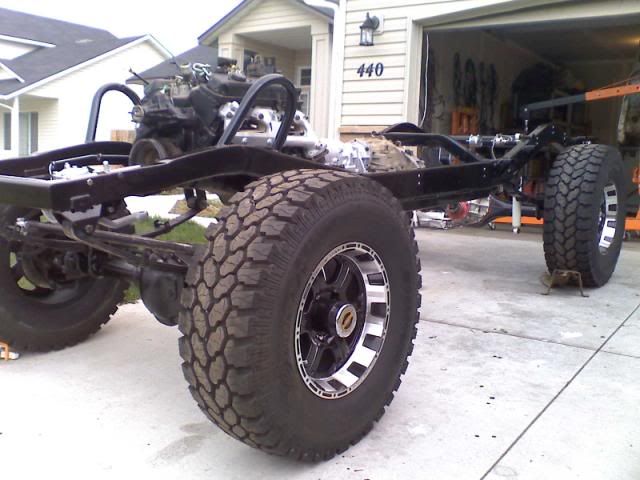
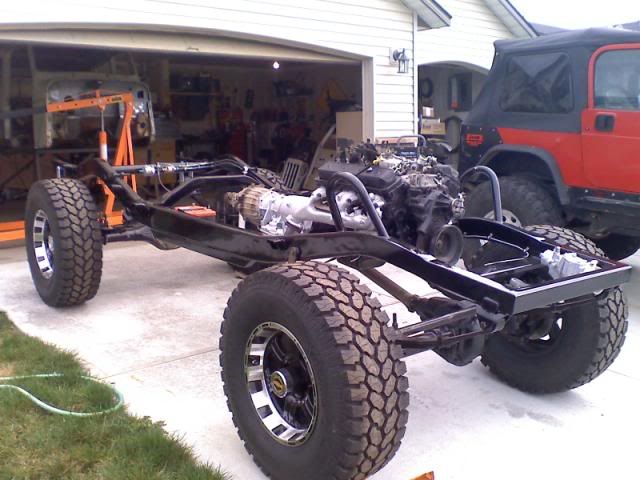
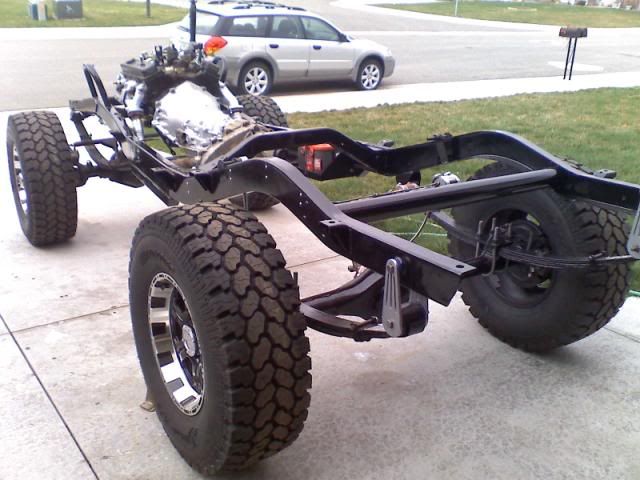
Completed frame! A TON of work for sure, but all in all, it came out very nice.

Paintedmotormount.jpg


Paintedshocktower.jpg


Paintedframe.jpg


Paintedframe2.jpg


Paintedframe4.jpg


Paintedframe5.jpg


Paintedframe6.jpg
 
Final construction begins…

Finalconstruction.jpg


Finalconstruction2.jpg


Finalconstruction3.jpg


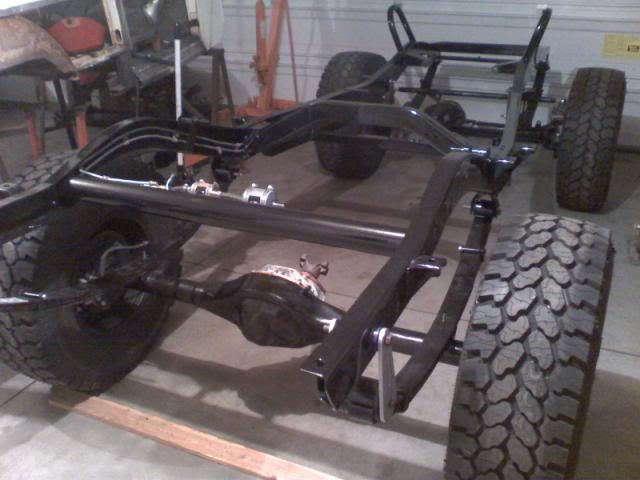
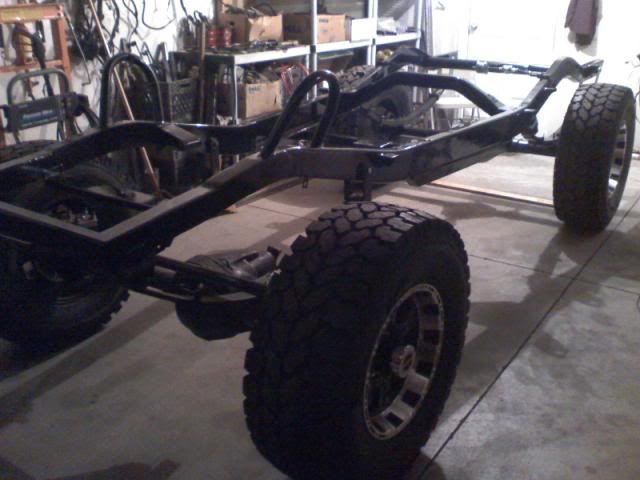
Going together nicely. I drilled and tapped the frame for 1/4-20 SS screws and rubberized clamps for holding the brake and fuel lines in place.

Batterymounted.jpg


Batterymounted2.jpg


PSboxmounted2.jpg


PSboxmounted.jpg


Frontaxlemounted.jpg


Enginemounted3.jpg


Enginemounted2.jpg


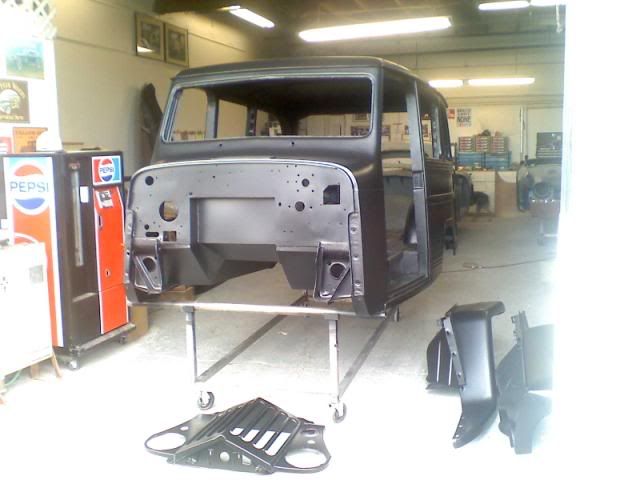
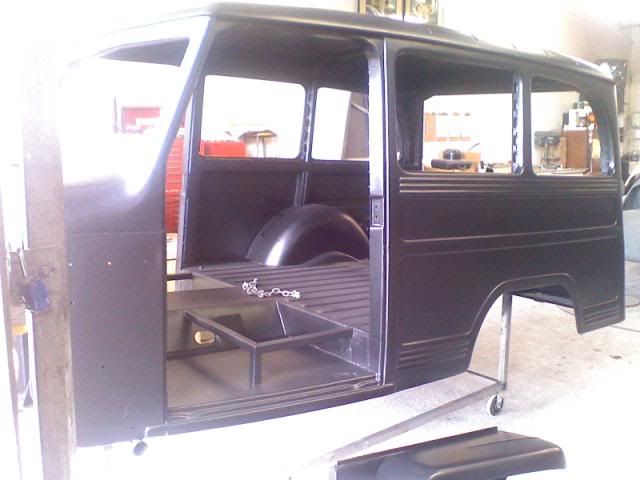
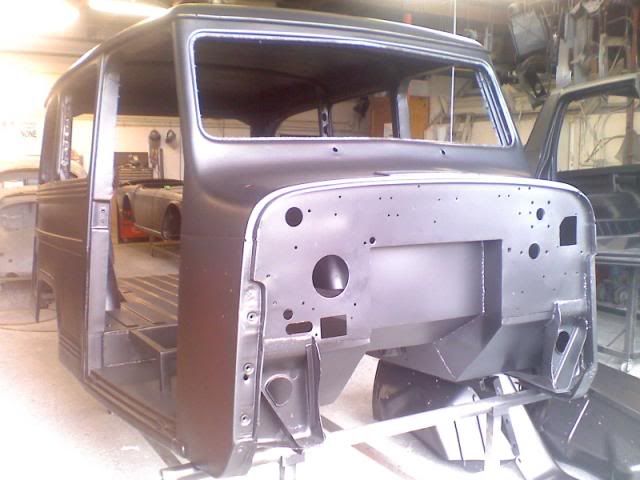
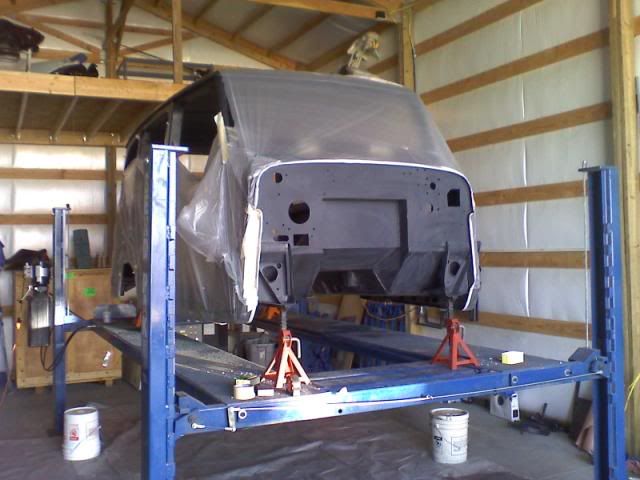
At this stage, I scheduled the acid dip, phosphorous coating, and DP90 black epoxy primer at Sylvestre’s in Eugene, Oregon.

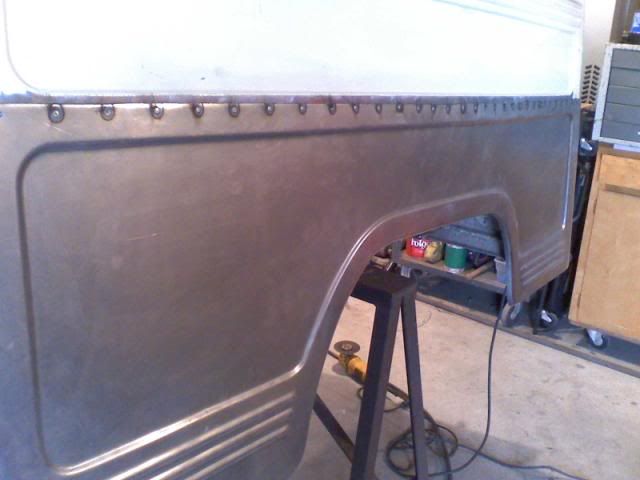
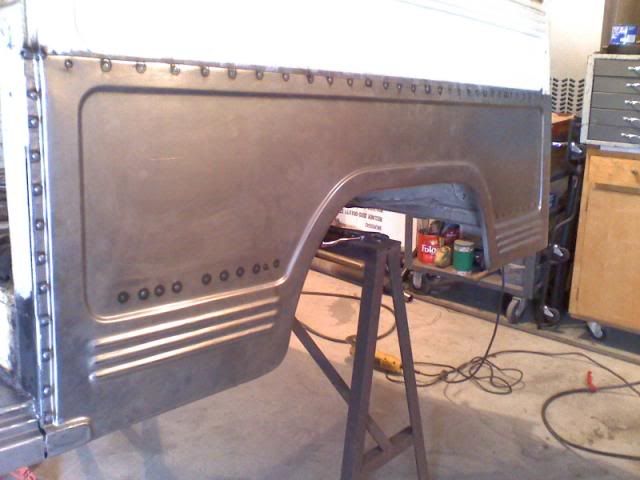
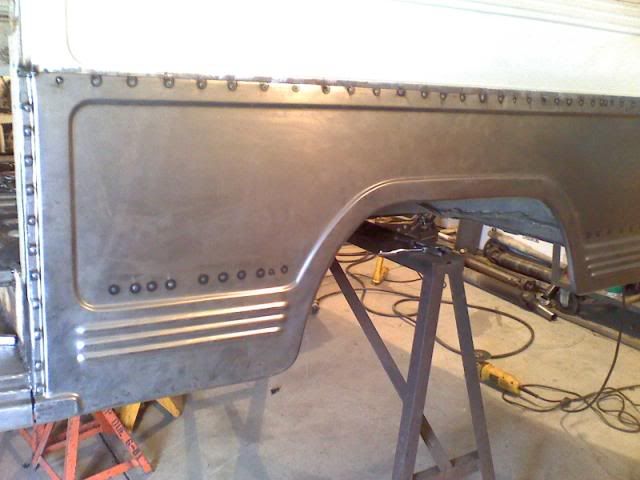
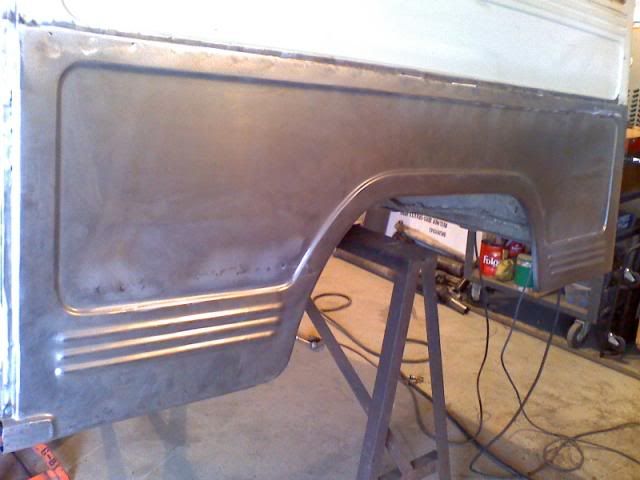
First quarter panel is now complete except for cutting out the tail light opening.

Quarterpaneldone.jpg


Quarterpaneldone2.jpg


Quarterpaneldone3.jpg


Quarterpaneldone4.jpg


Quarterpaneldone5.jpg


Chassis.jpg


Chassis2.jpg


Chassis3.jpg


Chassis4.jpg


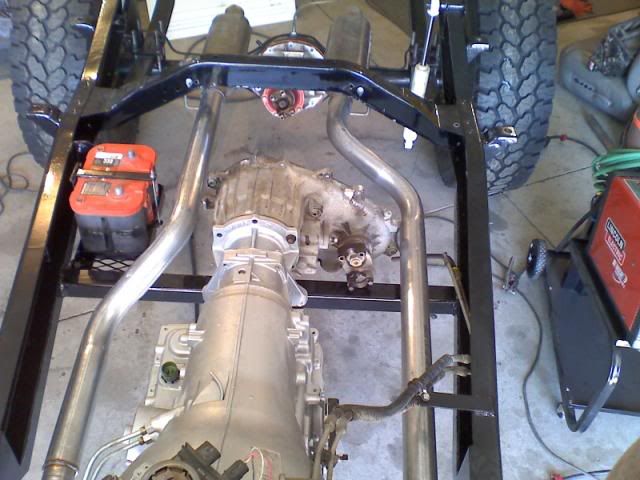
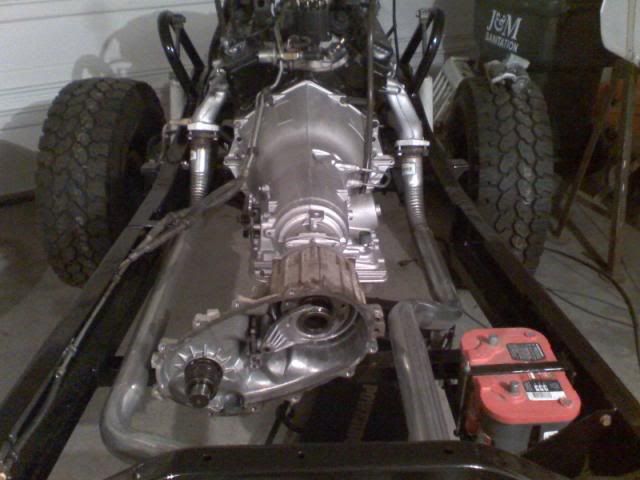
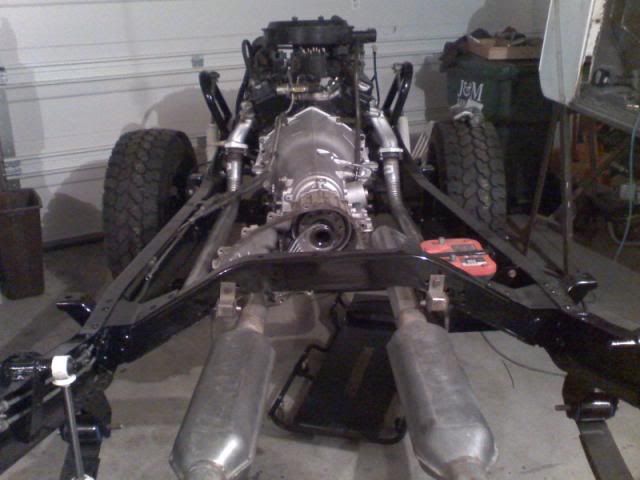
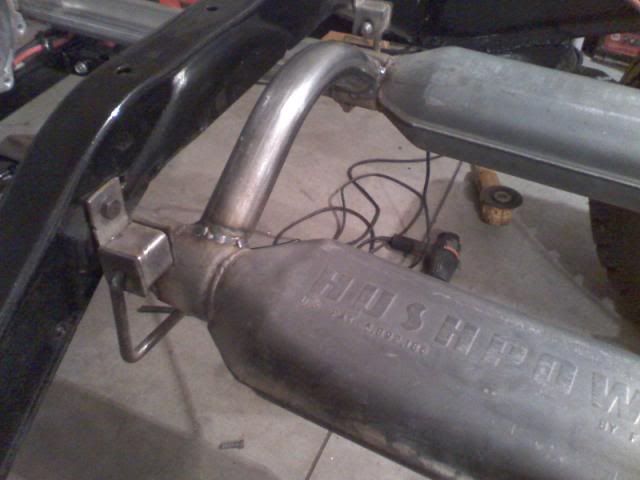
Some pics of the exhaust. I just bought some elbows at the auto parts store then used a hanger to bend up the angles I needed for the primary lengths. I was able to use one template for both sides. I brought them home, installed my FlowMaster HushPower mufflers, and welded everything up.

Exhaustdone3.jpg


Exhaustdone6.jpg


Exhaustdone5.jpg


Exhaustdone4.jpg


Exhaustdone2.jpg


Exhaustdone.jpg


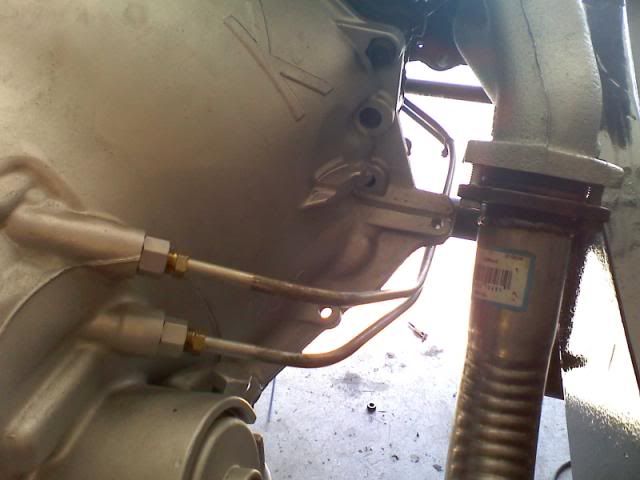
Transmissioncoolerlines.jpg


Power steering lines routed and clamped in place. I ran all JIC 90 degree fittings (except for the return lines), which makes it nice for field repairs. I can simply carry extra line and build a new line with the existing JIC ends if one fails.

Powersteeringdone.jpg


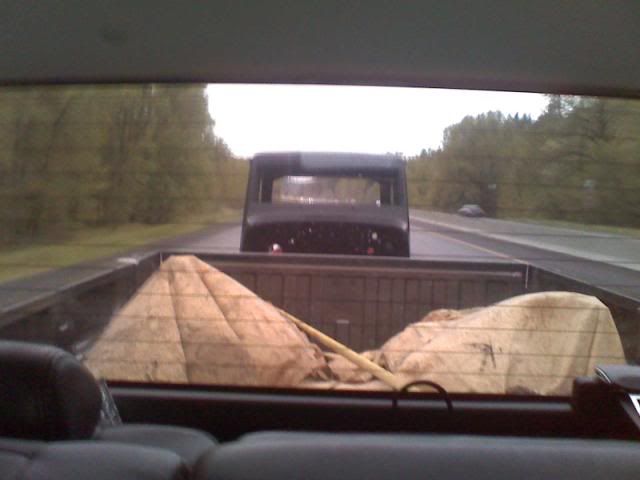
Well, we set out for Oregon at 8:00 am. It was a 9 hour drive to get to Sylvester's Auto Body. We unloaded the Willys with a fork lift and talked for about an hour. We worked out all the details of the project and confirmed the schedule. Then we decided to head back to Bend Oregon for the night, but when we got to Bend, we decided that we felt pretty good and continued on until we got all the way back home at 5:30 am Sunday morning. It was a full 20 hours of driving.

Here is photo of the truck as we headed out Saturday morning.

OntoOregon.jpg


Late night shot on Friday getting everything ready to go.

Tubready4.jpg


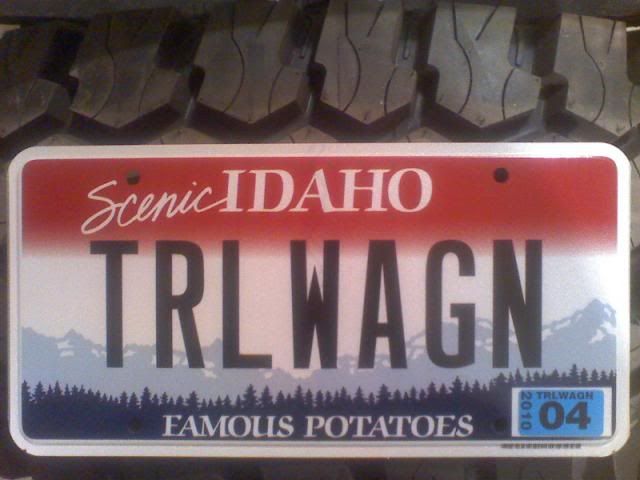
New plates…

TRLWAGN.jpg

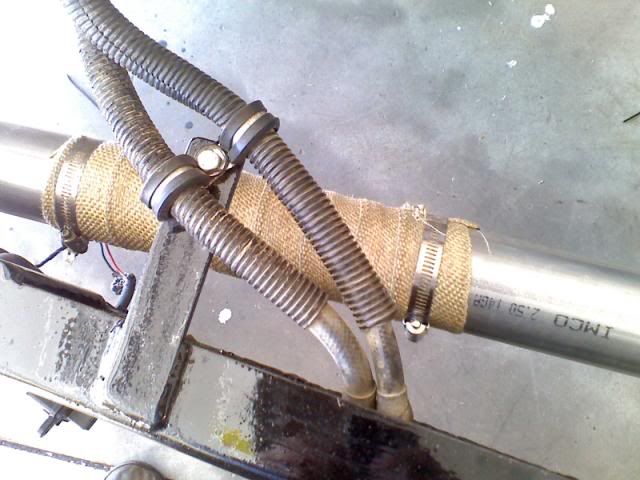
I wrapped the exhaust where it runs close to the fuel lines and battery.
Exhaustwrap.jpg


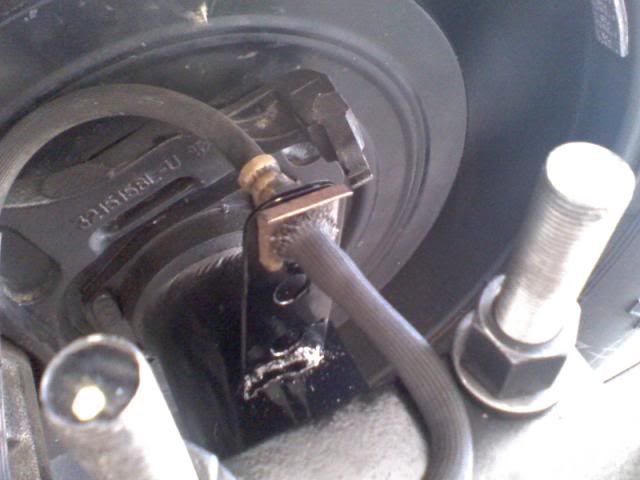
I built some brakeline tabs at the rear calipers to hold the rubber lines.

Brakelinetab.jpg


I finished the crossover tube on the exhaust.

Crossovertube.jpg


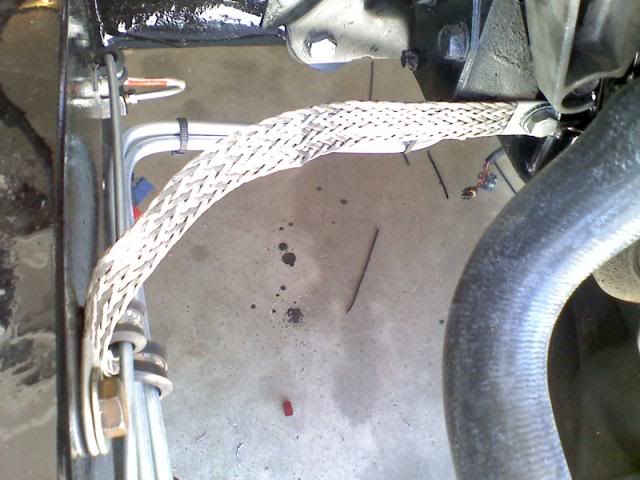
I drilled and tapped the frame and installed a ground strap between the engine and frame.

Engineground.jpg


The electric fan fits perfectly on the original Willys radiator.

Electricfan-1.jpg


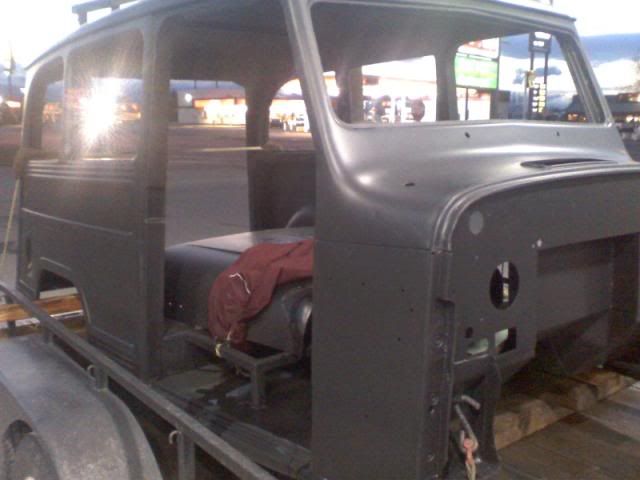
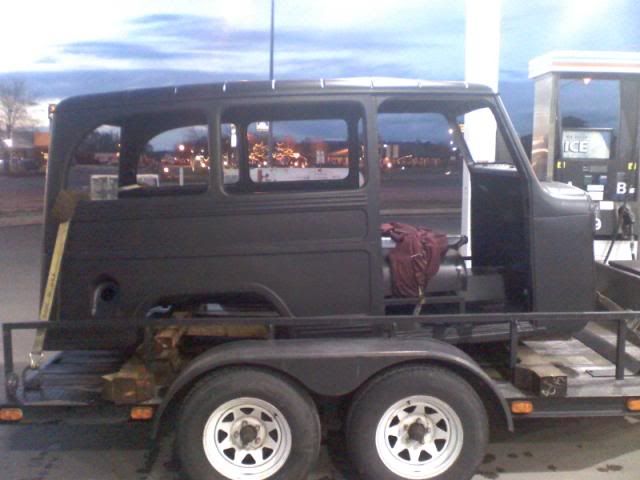
Here are a few shots of how the body looked as we pulled up at Sylvestre’s. All ready to go.

Primedtub3.jpg


Primedtub2.jpg


Primedtub.jpg


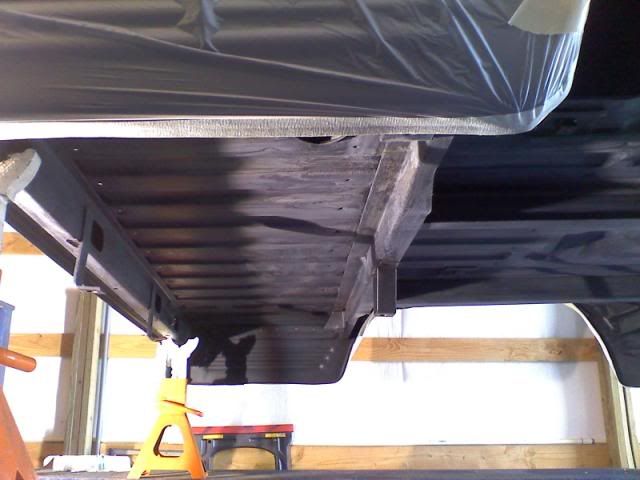
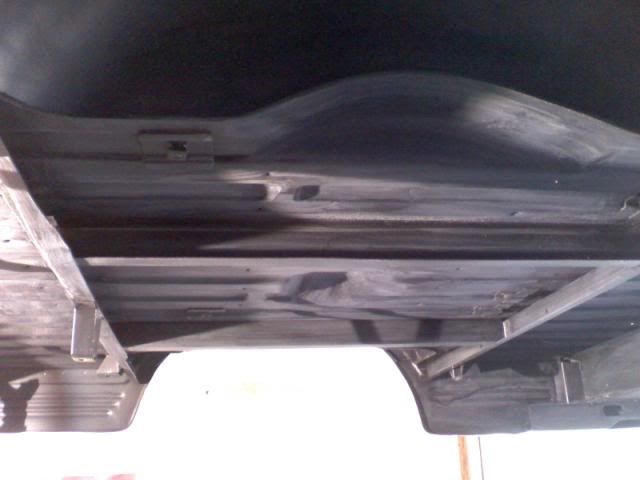
It came out beautifully. It had NO areas that resulted in holes when the rust was removed. The bottoms of the doors are beautiful. I was worried about a few areas around the roof line and the windshield lip. I really expected these two areas to come back with major metal missing. But it wasn't as bad as it looked.

On the road...

Ontheroad.jpg


Ontheroad2.jpg


Ontheroad3.jpg


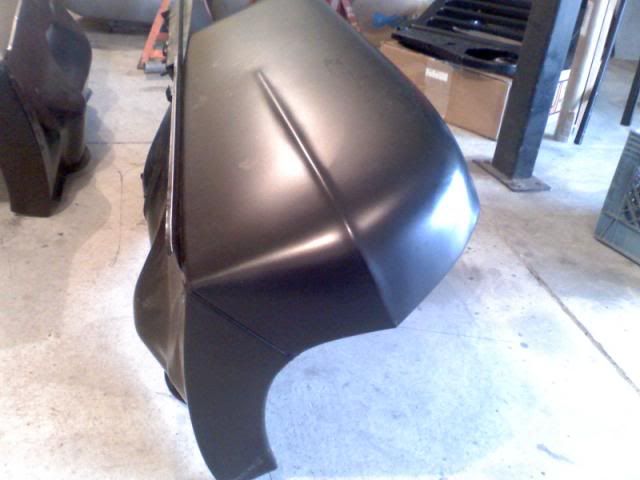
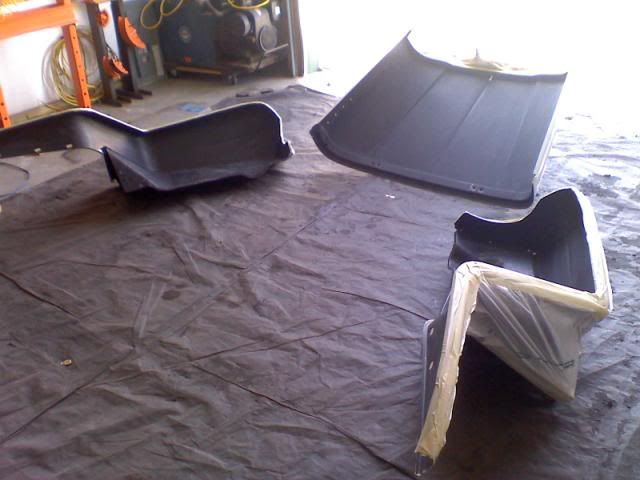
The fender:

Primedfender.jpg


Primedfender2.jpg


Scuffed it up and took it right over to Allen for Vortex.

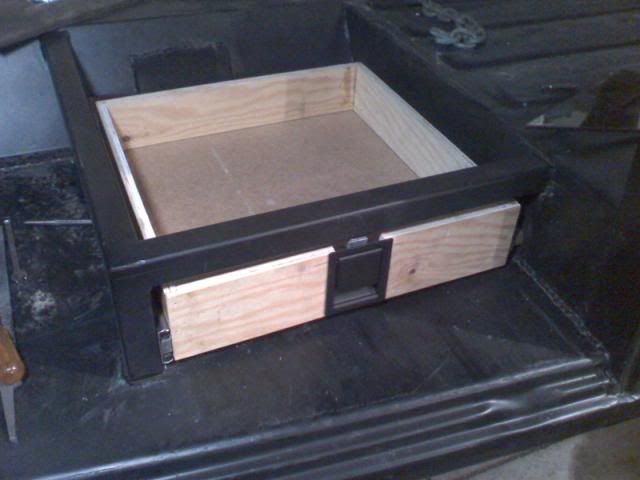
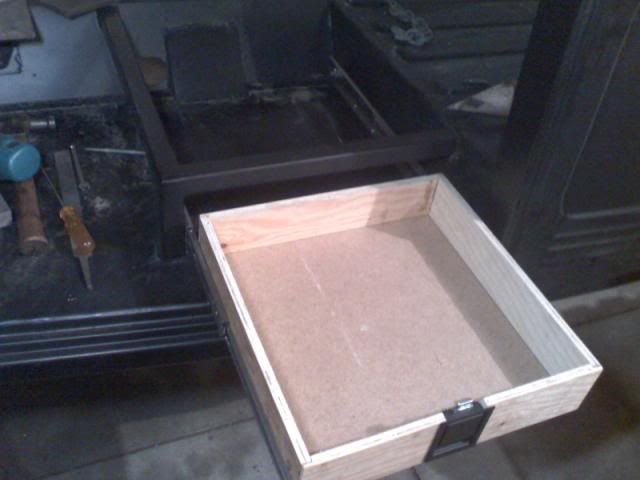
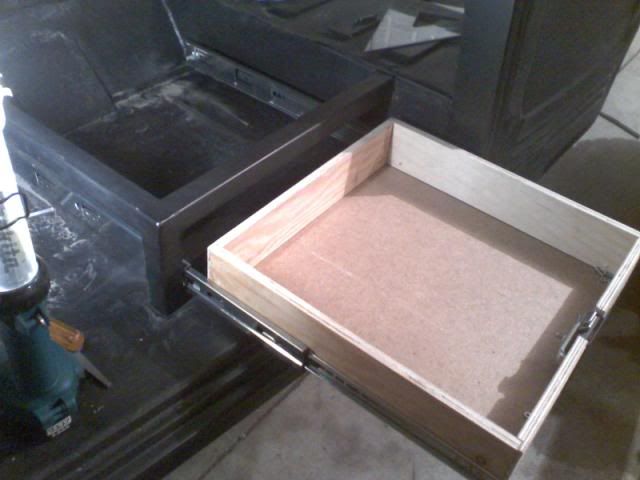
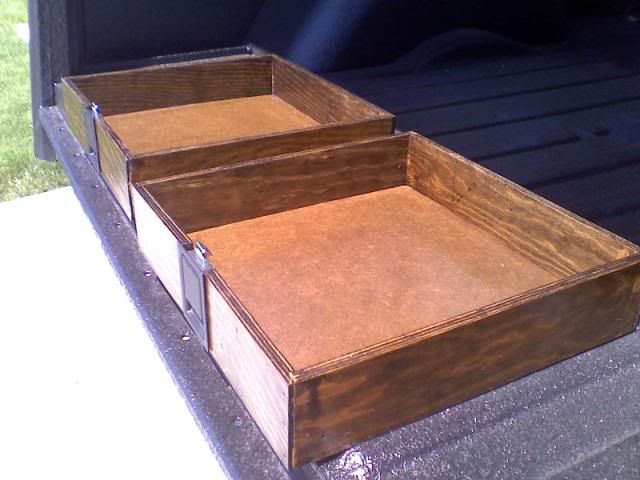
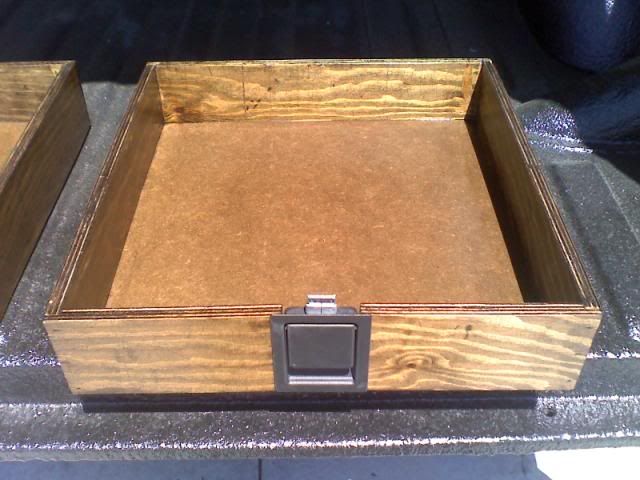
Test fitting the custom drawers.

Drawer.jpg


Drawer2.jpg


Drawer3.jpg


While the tub was in Oregon, I had John cover the holes where the original tail lights went. I decided to put the tail/stop and turn signal lights in the rear bumper. I also pre-wired it for a 3rd brake light at the top of the tailgate.

Nolights.jpg
 
The big day!!!

Primersanded.jpg


Primersanded2.jpg


Primersanded3.jpg


Primersanded4.jpg


Primersanded5.jpg


Primersanded6.jpg


Primersanded7.jpg


It took about 8 full hours to completely sand and prep the body for Vortex.

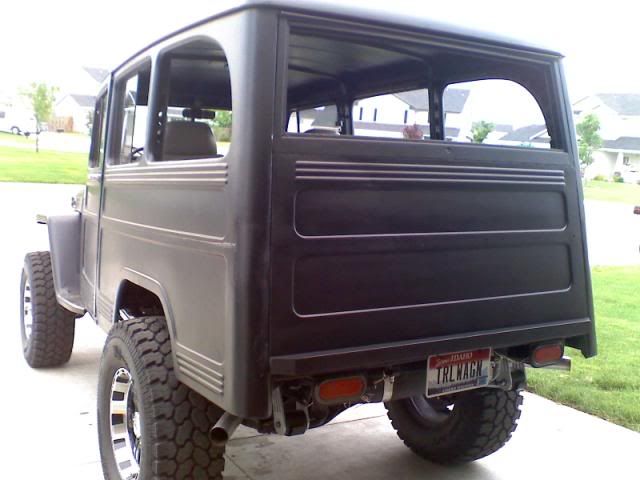
But the work was completely worth it. The Vortex turned out FANTASTIC!!!

Vortex6.jpg


Vortex4.jpg


Vortex5.jpg


Vortex3.jpg


Vortex.jpg


Vortex8.jpg


Vortex9.jpg


Vortex10.jpg


Vortex13.jpg


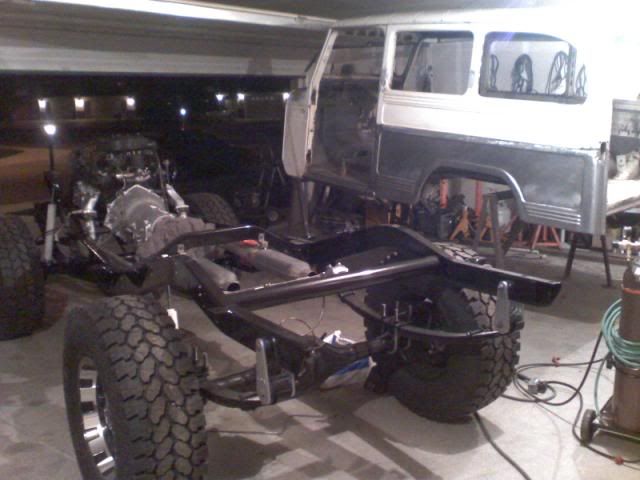
Then I brought it home and my friends and I got it put on the frame for the final time!! This was a big step!!

Bodyon.jpg


Bodyon2.jpg


Bodyon3.jpg


Bodyon4.jpg


Bodyon5.jpg


Bodyon6.jpg


Bodyon7.jpg


Bodyon8.jpg


Coming right along…

Done.jpg


Done2.jpg


Done3.jpg


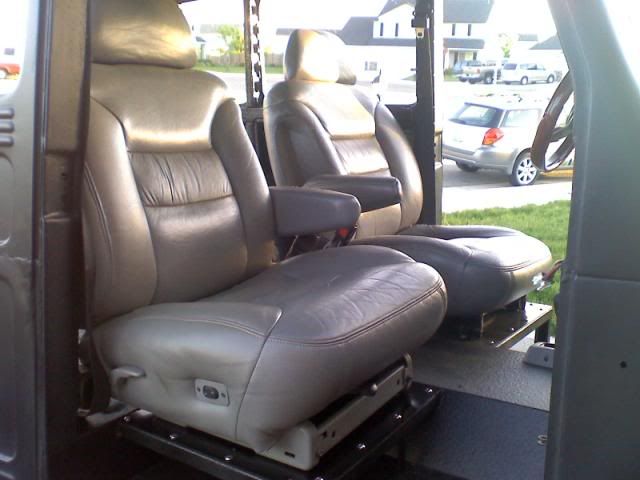
Power leather seats completely mounted. I am very impressed with how well they fit. The shoulder harness seat belts are in as well.

Seatsdone4.jpg


Seatsdone3.jpg


Seatsdone.jpg


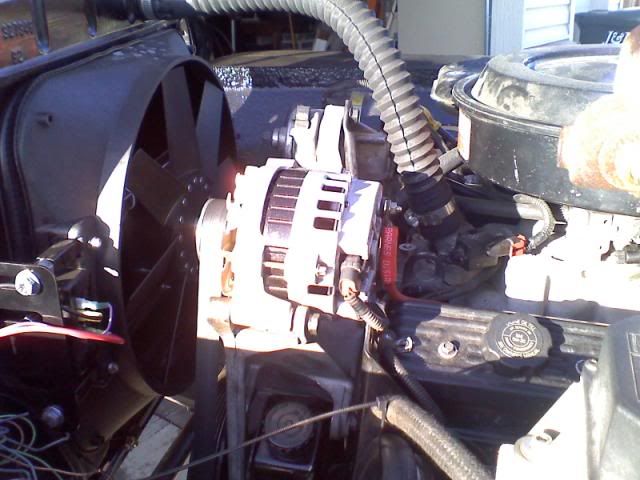
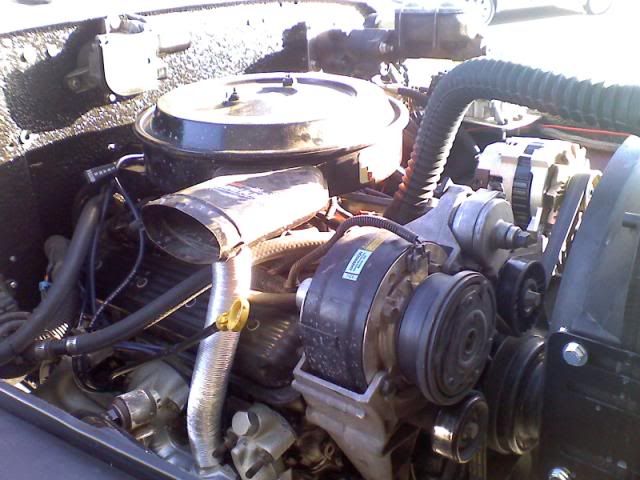
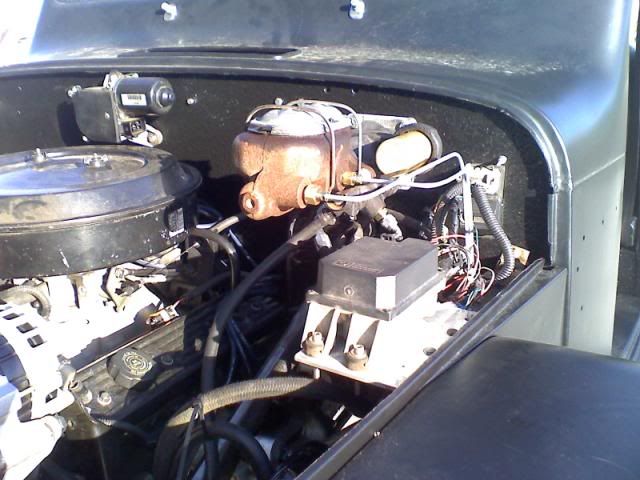
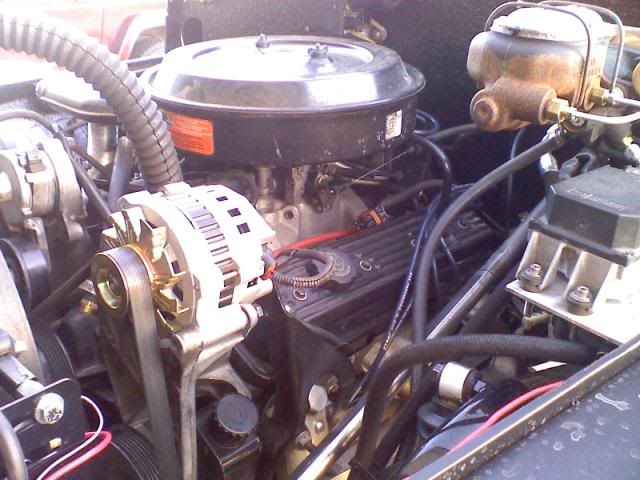
A few shots of the engine bay.

Enginedone.jpg


Enginedone2.jpg


Enginedone3.jpg


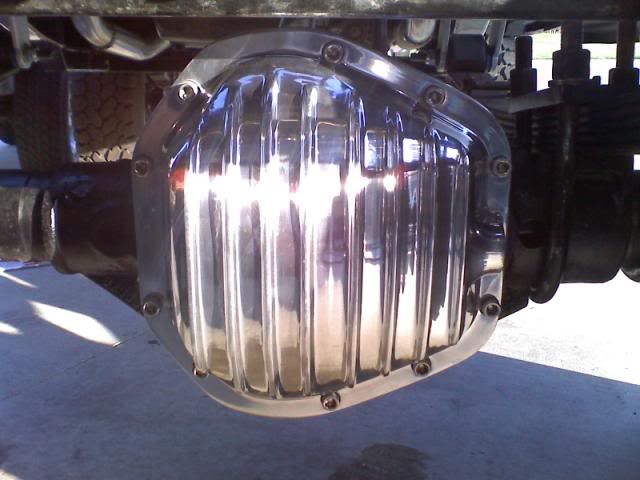
I bought a nice shiny finned aluminum diff cover for the 60.

Aluminumcover.jpg


Here are a few more random shots.

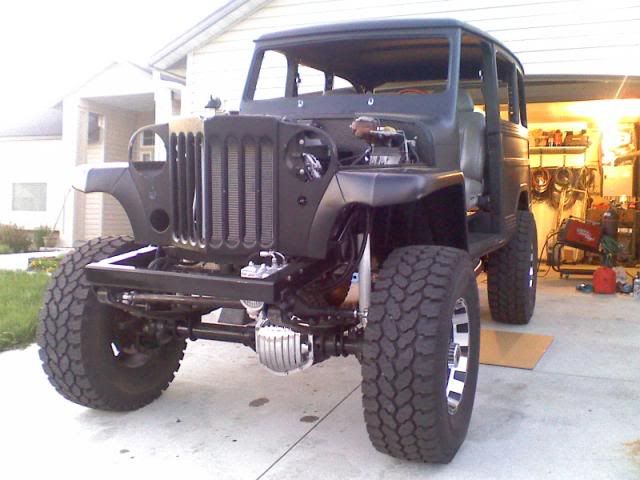
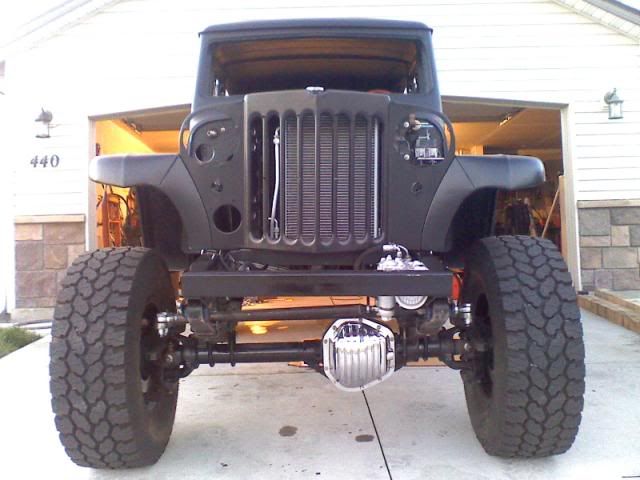
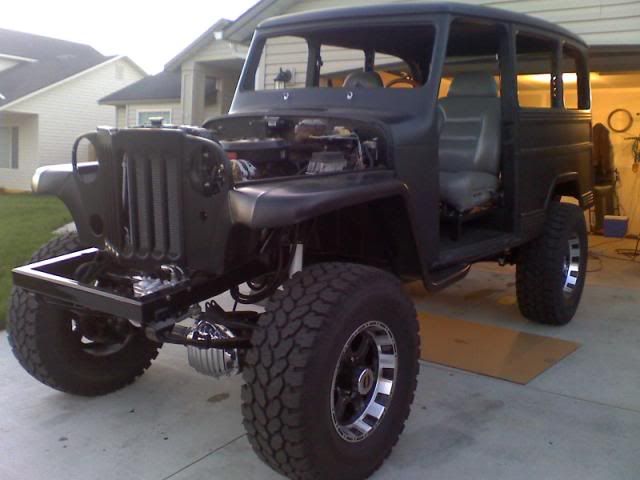
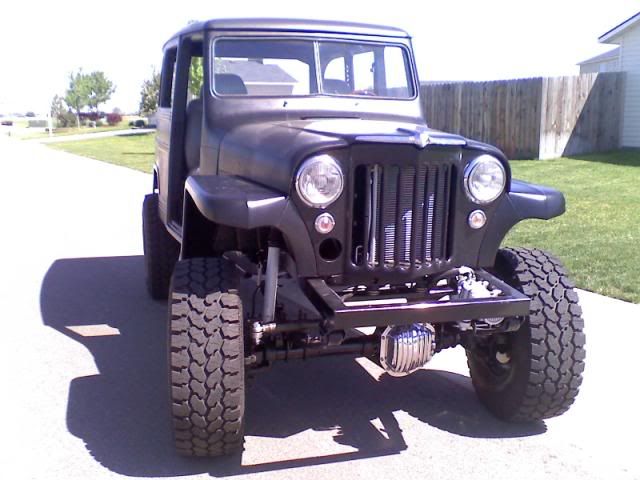
Frontdone.jpg


Frontdone2.jpg


Leftside.jpg


Stained and Polyurethaned the drawers.

Drawersdone2.jpg


Drawersdone.jpg


The engine bay is almost complete.

Enginebaydone.jpg


My wife and I worked together to get all the headlight and turn signal wiring completed. It took about 6 hours to do it all. That included cleaning and painting the headlight buckets and signal housings. Soaking and cleaning the glass, and making new cork gaskets...

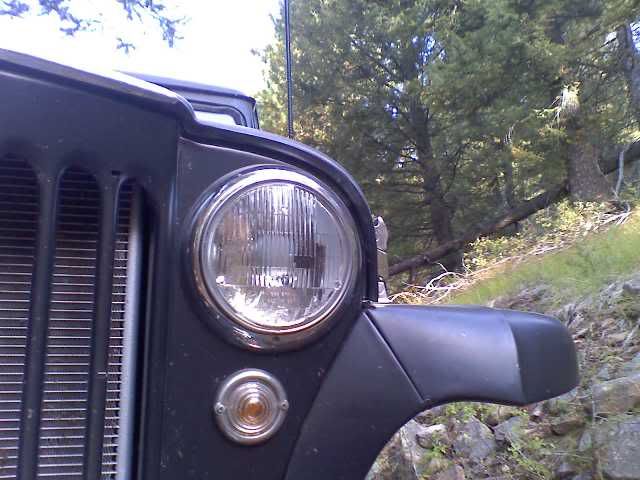
Then I put the hood on with the nice chrome hood ornament. My favorite of all the Willys ornaments. I tell you though; this thing is much more impressive in person than in these pictures.

Done4.jpg


Done5.jpg


Done6.jpg


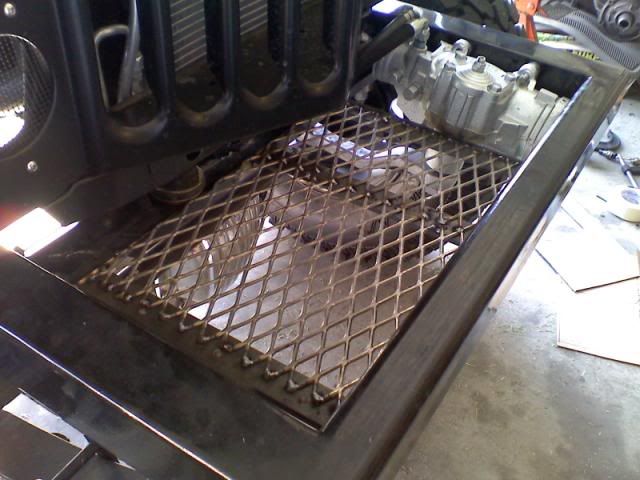
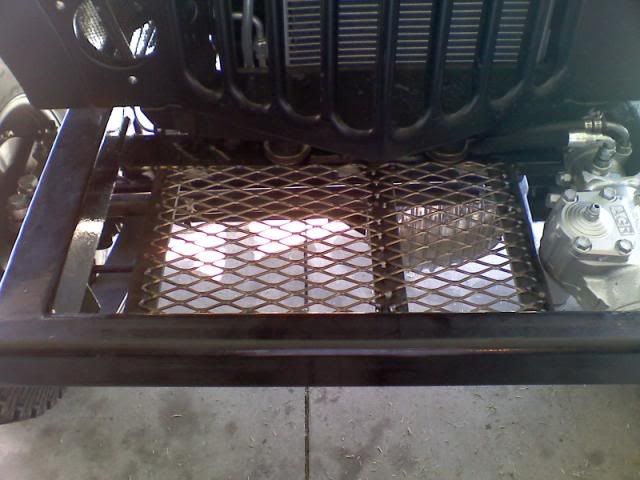
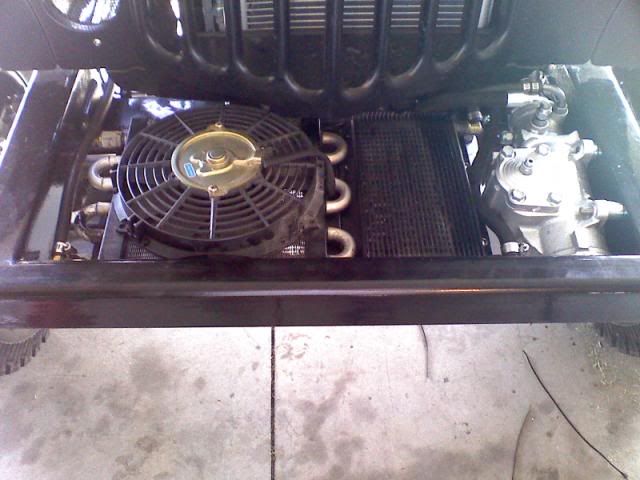
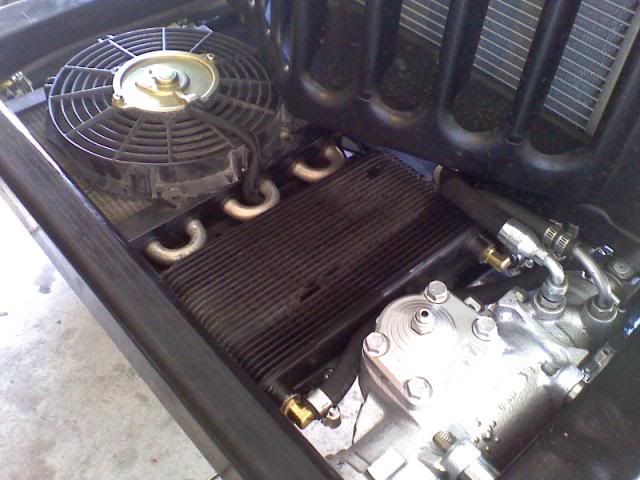
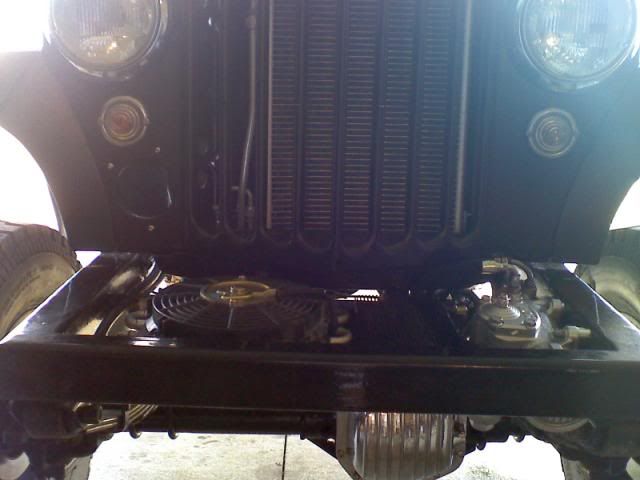
Here are some more pics of how I mounted my transmission cooler with a fan and engine oil cooler.

Coolermount2.jpg


Coolermount6.jpg


Coolermount3.jpg


Coolermount4.jpg


Coolermount5.jpg


All the glass is in and the tailgate is made. Gauges and indicator lights are all functional.

Tailgate5.jpg


Tailgate4.jpg


Tailgate3.jpg


Tailgate2.jpg


Tailgate.jpg


Windowsin5.jpg


Windowsin4.jpg


Windowsin3.jpg


Windowsin2.jpg


Windowsin.jpg


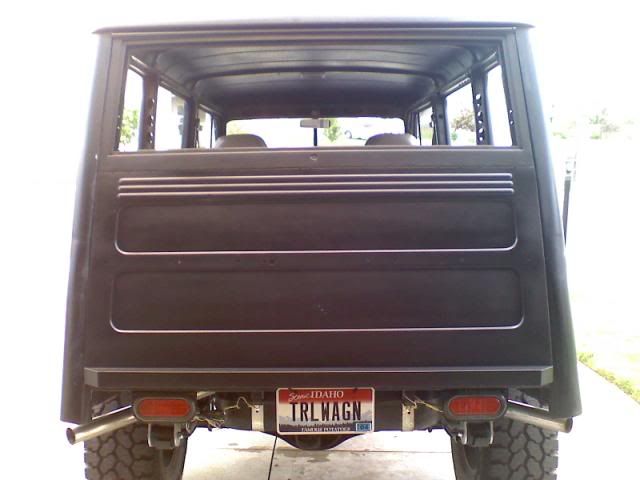
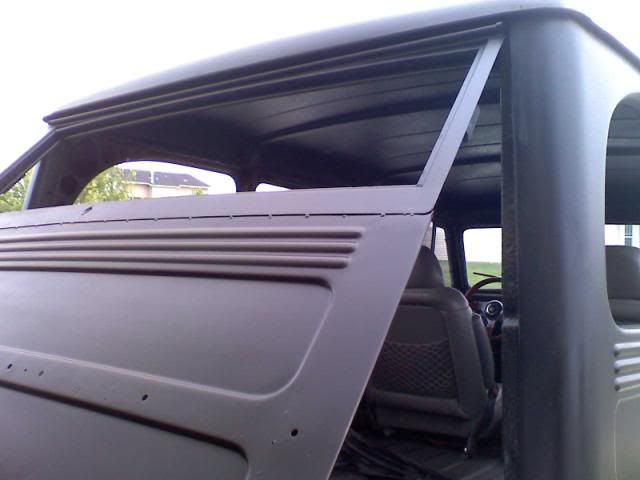
I got the gas charged lift supports installed. They work AWESOME. I think this one-piece tailgate idea is one of the all time best upgrades for a Willys wagon.

Tailgate9.jpg


Tailgate7.jpg


Tailgate6.jpg


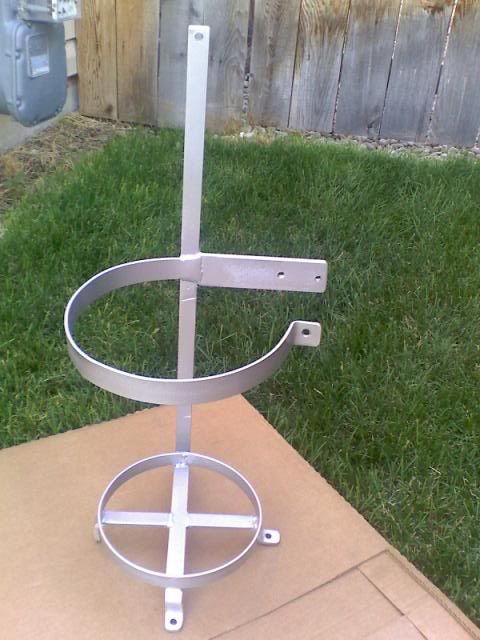
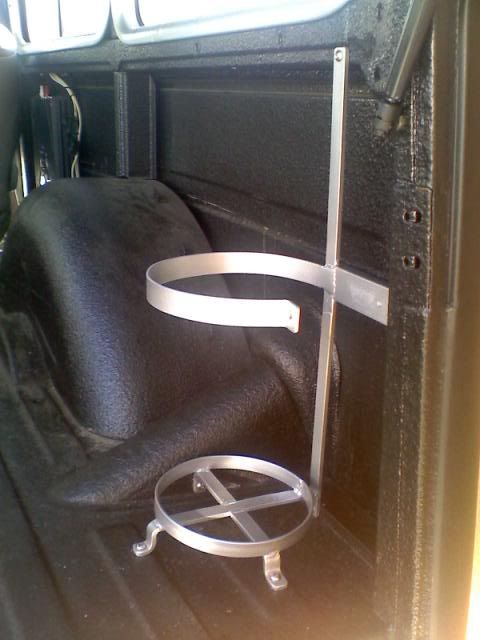
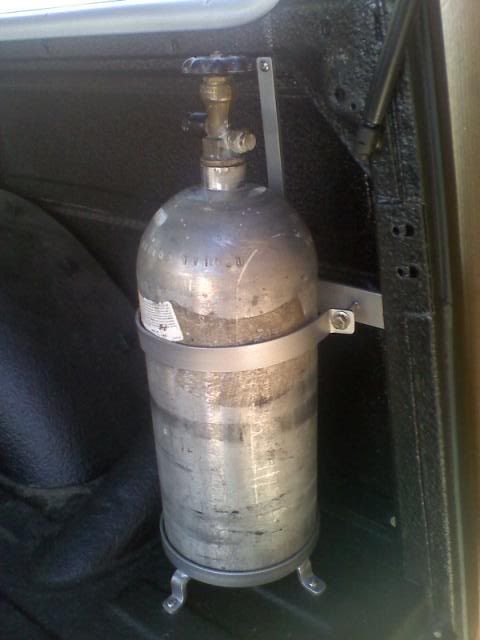
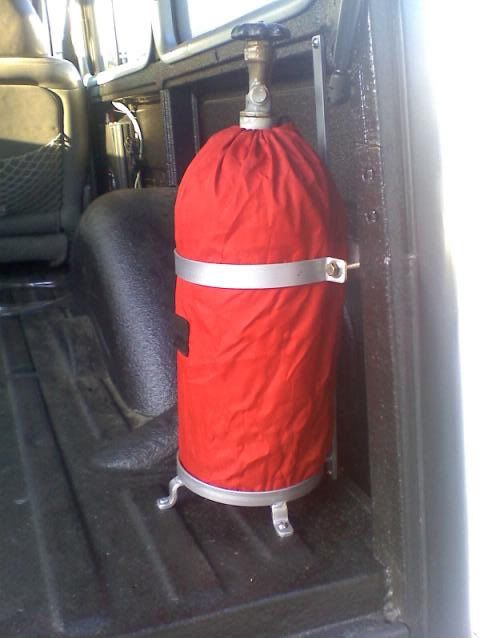
I built a custom bracket for my CO2 tank.

Co2bracket.jpg


Co2bracket2.jpg


Co2bracket4.jpg


Co2bracket8-1.jpg


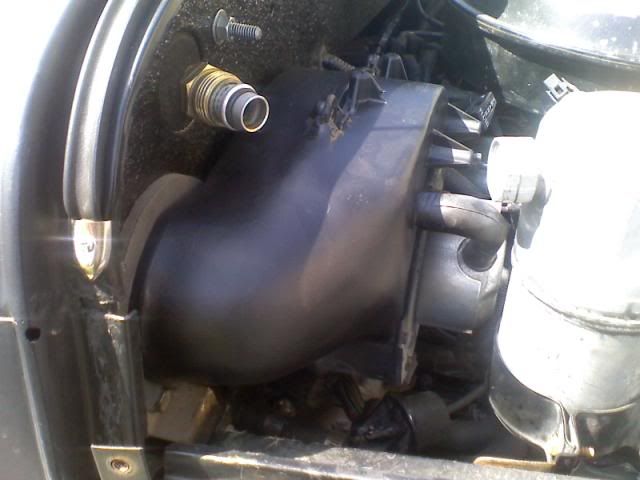
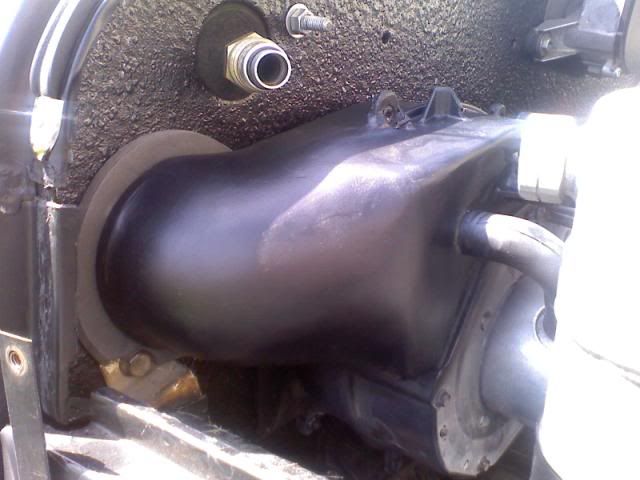
Custom made heater duct. I started with a 4" 90* PVC elbow from Home Depot. I cut it down to fit. Then I fiberglassed it to the heater motor. After that, I finished it with lightweight filler and finishing compound.

Heaterduct.jpg


Heaterduct2.jpg


Trim.jpg
 
First trip…

LaborDay.jpg


LaborDay20.jpg


LaborDay6.jpg


LaborDay4.jpg


LaborDay12.jpg


LaborDay13.jpg


LaborDay14.jpg


LaborDay15.jpg


LaborDay16.jpg


LaborDay17.jpg


Everything worked perfectly! It was a great maiden voyage. I think I had a grin from ear to ear the whole time.

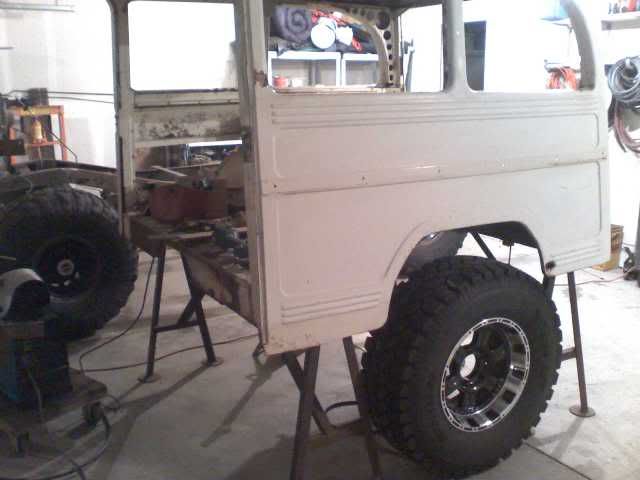
Test fitting bigger tires. I am going with 41” IROK Radials.

Here are some pics of a test fit with my friend’s 42's from his buggy. Love it!

42IROK2.jpg


42IROK3.jpg


42IROK4.jpg


42IROK5.jpg


42IROK6.jpg


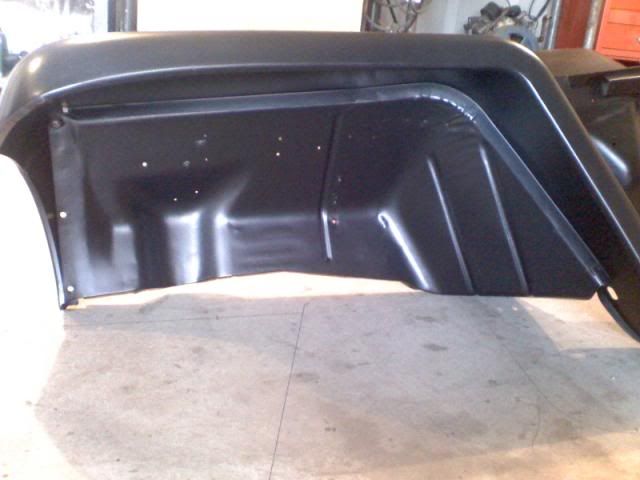
I will be trimming out the rear fenderwell of course to make this all work. I will also build a cool looking steel/tube fender flare. No modifications are necessary for the front. I could stuff a 46 in there! I don't think any additional lift is necessary either.
 
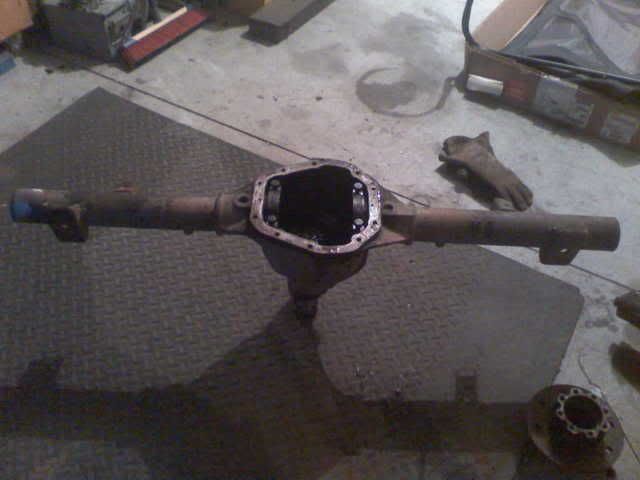
I am also transferring the Currie 9" over to my wife's TJ and I am building a custom Dana 60 full floater in the Willys. It's an early Ford Dana 60 that I am doing some pretty cool stuff to.

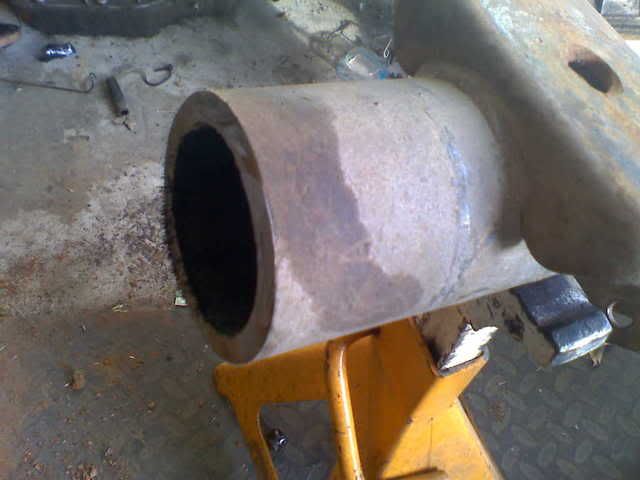
To start with I narrowed it to match the front Ford HP 60. 62" WMS. So to do that, I cut off the original 60 spindles.

Dana60Spindle2.jpg


Dana60Cutline.jpg


Dana60Cut3.jpg


Dana60Cut.jpg


Dana60Cut2.jpg


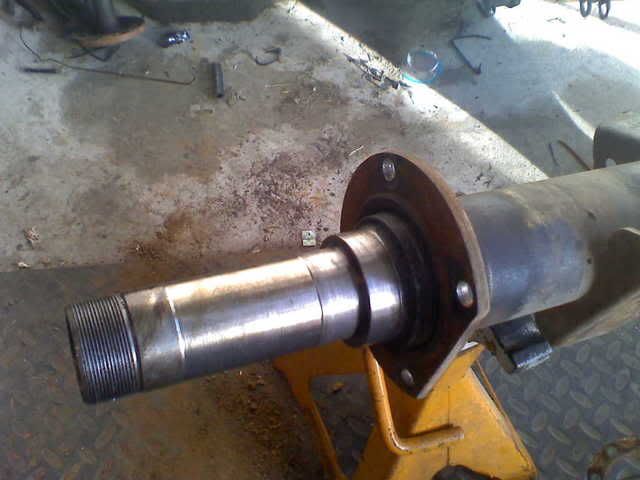
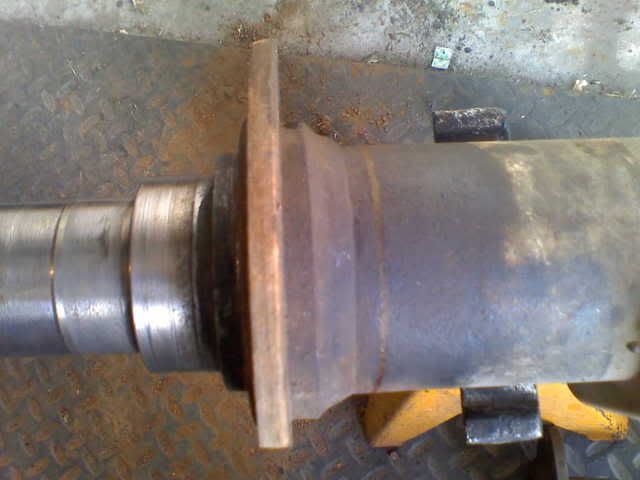
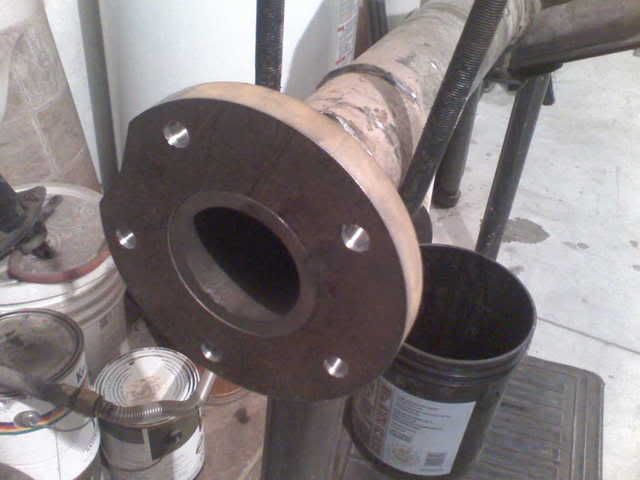
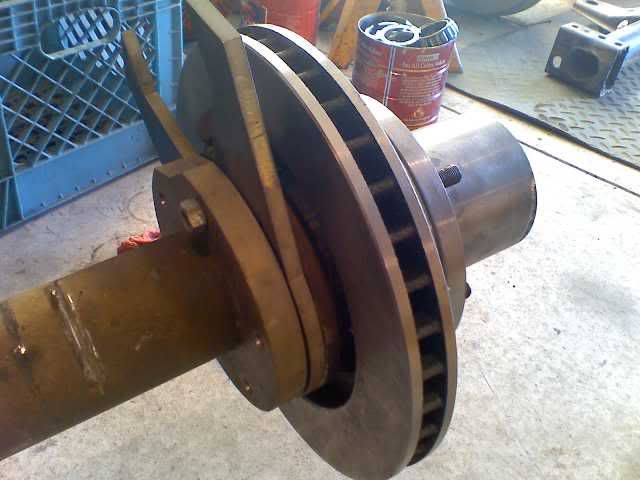
Next, I designed a special collar that is a press fit over the end of the axle tube. It is 3/4" steel and I had it cut on the water jet table at Boise Metal Works.

Dana60Collar.jpg


I used the same caliper bracket that I designed and used on the front. It allows me to use a 1/2 or 3/4 ton Chevy caliper.

Dana6050CollarCaliperBrackets.jpg


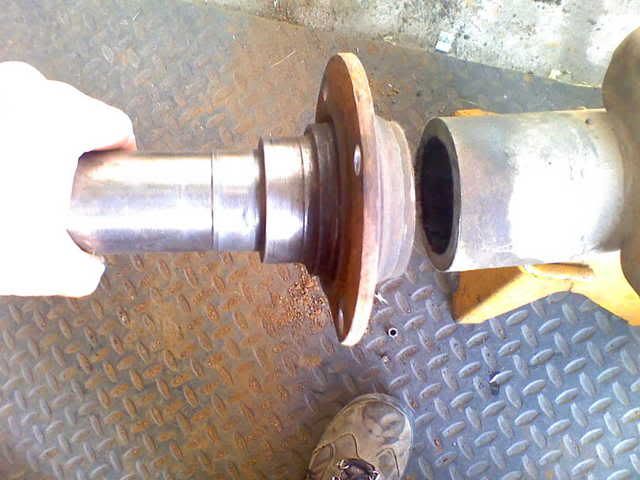
This design allows me to use front Ford Dana 50 hubs and spindles, which are identical to Ford Dana 60 hubs and spindles (and they only cost $34/set compared to $500). The 50 spindles have a shallower centering ring on the back side, but otherwise identical. Same bearings/races/seals, etc.

Dana60SpindleCaliperCollar2.jpg


I had the 8 lug hubs machined down to 5 on 5 1/2 lug pattern and I bought 77 Ford F150 front 1 1/8" rotors.

Dana50f150_3.jpg


Dana50f150_2.jpg


Dana50f150.jpg


Mocked up on the Dana 60 with my custom made tube collars, calipar brackets, Dana 50 spindles and Dana 50 hubs.

Dana5060f150.jpg


Dana5060f150_2.jpg


Next thing I will do is align the collars and weld them on. Install the R&P, Detroit, then measure for double splined 35 spline axles.

Almost ready for installation. More progress later....
 
Your rig has been an inspiration, When I first got word that I might be able to get my wagon I started looking at Pirate and saw your build. After that I was hooked.
Im waiting to build a crane at my place which I just picked up the I beam so I can start the tear down, Low garage ceilings suck
I hope I can call on you for some tech/fab advice if needed as this will be my first 4X4 build.
Again awsome job !!!!
 
Midnight-

Happy to see your post on the forum, you've done an amazing job with your wagon. And in a impressive time frame no less.

Looking forward to your upates too. I want a ride next time you pass through Hailey...

Pete
 
This is what I was asking you about a while ago, did someone replace the quarter panels at some point?
 

Attachments

  • Quarterpanelremovedrust.jpg
    Quarterpanelremovedrust.jpg
    24.2 KB · Views: 2,773
Midnightburn: truly impressive work - I'm in awe but have lots of questions of course!

1 Where do you plan to mount your spare - on a future rear bumper?
2 Forgive this question... but what is the CO2 tank for?
3 If you install a sun roof, what type do you have in mind? .... modern or old fashioned folding fabric style?
 
Thanks for the kind replies guys.

GWH, I am really excited for you and your first 4x4 build. I hope you enjoy the journey. Call me anytime. I am always available to help if I can. 208 863-1718.

73fj, I hope I understand your question... The wagon had the original panels when I bought it. Then I cut them off and replaced them. If I misunderstood what you are asking, please let me know.

pavel6, I plan to build a raised bed at wheel well height that will cover the entire back area where I will sleep during back country outings. The spare tire and pull-out drawers for tools and equipment will go under that. Tucked out of the way. I could put it on a rear bumper, but I want to keep the outside clean looking. The CO2 tank is for refilling my tires after I air down for rough rocky trails and it also works great to run air tools or reseat a tire bead, or whatever is needed. The sun roof I bought is an older style unit (that happened to be new) that simply mounts to the sheetmetal and has a latch that allows it to open or be completely removed easily. I am not convinced that I will be installing it. I don't want to introduce leaks.
 
I'm also considering a sunroof install. I wanted a VW microbus unit but not surprisingly haven't been able to find a donor vehicle. I picked up a wonderful Renault Fuego sunroof - folding fabric style, electric, that is a very good size. The only problem is that the arch of the donor car roof is much greater than a '65 Willys. Again, not really a surprise. The unit has a strong SS frame that I will have to modify. Another future project, maybe.
 
I think it's the visual of that pic with the panel removed that is throwing me, I see holes along the horizontal below the window and your statement that you drilled out the spot welds, and I know that the panel is integral from the roof down. Not trying to be difficult on two different message boards MB. Hopefully I'll see it in person next year.
 
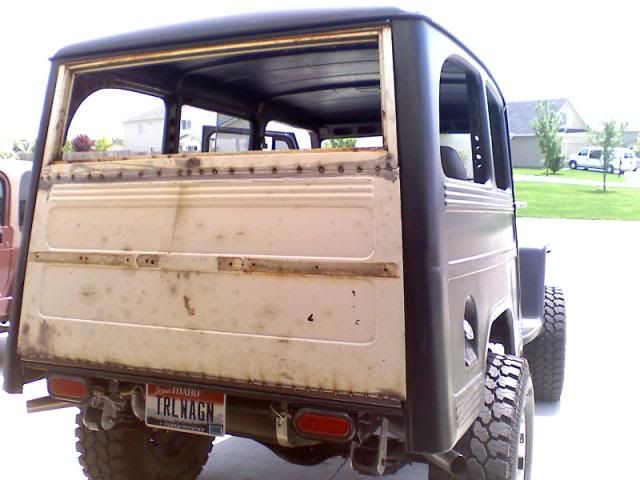
73fj, now I understand your confusion. Yes, the panels are all one piece originally. The horizontal holes along the side are the original holes that hold the stainless trim on. They aren't the holes that I drilled to remove the lower part of the panel. I had to cut it off along that line.
 
Midnightburn....it's inspirational....I need to figure out how to print all this info and picture's or should I wait for the book?....I wonder if I can get all this done over a few week-ends? lol .......How about heading my way for a week? ....I sure hope you are a machinist - welder by trade and not a shoe salesman....you have some talent son......
 
62 OIIIO, glad to hear that it is somewhat of an inspiration to you. But I doubt that any level of inspiration can spur you on to complete your project in a few weeks... Now, that would be some sort of miracle.

I am a long-time welder/fabricator/Jeep builder. Been doing it since the early 80's and have built many, many rigs for myself and others. Fell in love with the craft at a young age and it became a life addiction.

If you lived a little closer, I would definitely come over and lend a hand. Good luck with your build.
 
WOW! I thought I fabricated a lot on my ride. You did this in like 14 months ? Your experience with Jeep builds shows how doing it, over time, leads to some impressive results. I like it.

Gary
 
Pete said:
Midnight-

Happy to see your post on the forum, you've done an amazing job with your wagon. And in a impressive time frame no less.

Looking forward to your upates too. I want a ride next time you pass through Hailey...

Pete

Hey Pete, I go through there 3 or 4 times each year. I will definitely stop by and see you next time. I may even let you drive it. :cool:
 
Your project comes up in just about every search you do for Willys Wagon or some iteration of that.

When you replaced the quarter panels did you do a complete weld or just tack welded it and hid the tack welds under the trim?

TIA.

TT
 
Back
Top