indian john
Sharpest Tool
Wow[emoji1360]nice work!
Sent from my iPhone using Tapatalk
Sent from my iPhone using Tapatalk

Hi Marcus. Fantastic, Amazing work! Your Knowledge and Talent on all this is Stellar!! Is there Anything that You CAN'T Do?? Great Work Man!! Pivnic
")
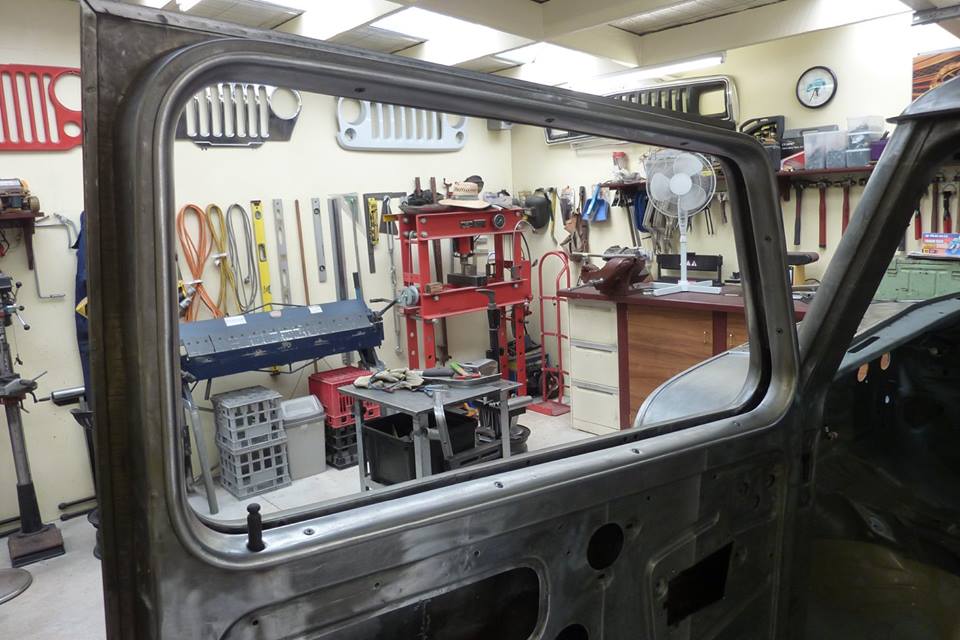
Again time consuming details to make it right. I was fortunate enough to go to SEMA last week. I opened the door of a $120,000.00, 55 Chevy, (with permission) and I had to bite my tongue. The latches worked like worn out 60 year old latches and the door dropped at least 1/2 inch once it cleared the latch pins.
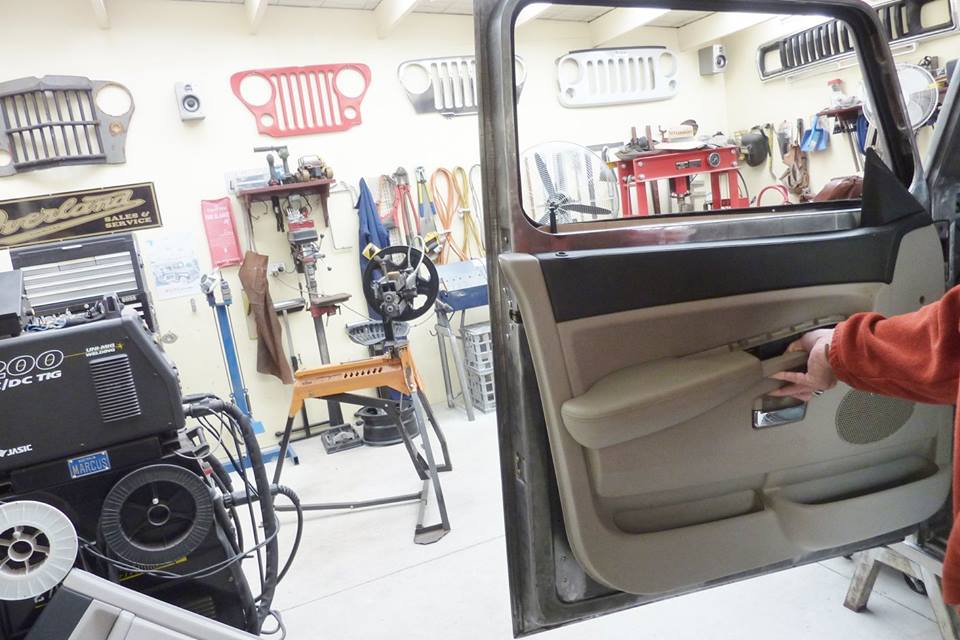
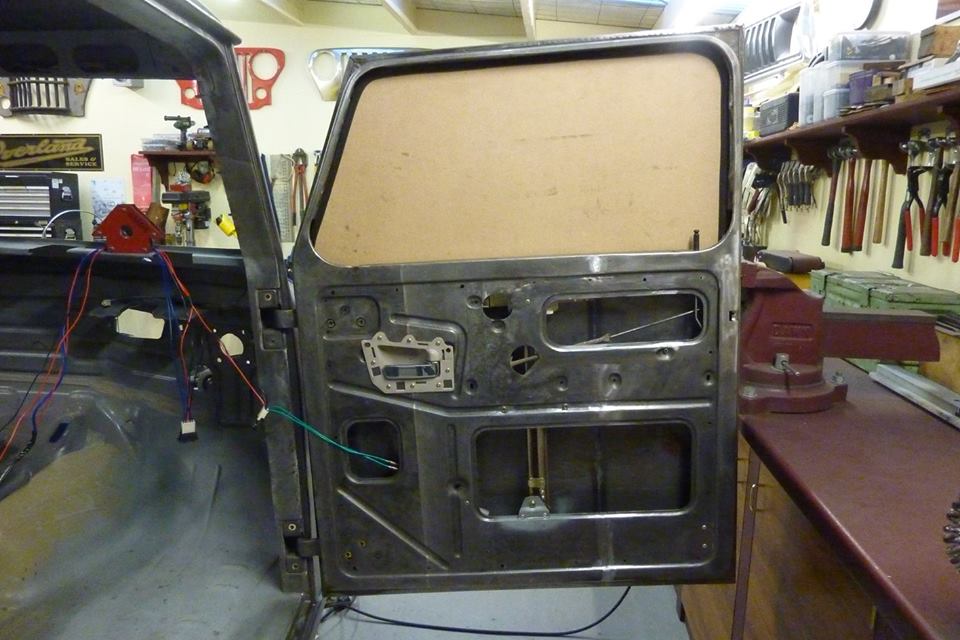
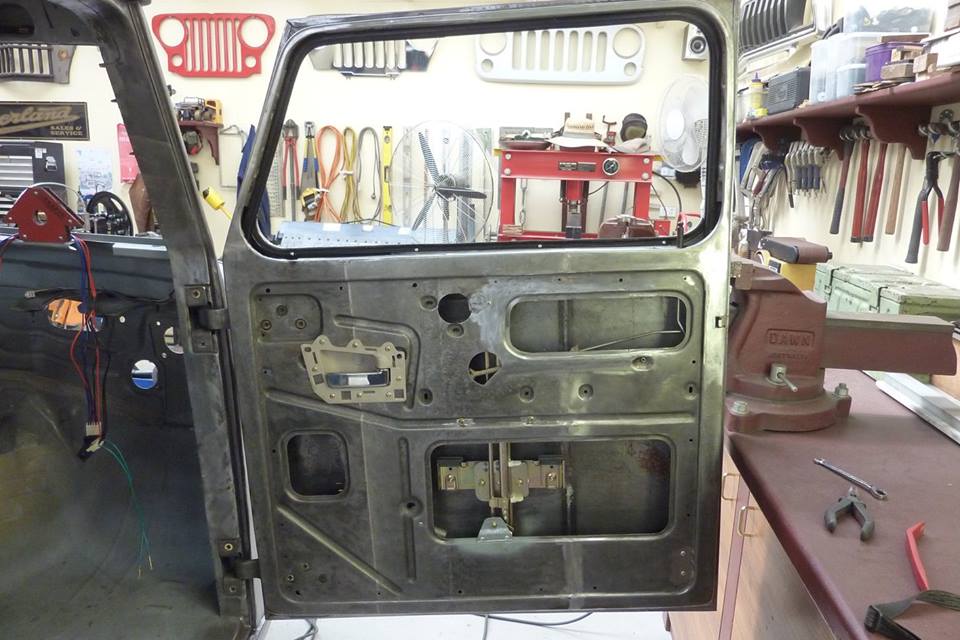
Now remember that I want the whole of the interior to look like it was from the donor Grand Cherokee year of 2008. I don't want bits and pieces from different eras if possible, but to be a cohesive design. Unfortunately there is no way the donor door cards are going to work so will do my best to use parts from it
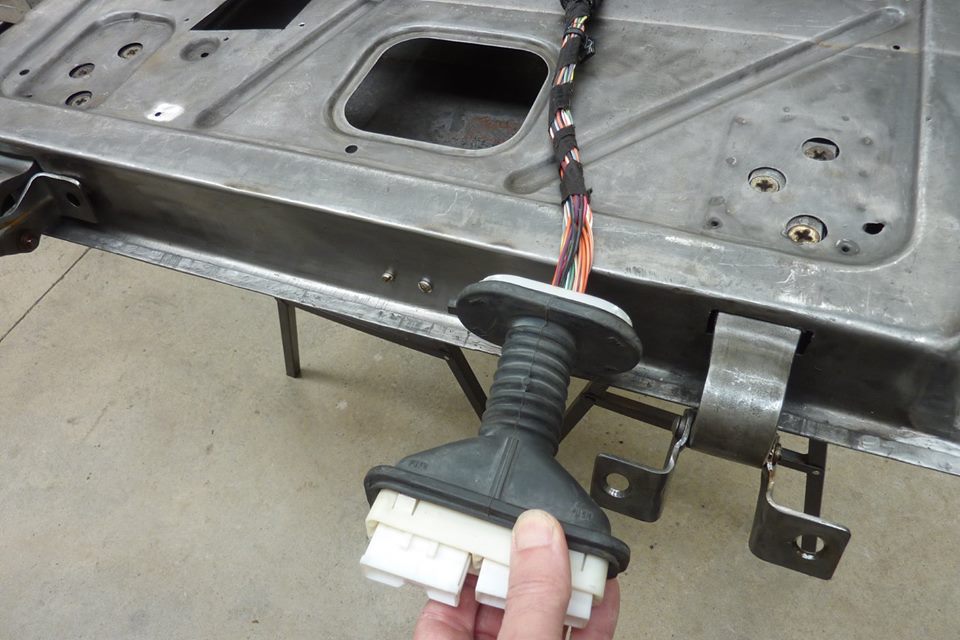
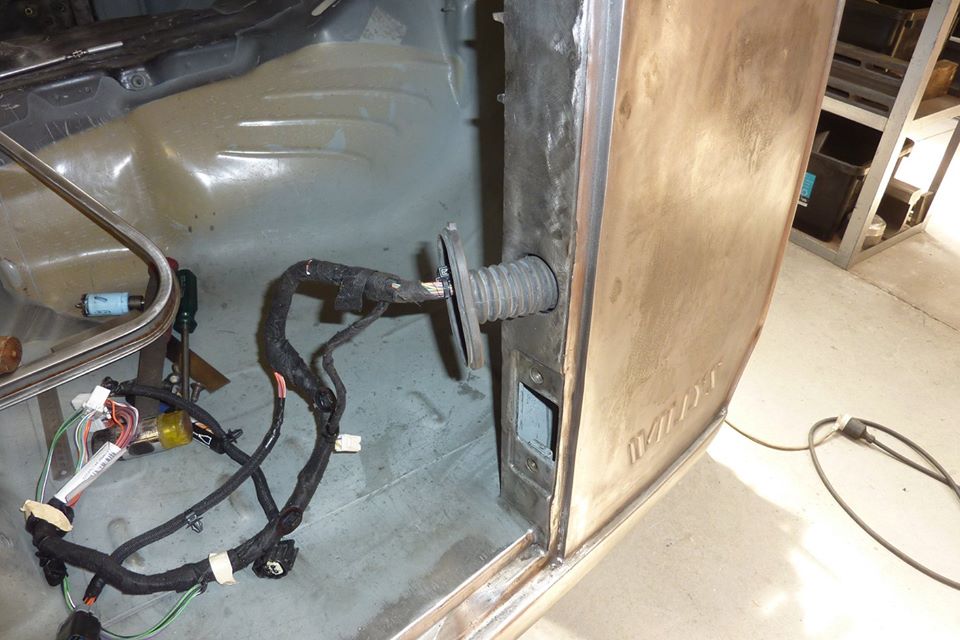
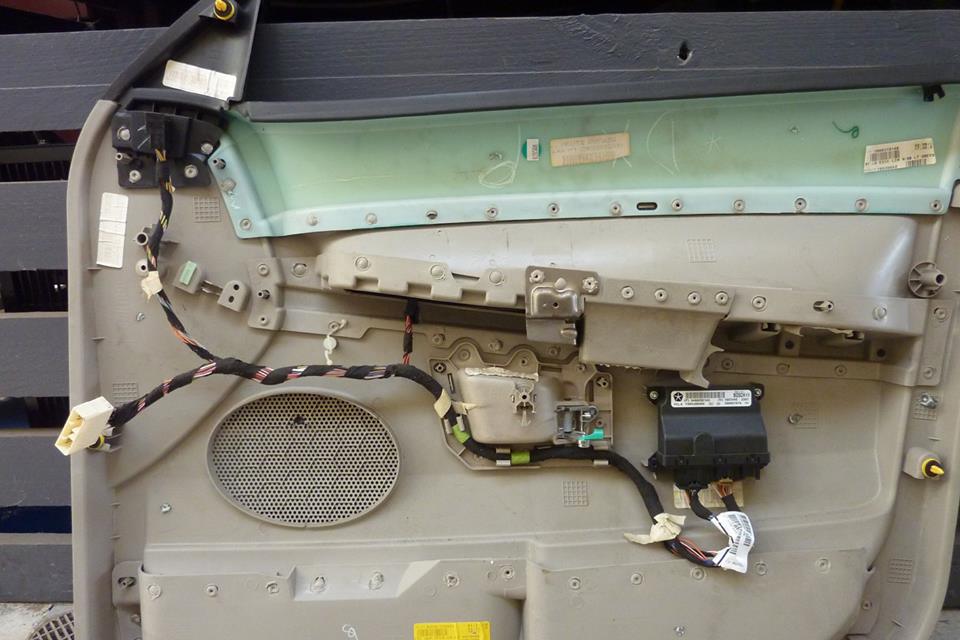
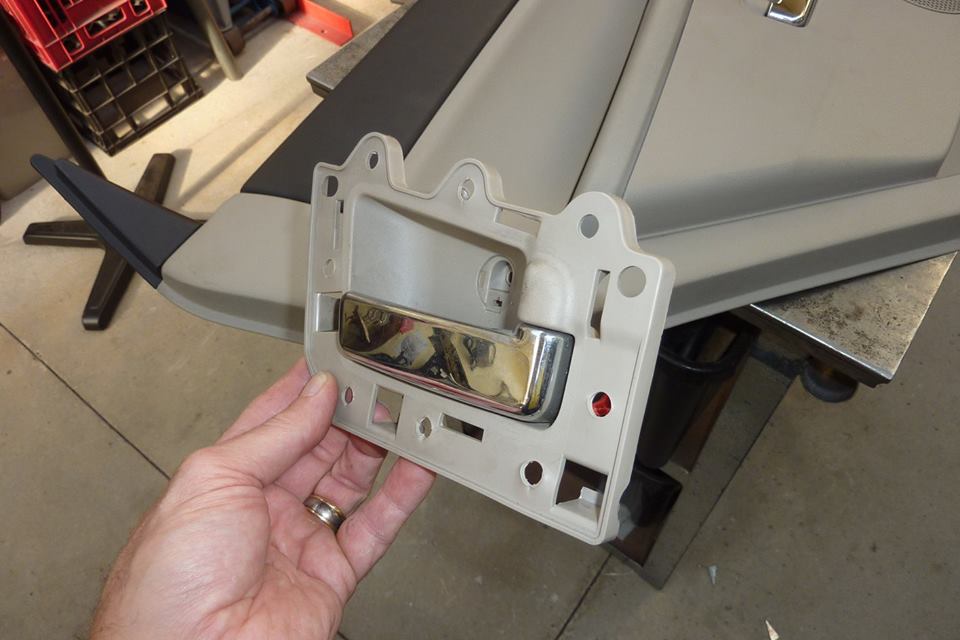
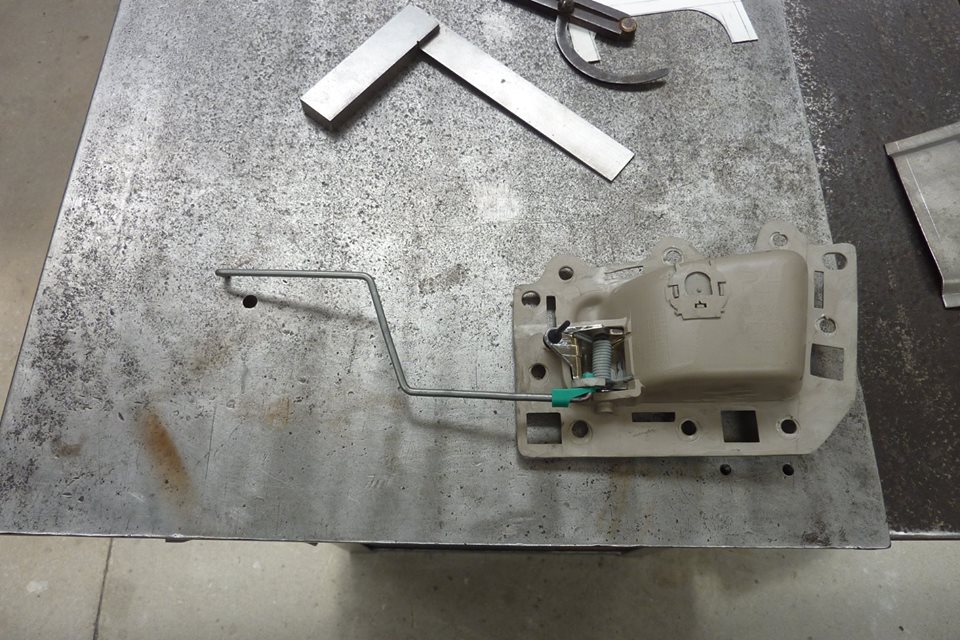
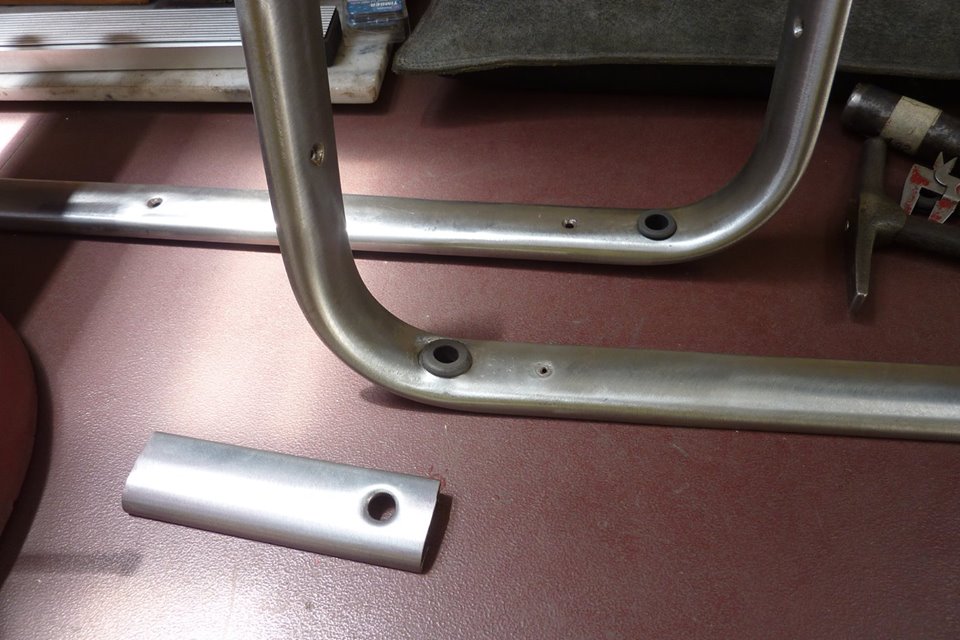
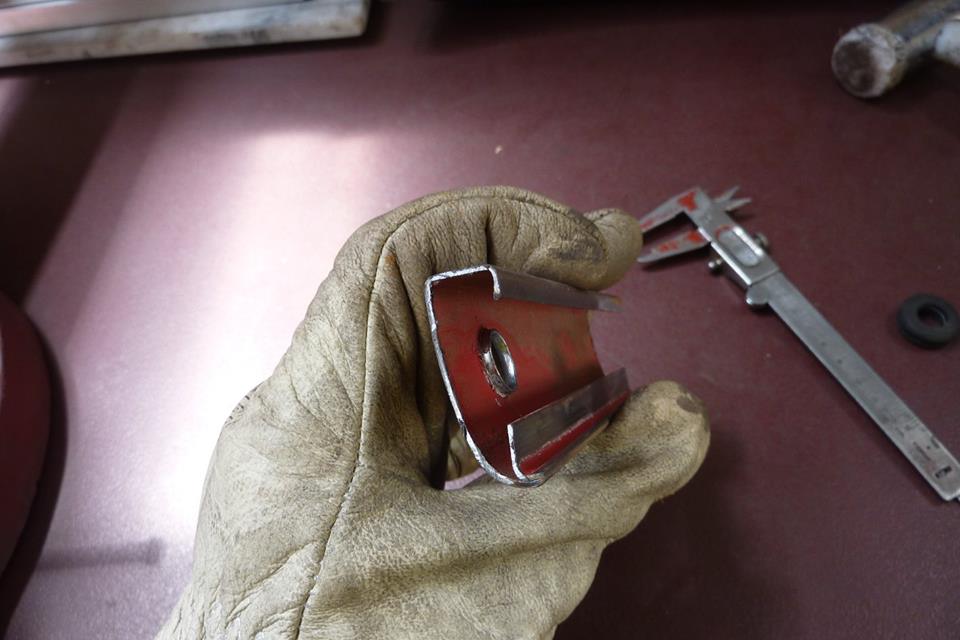
Want to start with the interior door handles. They are plastic welded in with 8 melted over studs. The door card even has a relay and ECU box for the mirror, central locking and window controls. On the other drivers side card also for seat position memory! I'll be fitting all that as well later on.
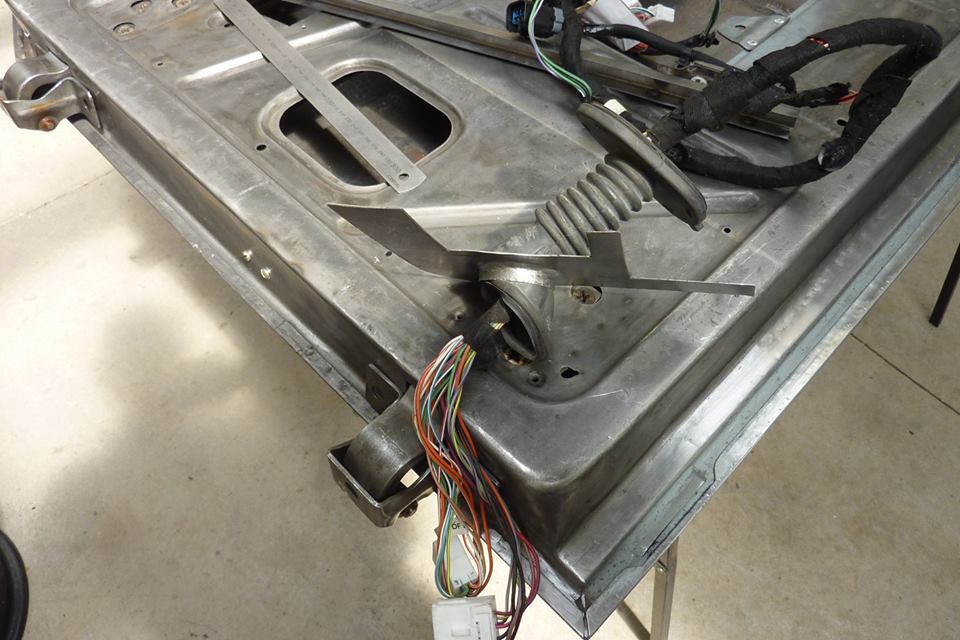
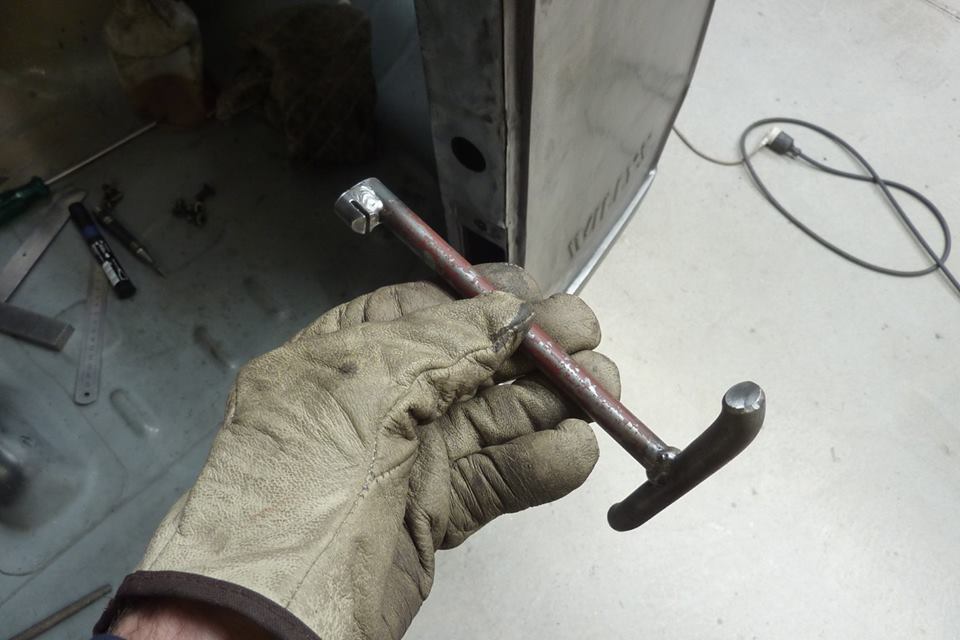
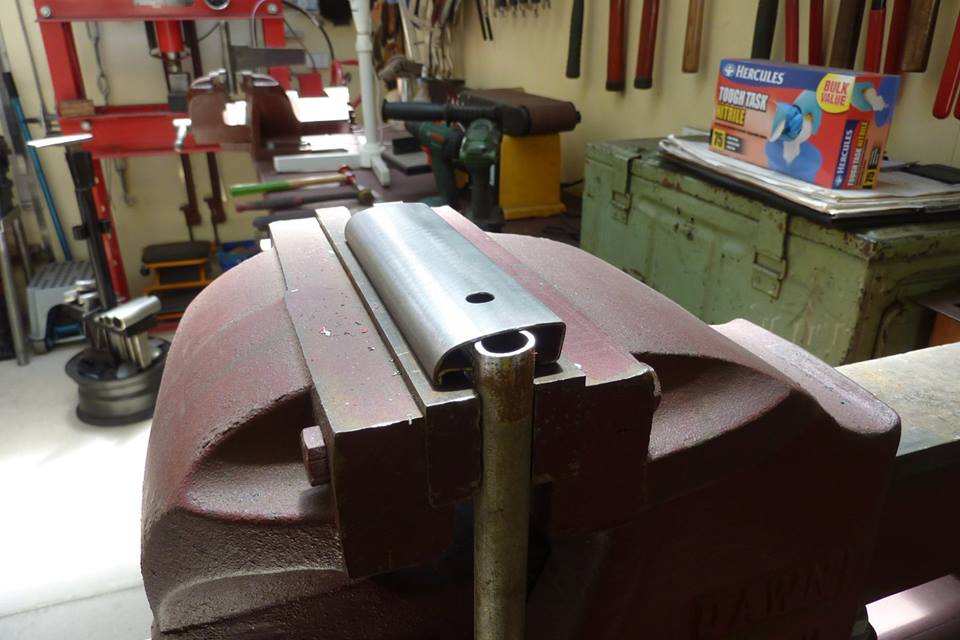
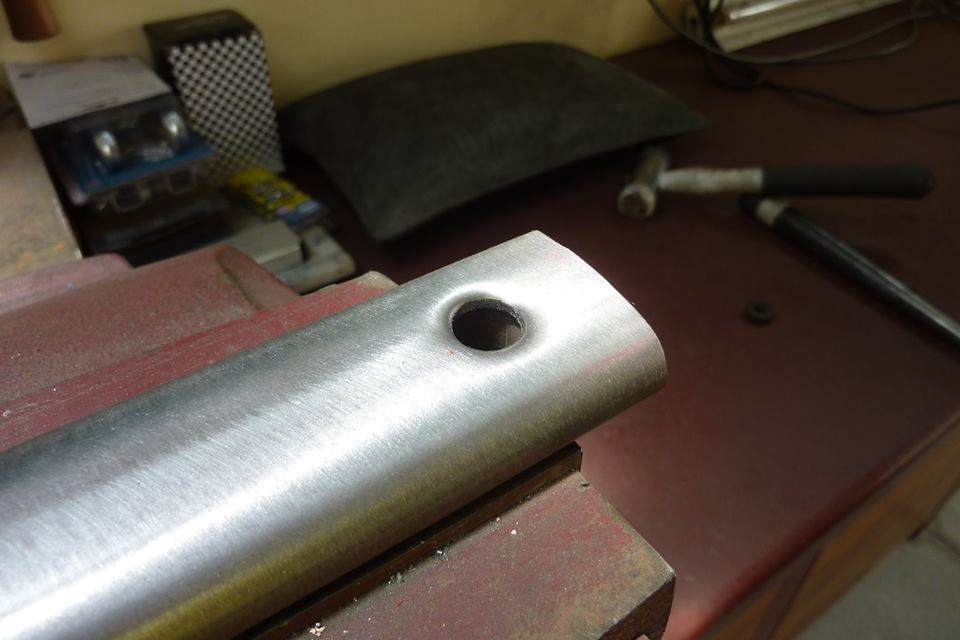
Got the drivers side handle free using a spot weld cutter type grind drill bit in a thread tap wrench handle. My idea is to mount this to face of the inside steel panel of the door rather than the card itself.
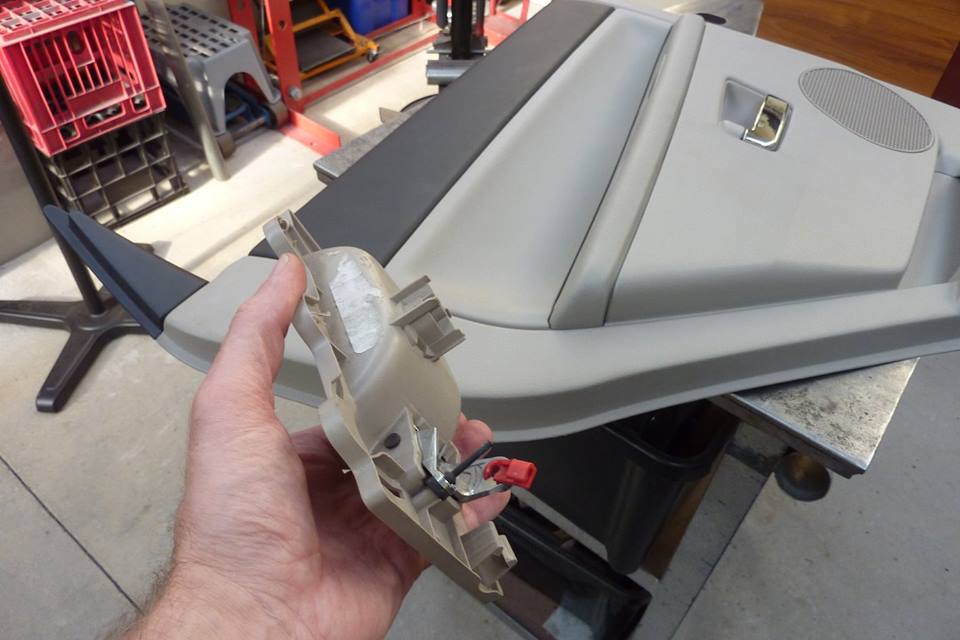
So to mount this I will remove all the ridges on the back. They are not needed anyway as the steel door panel is stronger than the plastic door card it was on.
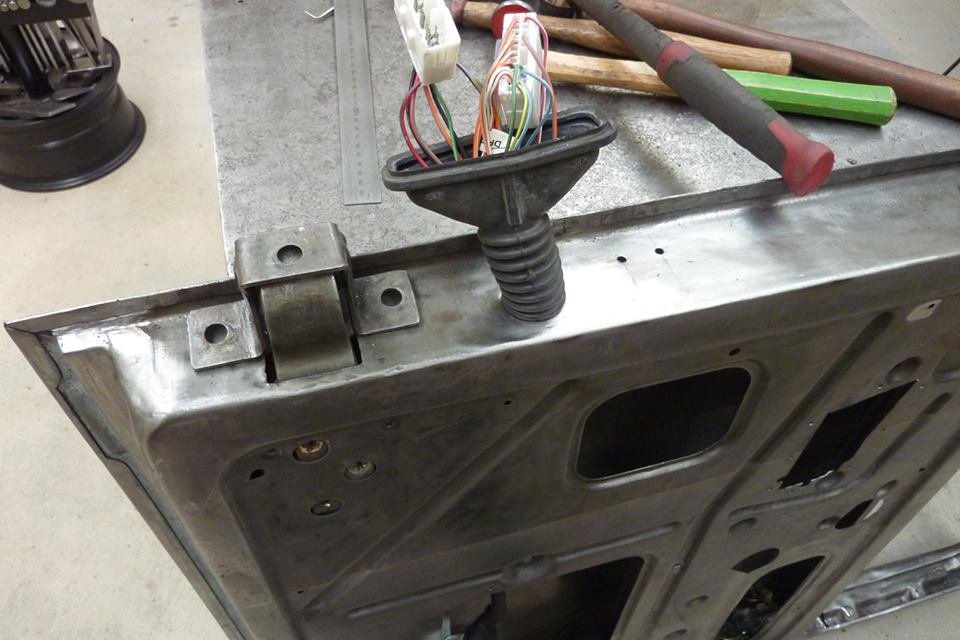
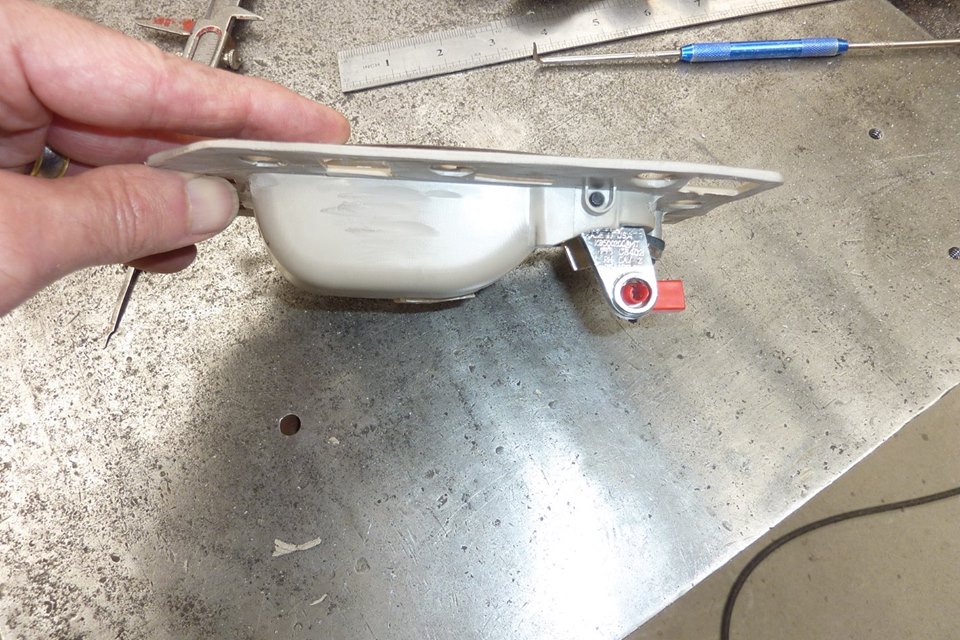
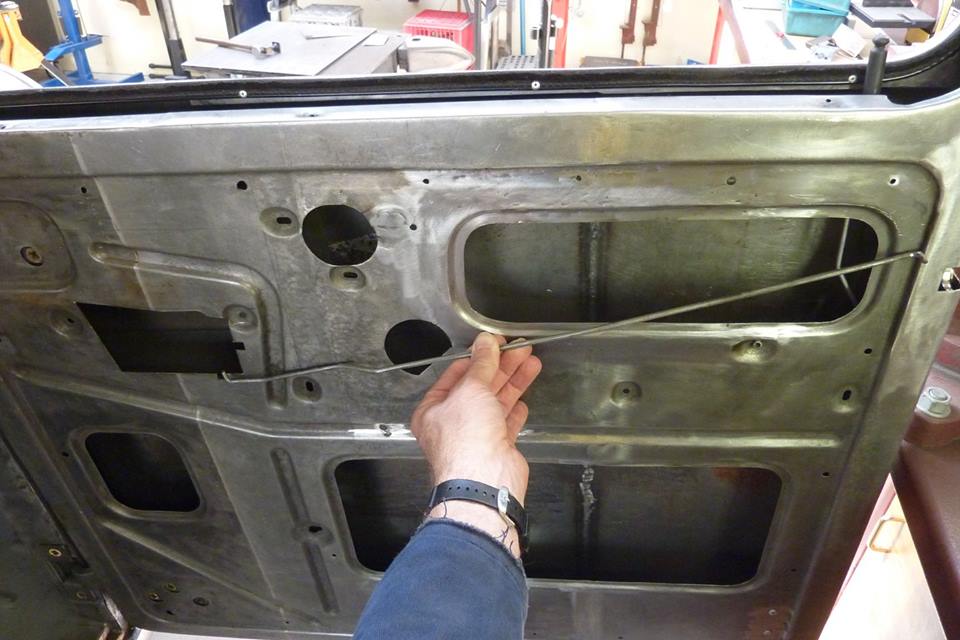
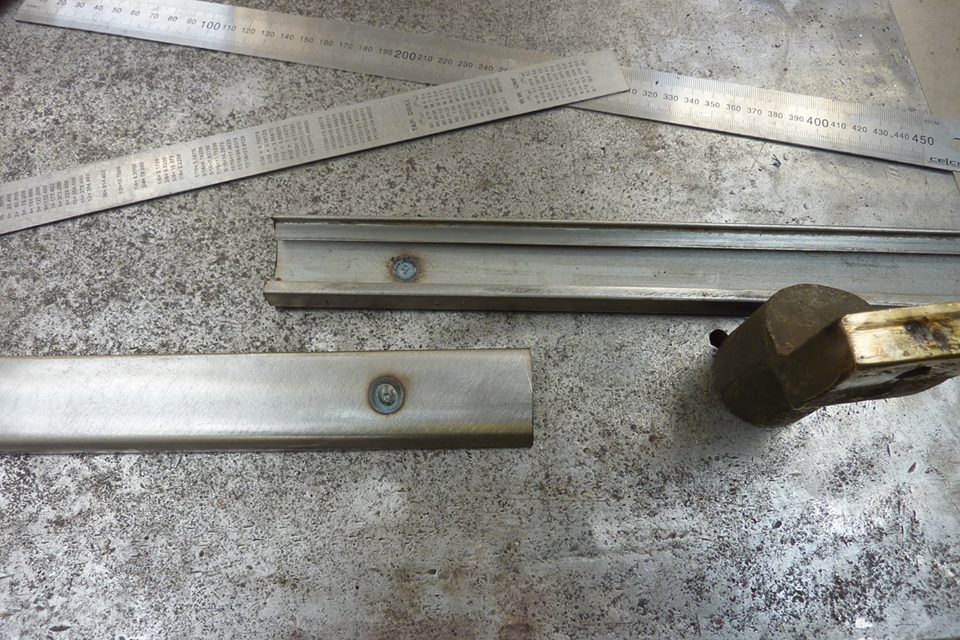
To clear the window I need to shorten the link arm. Works out well as this setup gave to much travel to match the bearclaw release lever.
Lever shortened and redrilled for the link. I did have to swap the lock link piece to the other side though so it could pivot more.
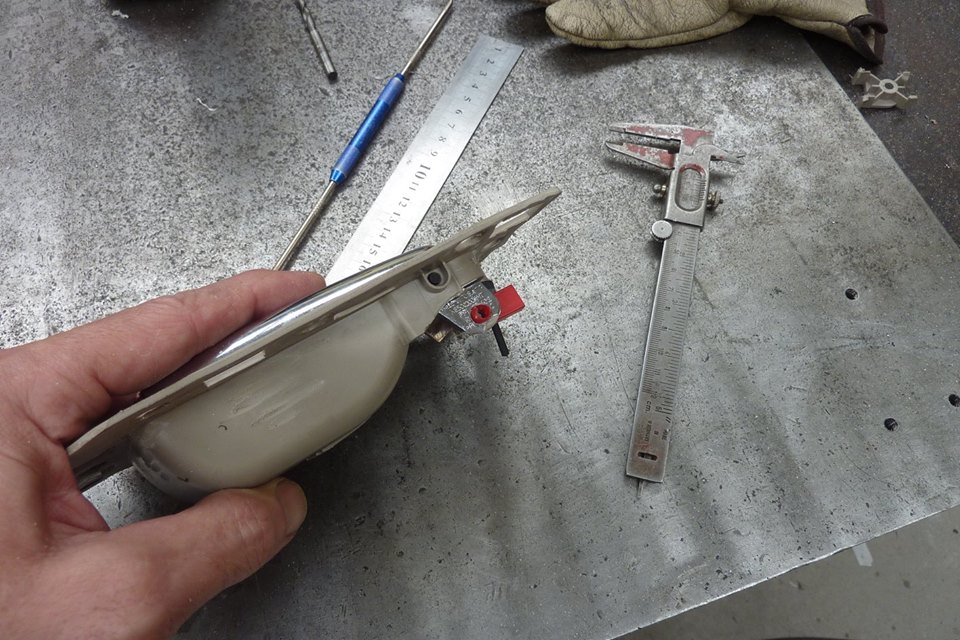
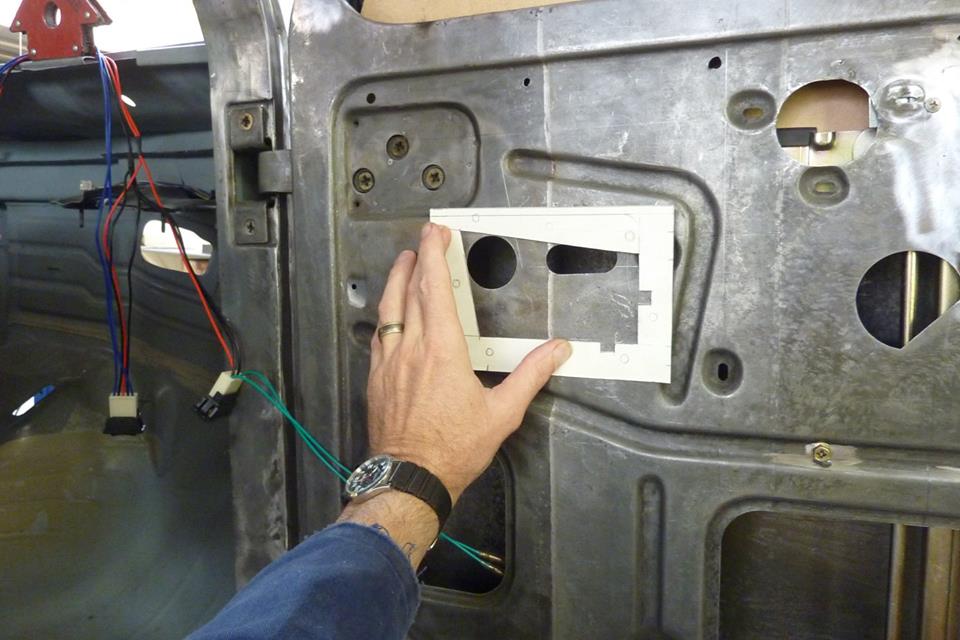
I had hoped to mount the handle behind the window guide track so the link rod didn't have to pass by it. The height gave a straighter pull to the release lever too, but unfortunately the clamps that hold the window to the lifting carriage got in the way.
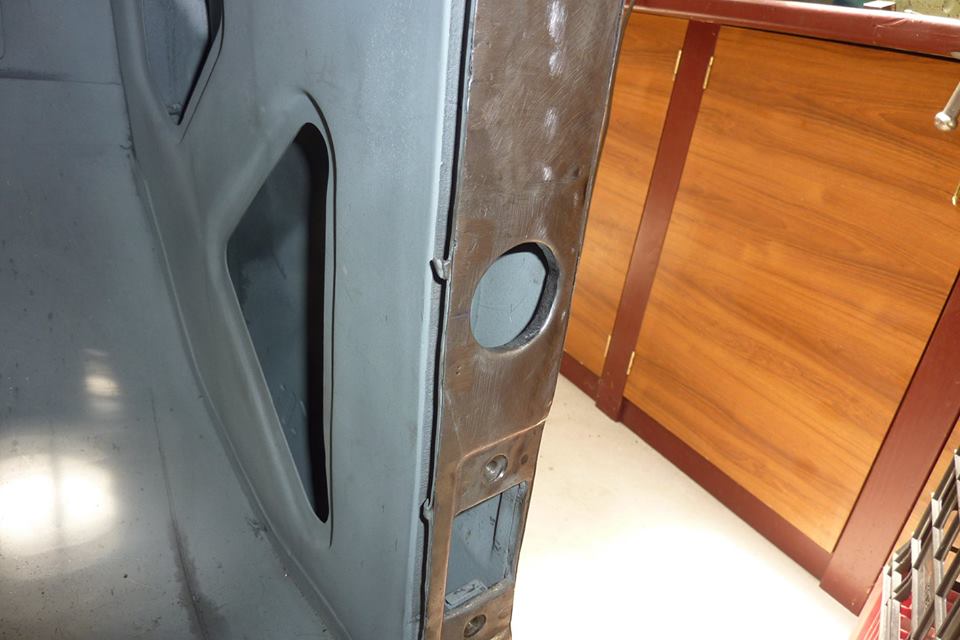
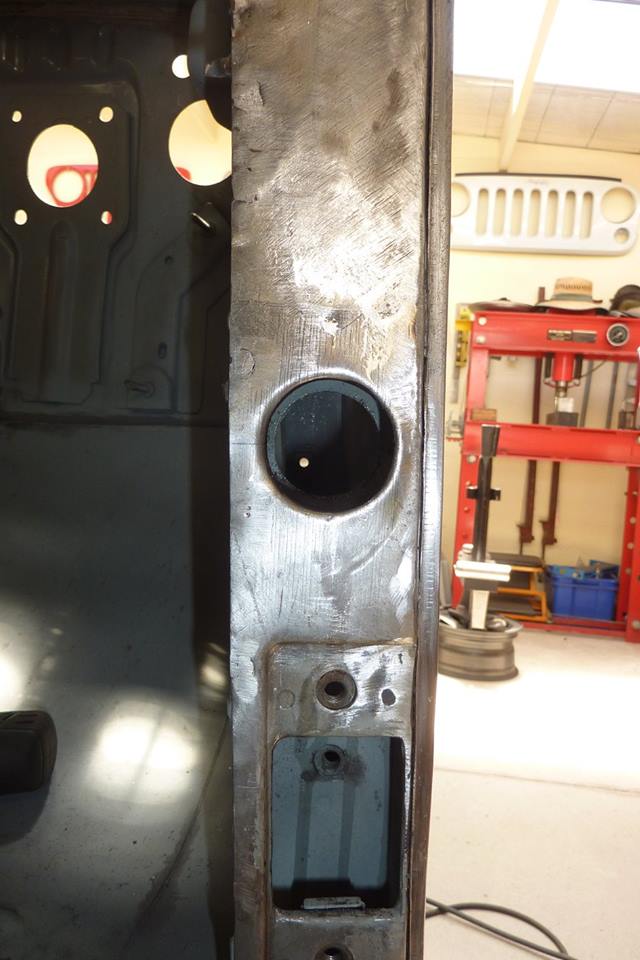
Twisting around with the handle nearer the lock was awkward so moved it closer to the hinge. I didn't what to cut through the pressed ribbing as it is important to keep the area near the hinges stiff.
This was the only place it could go in the end and still be comfortable to use.
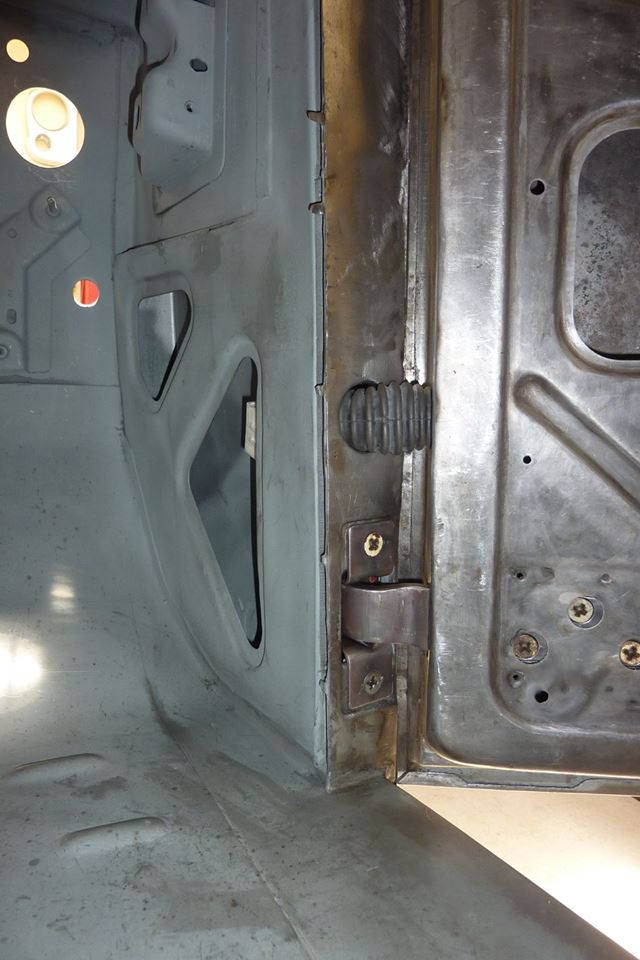
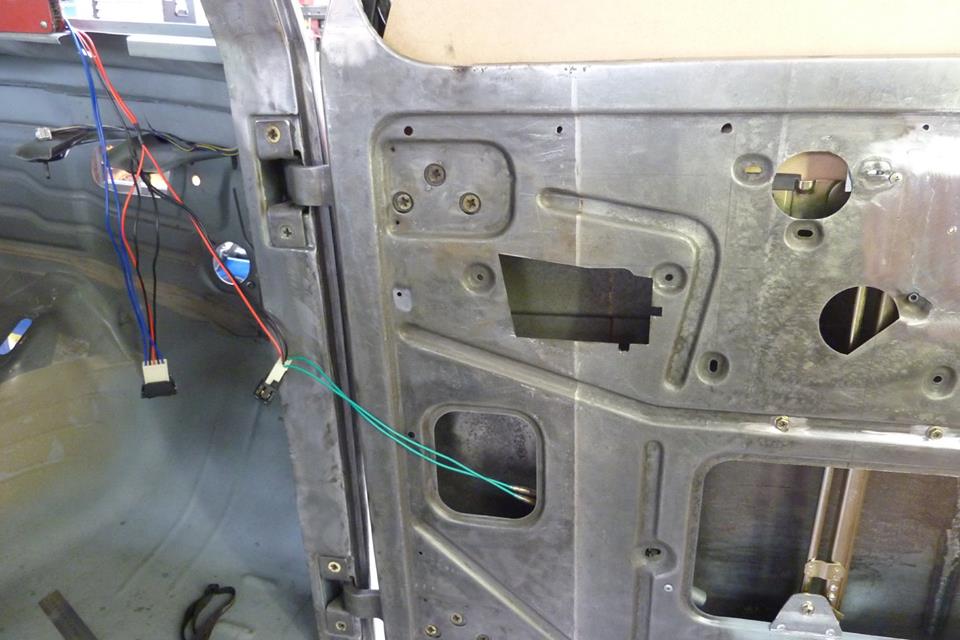
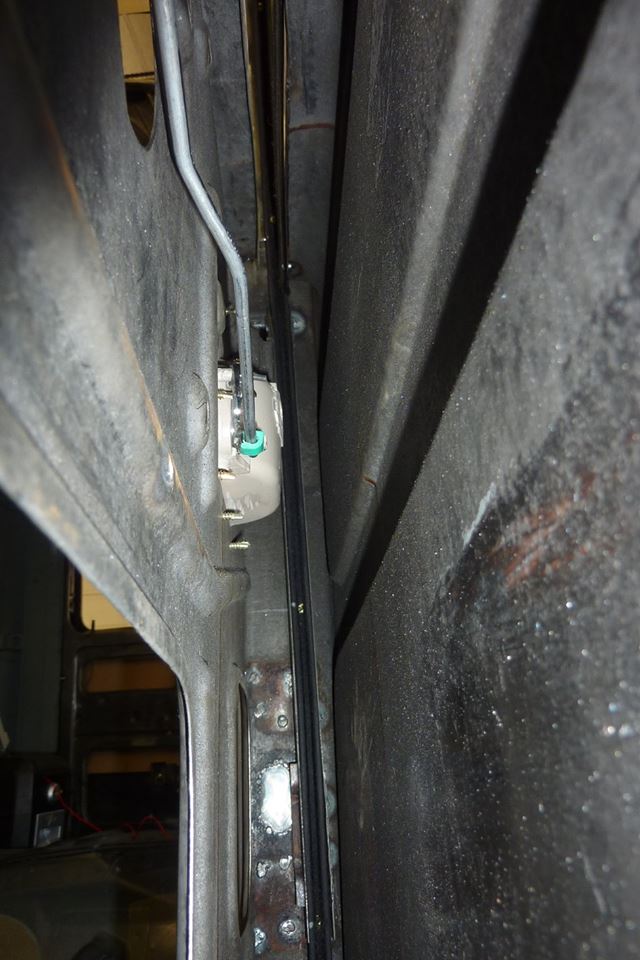
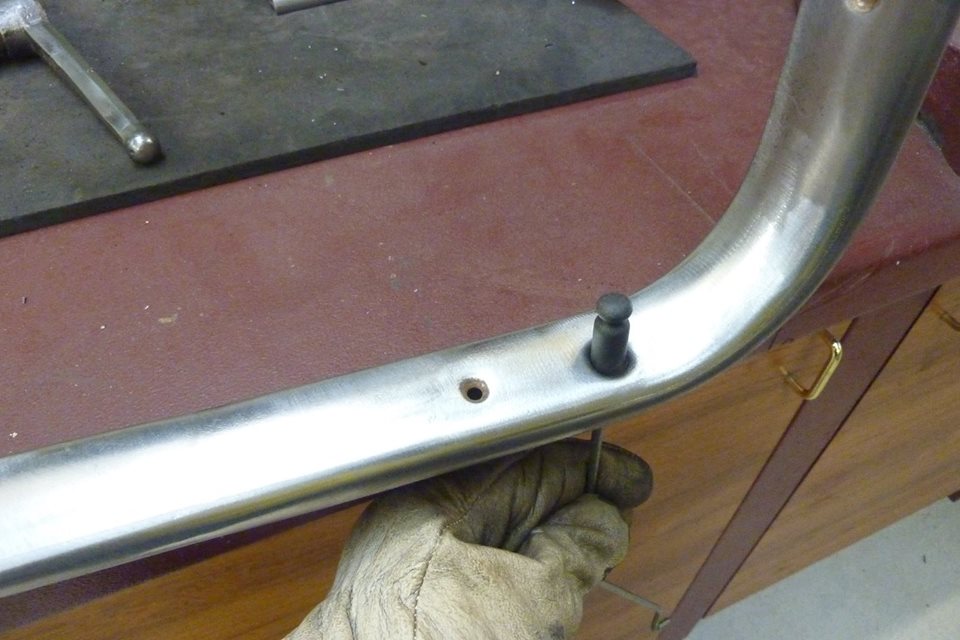
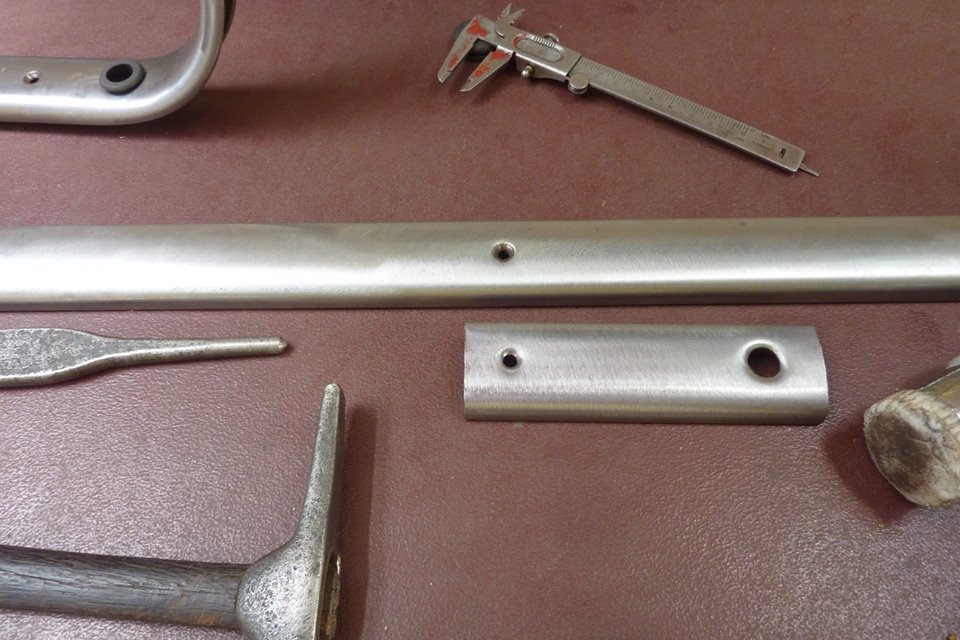
The handle fits right in without interfering with the window
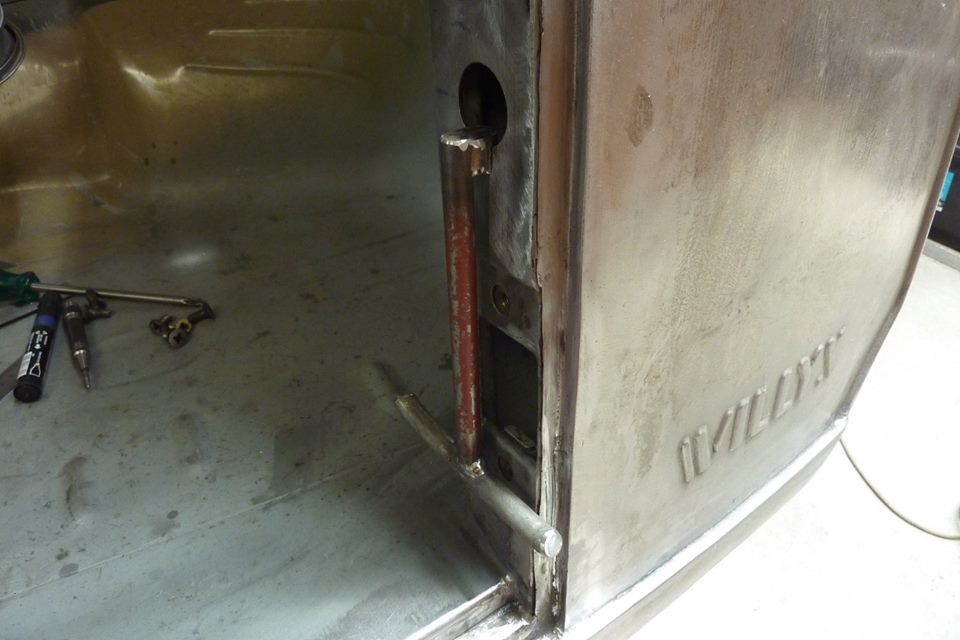
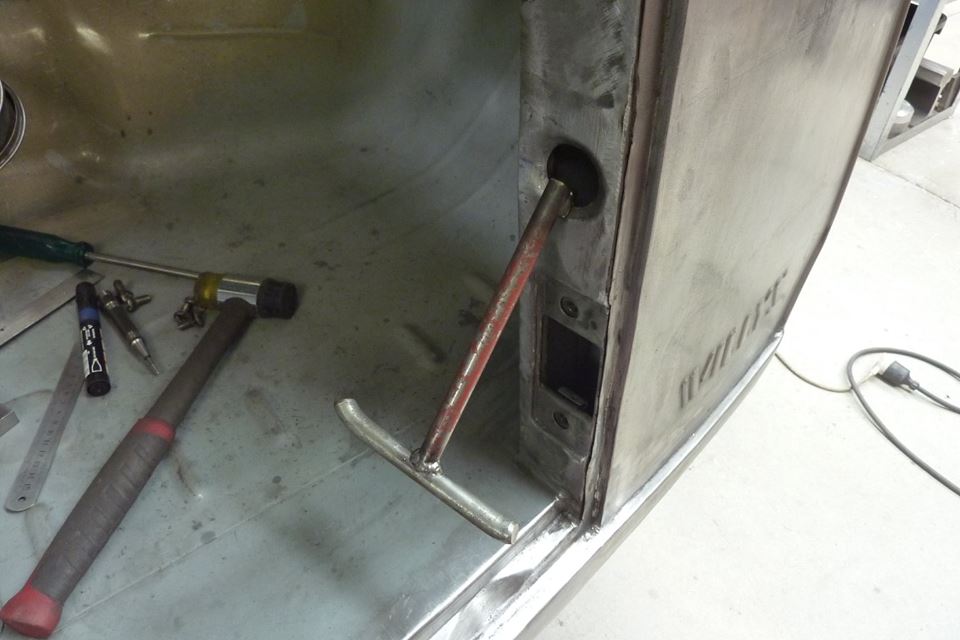
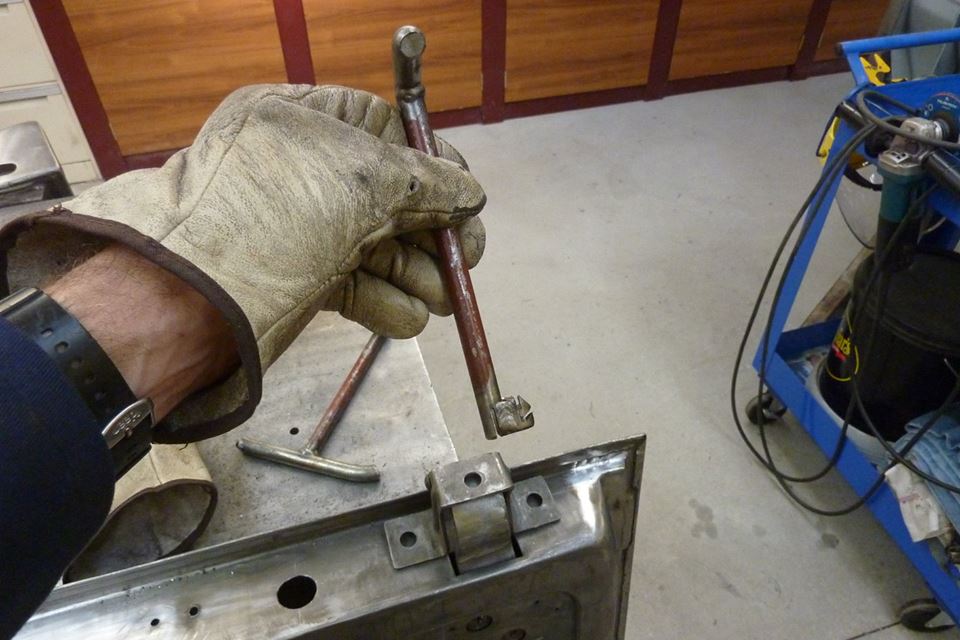
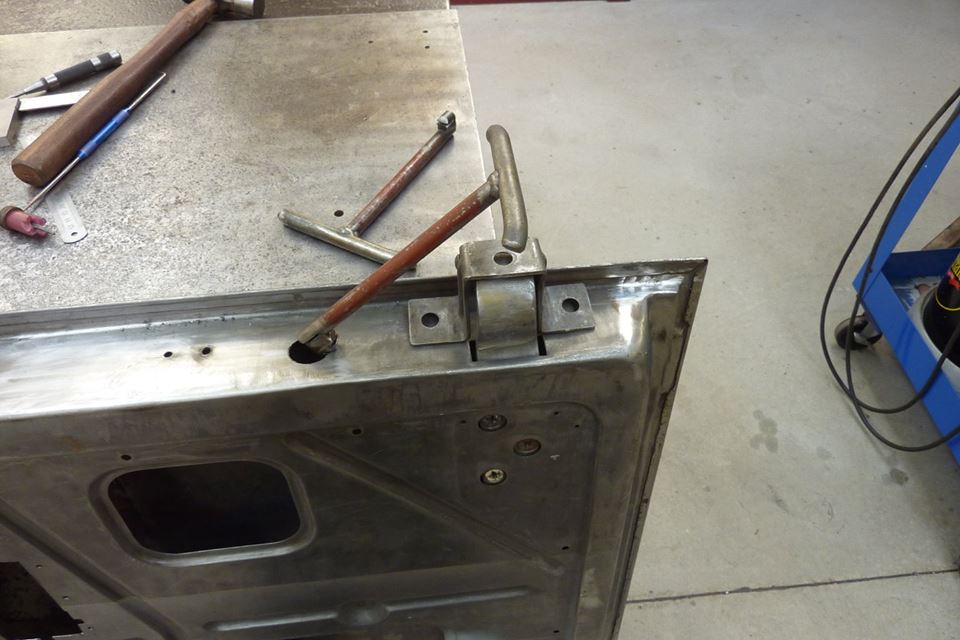
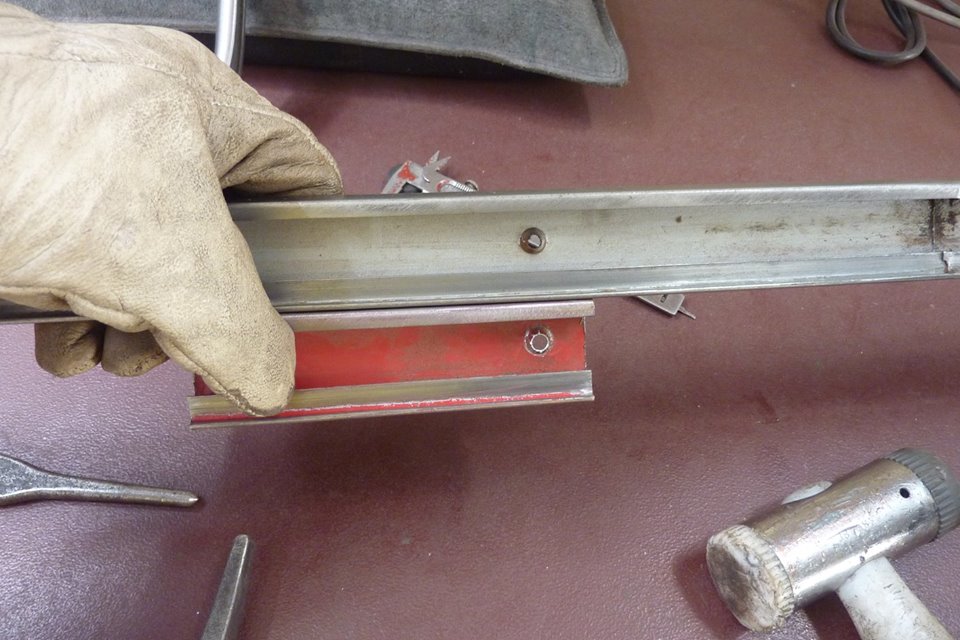
The rod is pretty long so I use thicker gauge and then just ground the ends down to fit into the link locks. I had to step it inwards from the handle arm so it could go between the window guide track and the inner panel. Did have to remove one of the old armrest mounts so it could pass by. I tried a big step up vertically as well in the rod first, but there was too much flex with the extra bends.
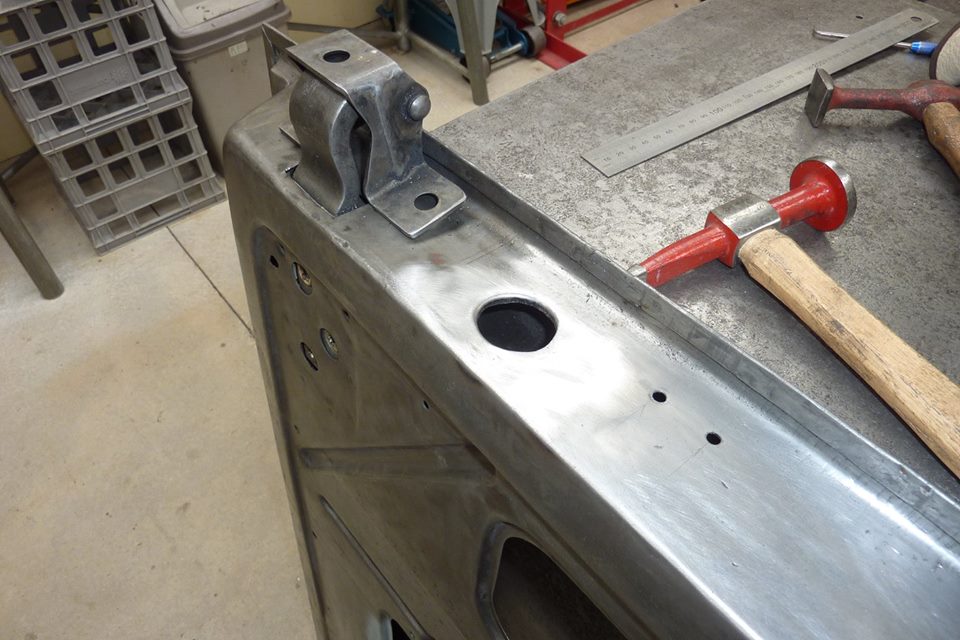
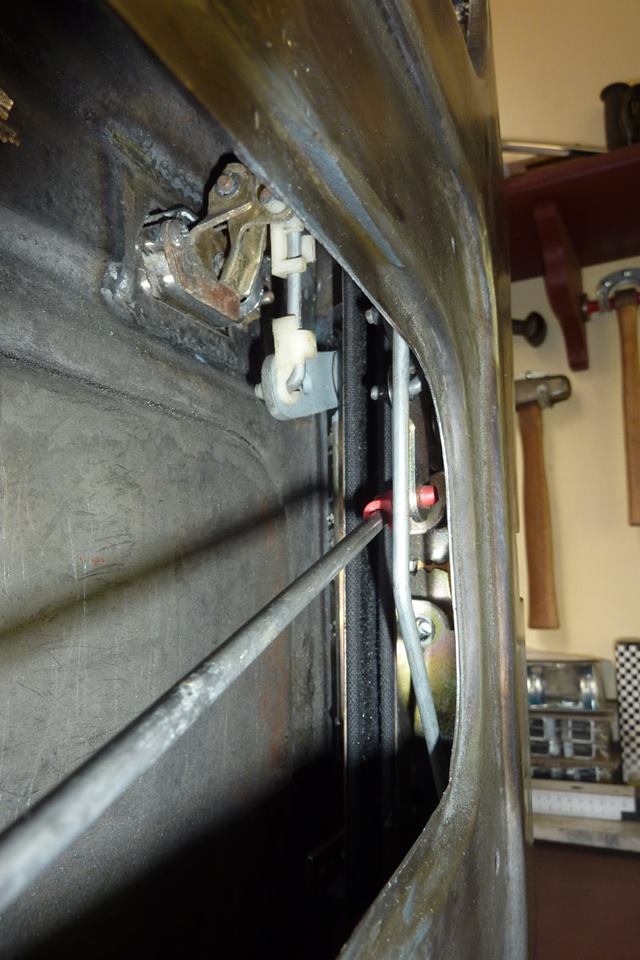
Fitted into the lock release lever. Same one that the outside handle button connects too.
Can see the step to make it go close to the inner panel to get past the track.
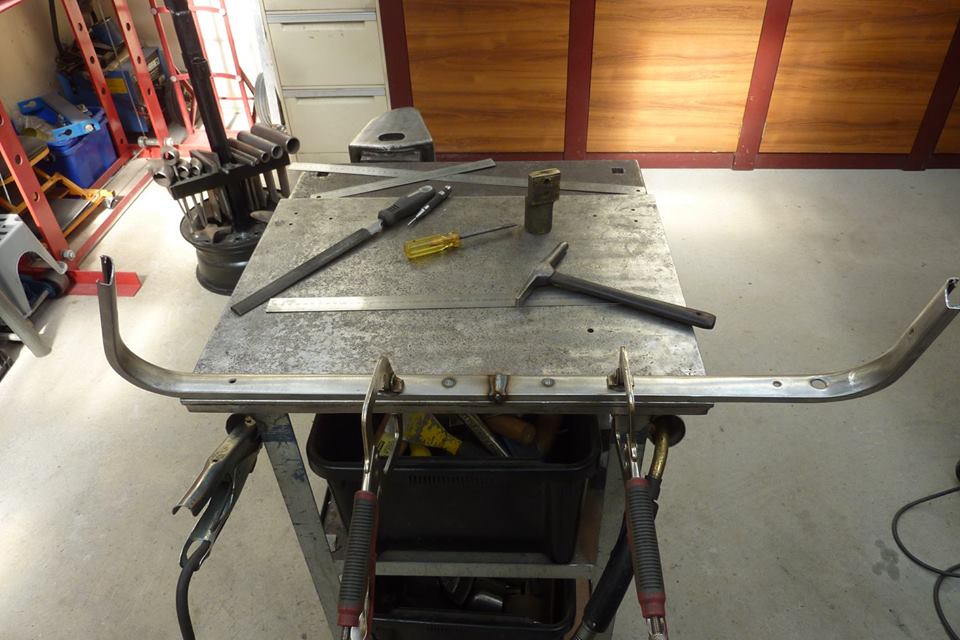
Another bit done that took longer than it should, but that often happens.
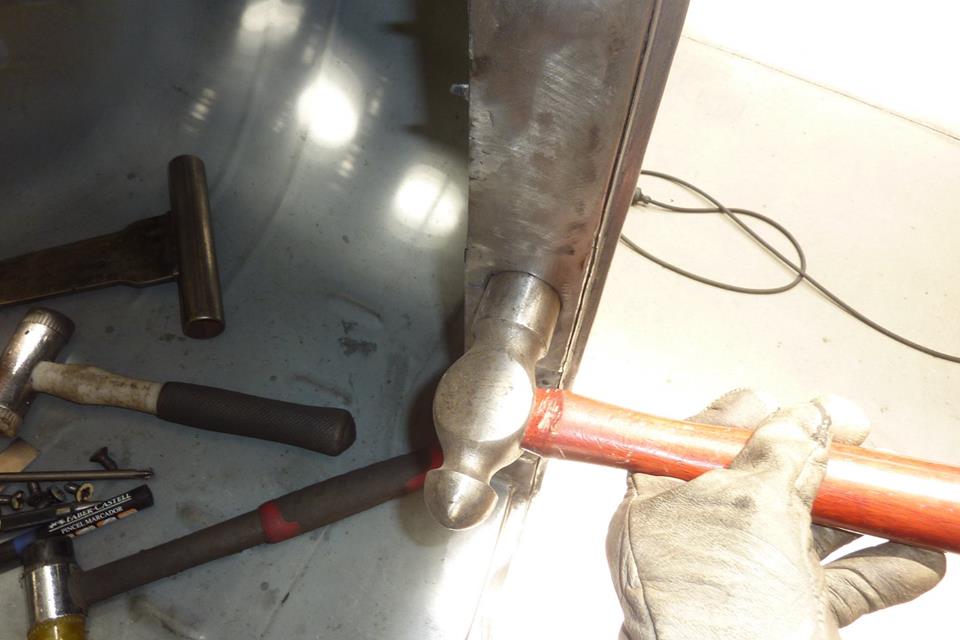
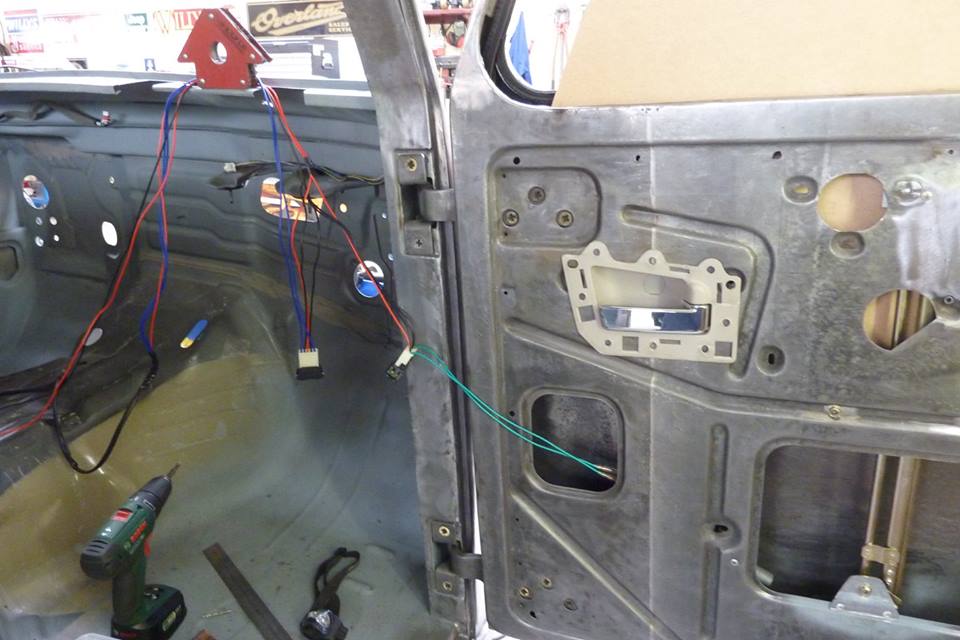
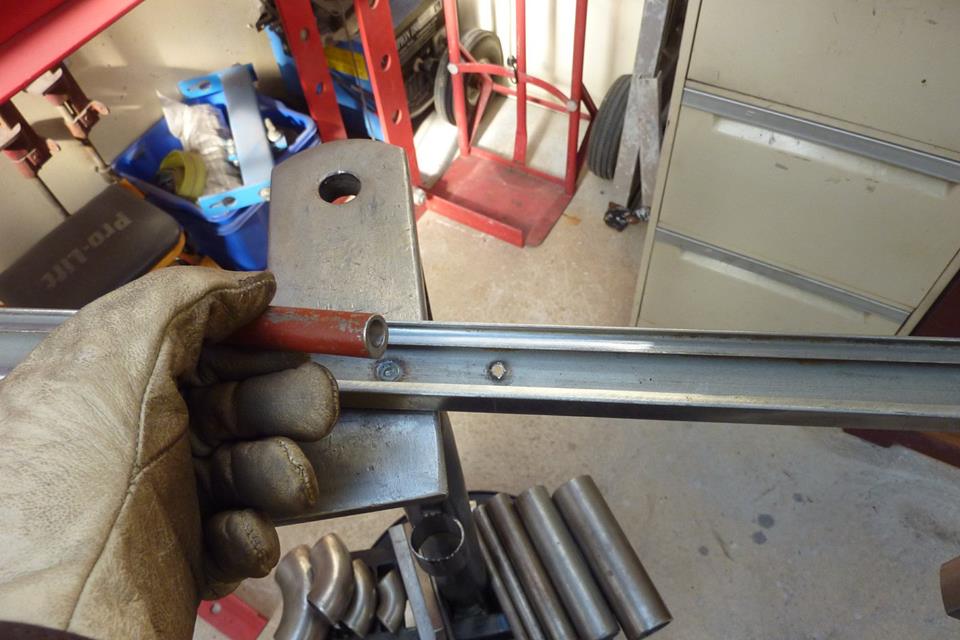
I felt it still needed a little more refinement. It worked fine but you barely operated the handle and it would release the door. So rather than move the link even closer to the pivot point of the handle, I thought it would be best if I increased the length of the release lever at the lock end. Tried a couple of different lengths and found 40mm-1.5" longer worked the best. Now it has normal range of movement at the handle plus it reduced the angle of the link between the two ends. If you extend the release lever at the lock to too long, it increases the effort on the door button to release from the outside.
Hello Marcus. Great work with your Door Details and Inner Guts etc. I was wondering... When you get you Truck all 'Done', are YOU going to do the Paint Job or send it to a professional painter? Pivnic
Again time consuming details to make it right. I was fortunate enough to go to SEMA last week. I opened the door of a $120,000.00, 55 Chevy, (with permission) and I had to bite my tongue. The latches worked like worn out 60 year old latches and the door dropped at least 1/2 inch once it cleared the latch pins.
Your efforts are beyond typical and I for one applaud you. I think your build and a few others have slowed me down from slapping together a trail rig. I am working with Grand Wagoneer latches. I am laying out my third version of an interior release mechanism.
Great patience. I may have to fly around the world to get a chance to see this thing in person when you get it done.
Duane
Sent from my SM-G920V using Tapatalk
Marcus,
Post #1390 pic #8 your small "U" shape door rod you made i just realized you have a double style rod clip, what vehicle did that come on no luck with a search.
And do you plan on using a external door lock in the event no power and its all closed up ?
And thanks so much for sharing your door mods i had gathered all the latches and such but didnt want to tackle the internal linkage, this is going to save me plenty of head scratching along with others.
Is the rat rod or the grand willys going to eliminate the vent wing window? I am trying to figure out what to do in the front corner as I would like to leave enough room for the door check. It seems like there has to be a bit of solid added if you are going to have a glass channel in the front. (I hope that isn't too confusing). Can you point me to it if you have already done it? Thanks.