commando_willys
Sharpest Tool
Finest quality work! Love it.:cheers:

")


Must be taking some time off to relax? Enjoyed catching up on your thread. I've been stewing over mine for a few weeks now and have a question I think you could help me with.....maybe. I'd like to change the dash in a similar manner as you are doing with a donor. What I'm considering is buying a wrecked JK or the like and gutting the interior along with the HVAC system and the wiring harness. Going that route versus buying aftermarket components what are some pros and cons do you think?
Sure looks nice Gojeep. Did you use chemical stripper on your body parts? They are so clean.
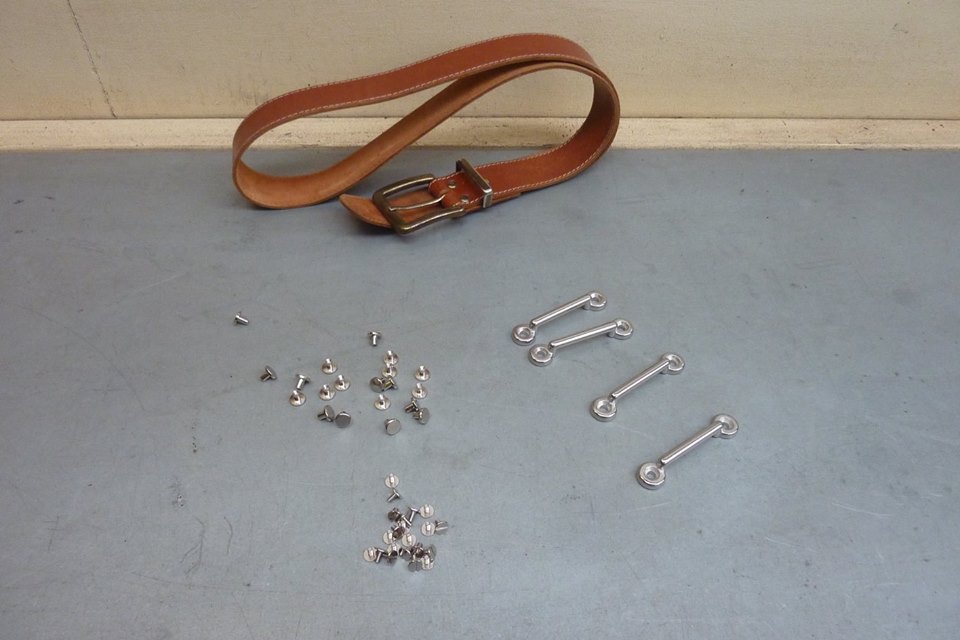
I like that idea. I was thinking something similar but I am concerned with the straps crushing the windlace when open. Maybe a small section of protection where the strap would contact? I have a section of 1/2" ×3" steel on the A pillar already to act as roll cage for less of a foot print in that already tight area. That end of my strap will be well secured.
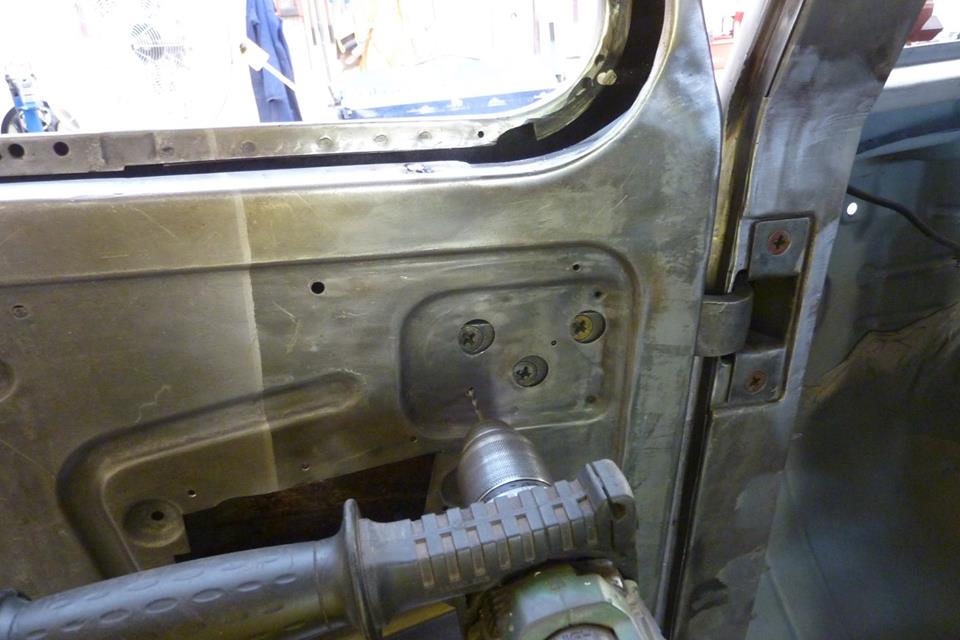
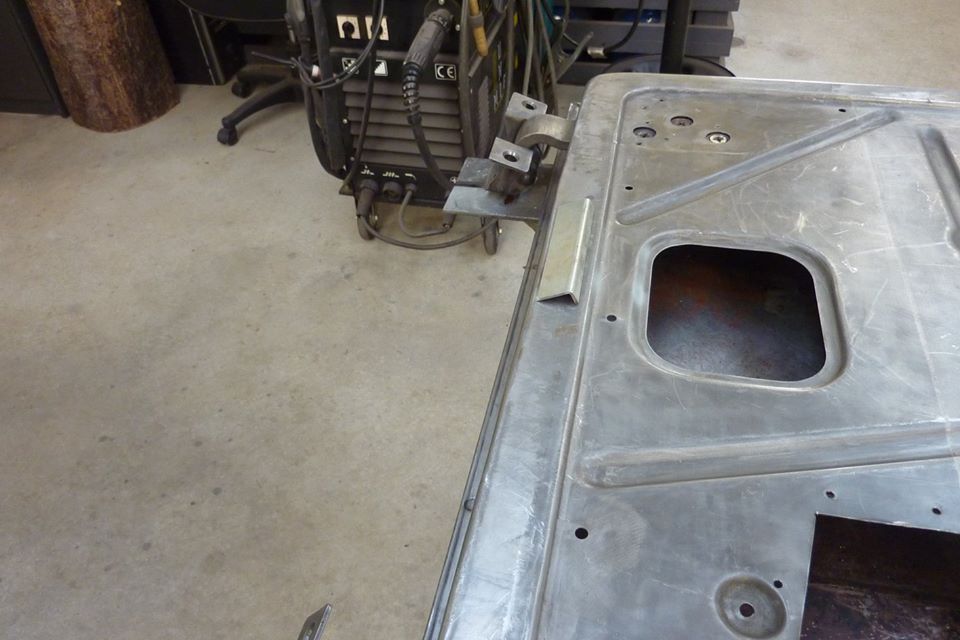
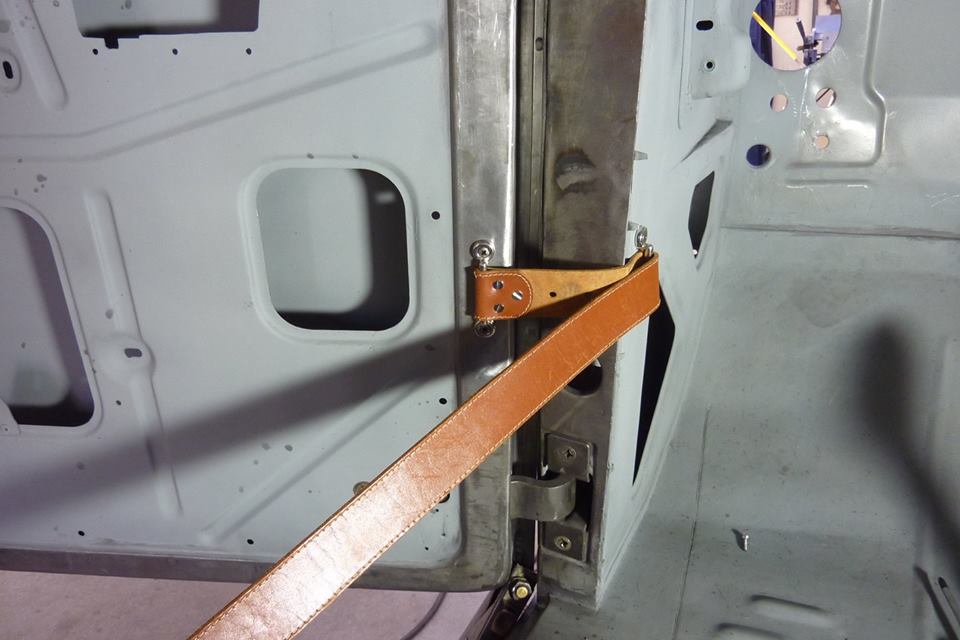
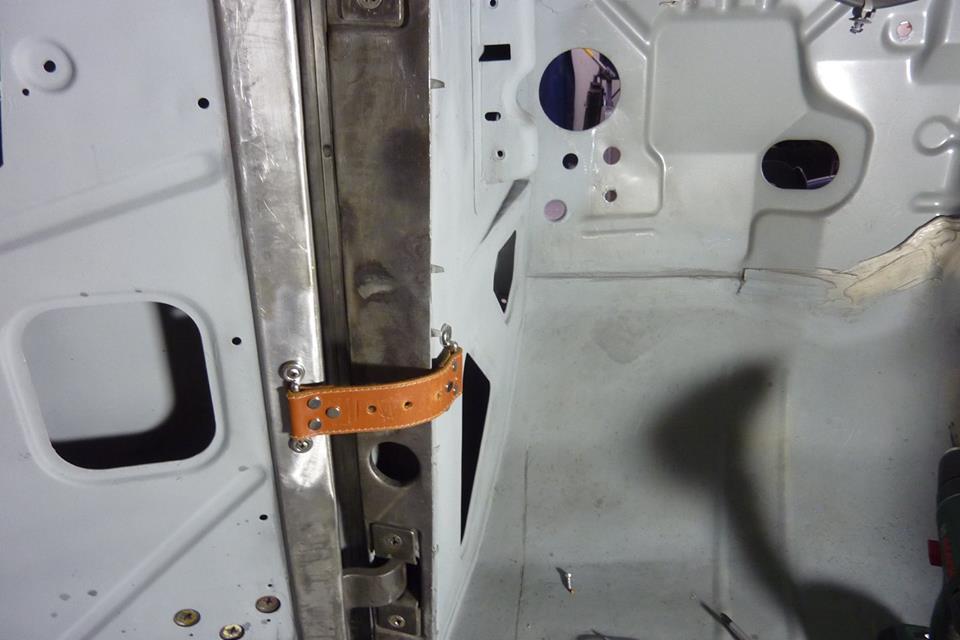
I would have not thought to reinforce the door. Since mine are on the bench getting rust repairs and latch upgrades, why not? Thanks for sharing. Going to mimic your idea on this one.
Duane
Sent from my SM-G920V using Tapatalk
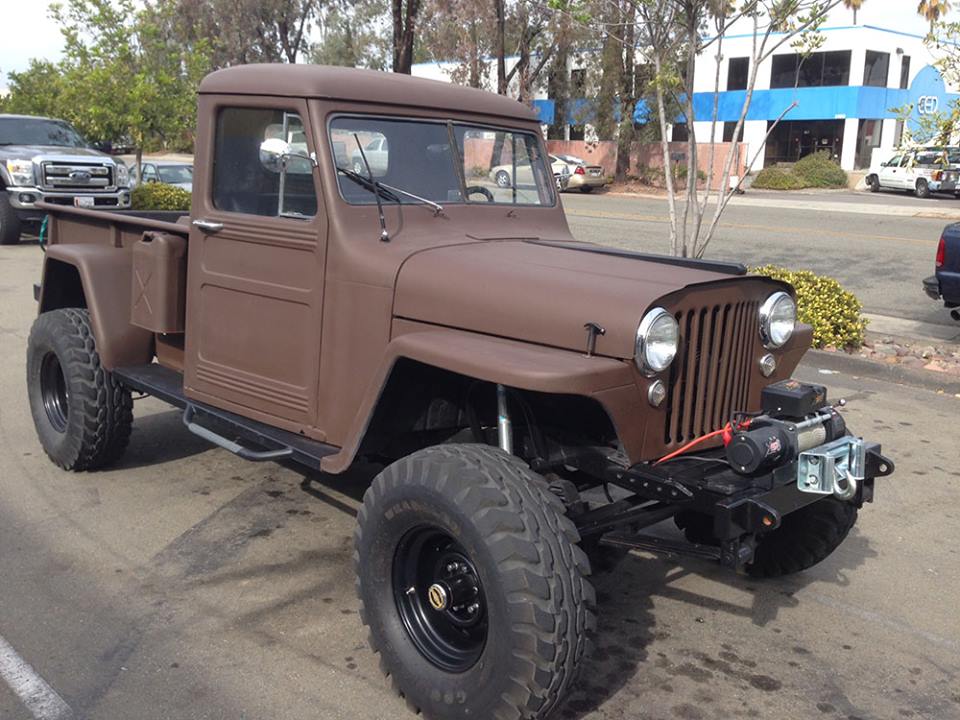


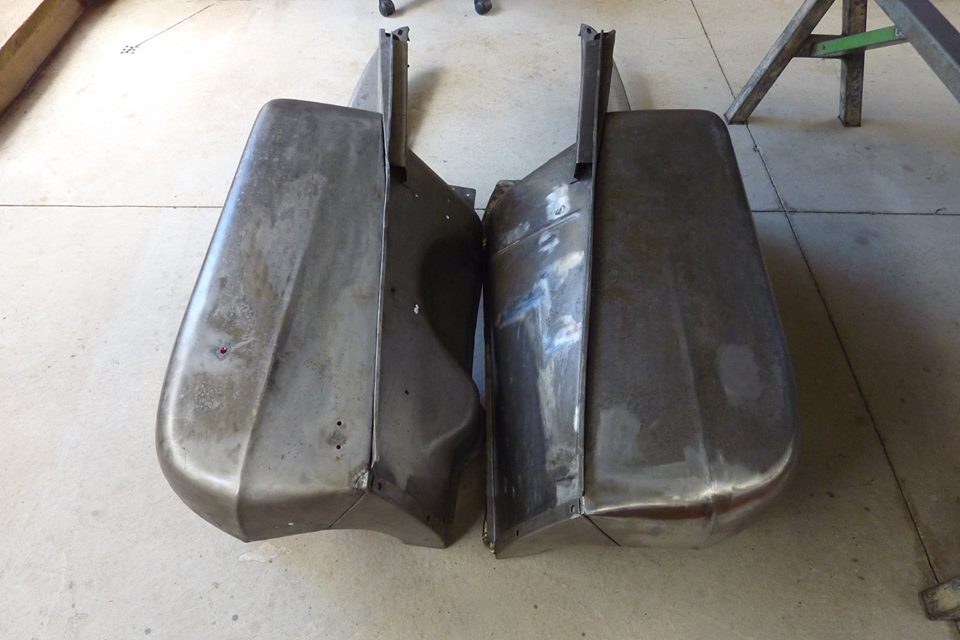
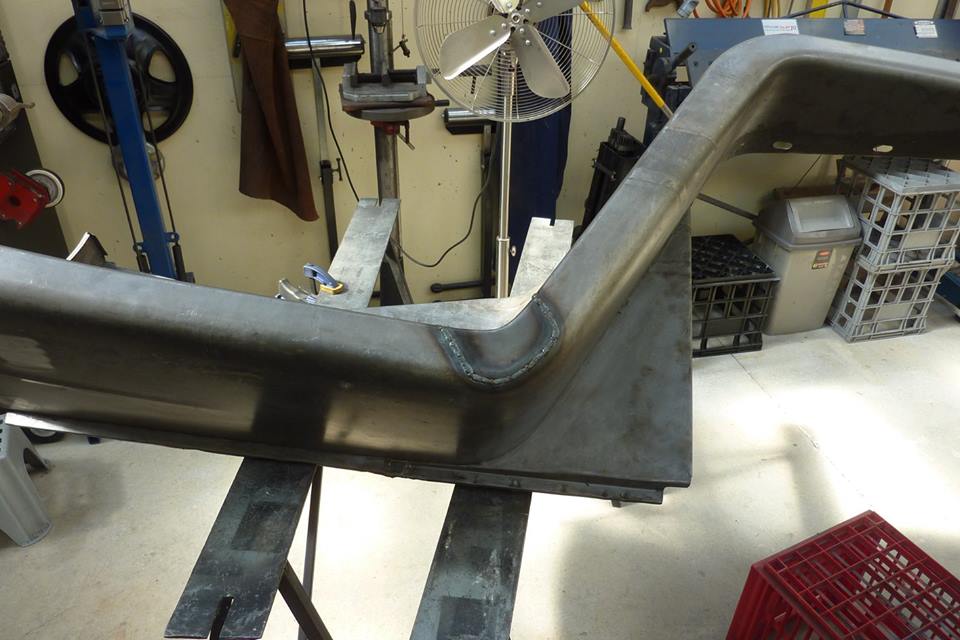
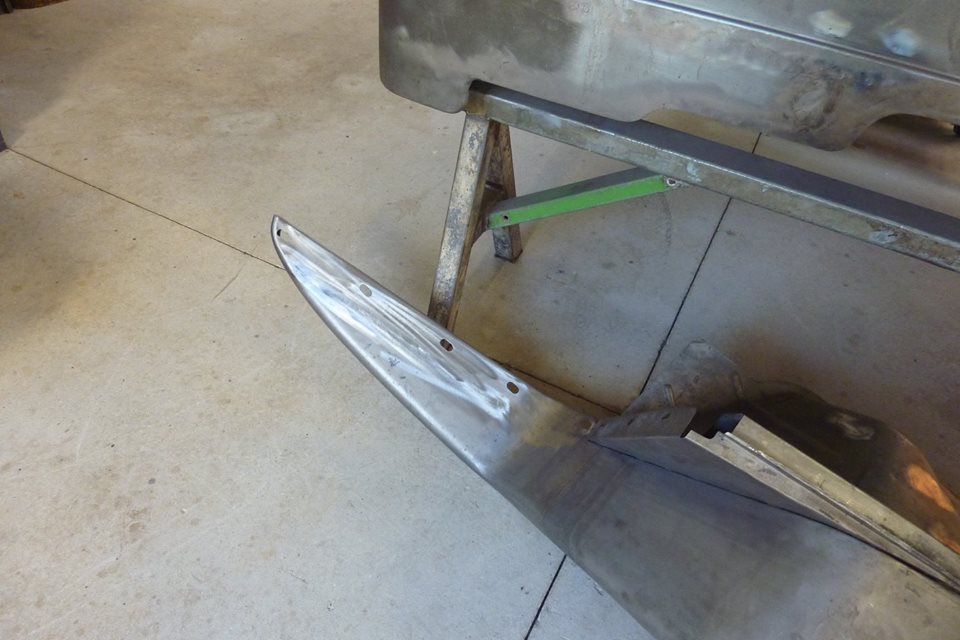
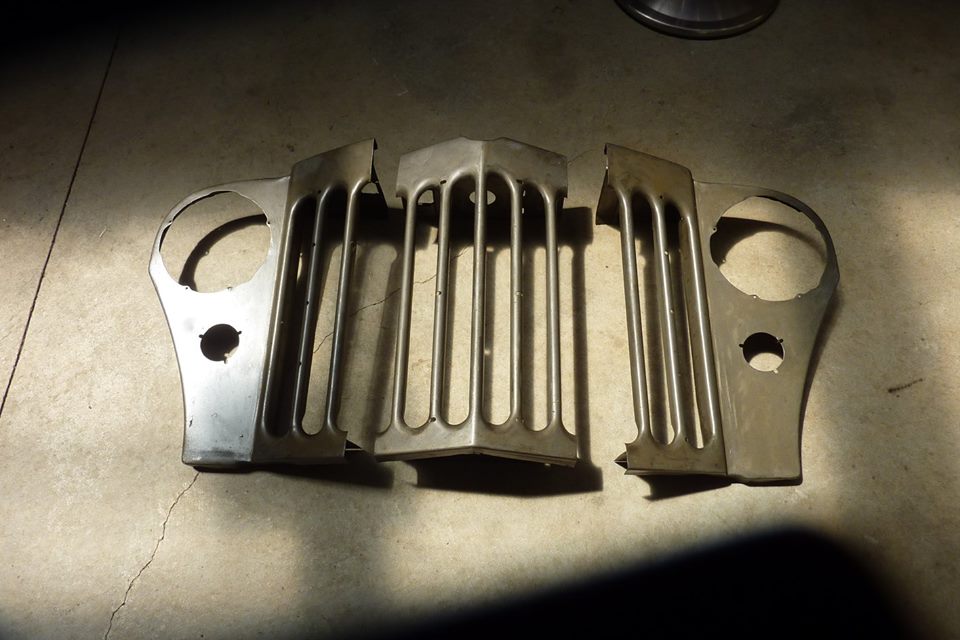
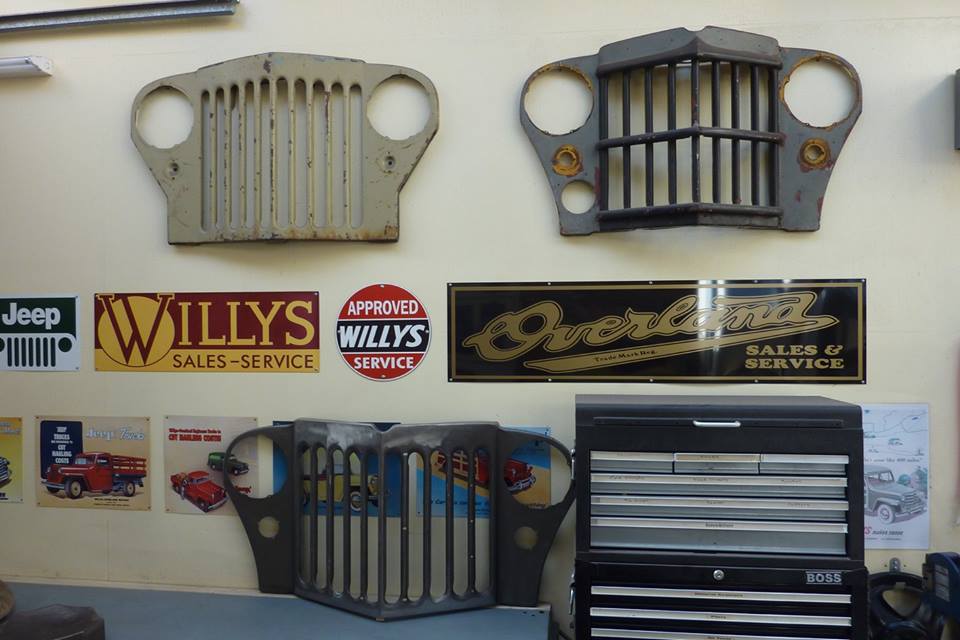
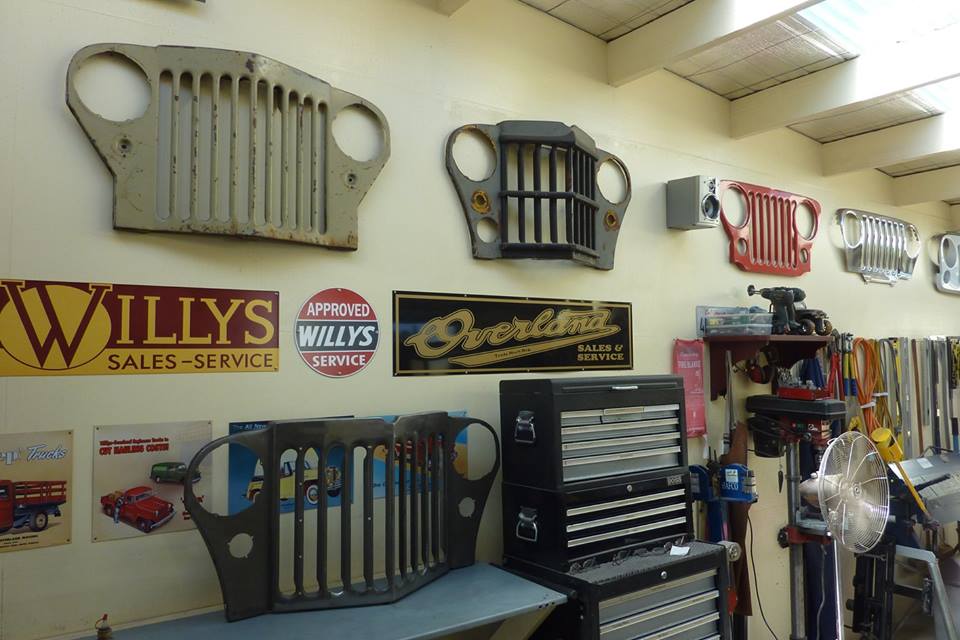
I am going to run the radiator and the huge hydraulic fan, that is controlled by the ECU, from the donor to make sure there are no overheating problems. It only just all fits in the engine bay but would like some more 'service' room to change a belt etc. Been wondering how best to lengthen the engine bay without moving the centreline of the wheels inside the wheel arch. On my 1948 front guards, like these ones above, the front curves and goes straight across to the grille.
On the 1950 and later models it goes ahead of the grille before coming back to the same point. So my idea is to leave the outside of the guard alone and just bring the inside point forward, making a blend of the two styles.
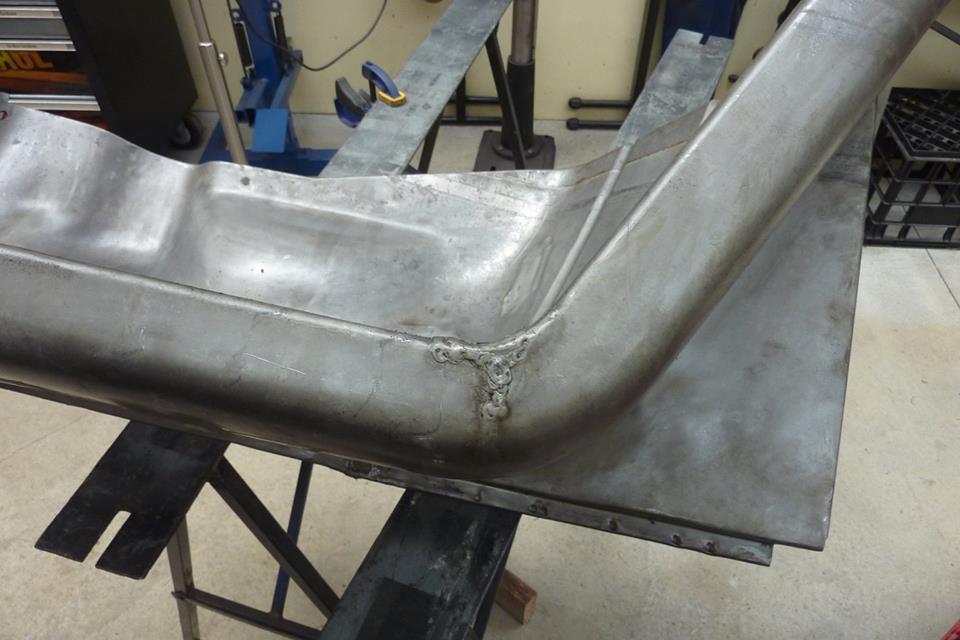
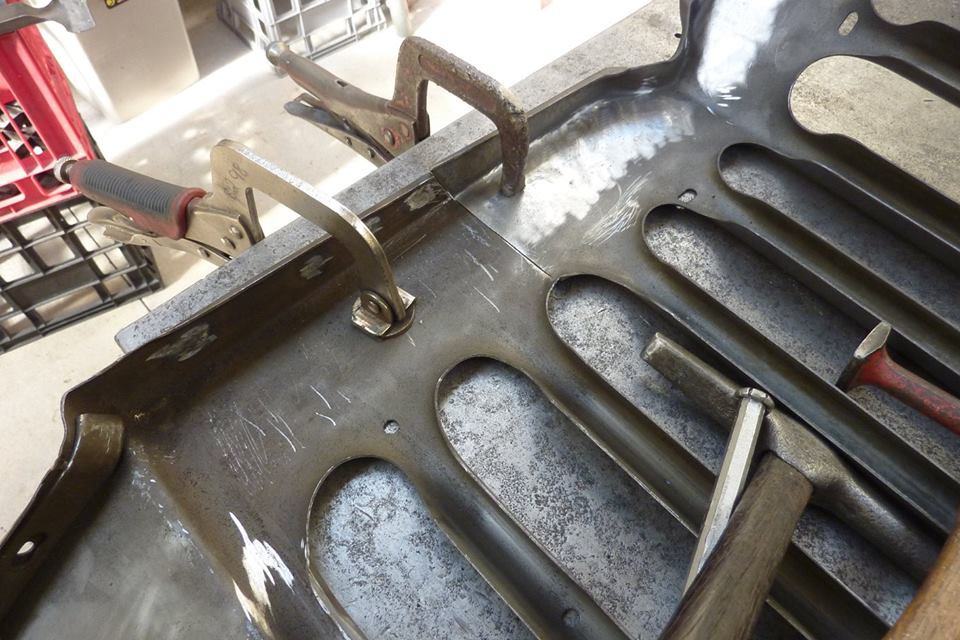
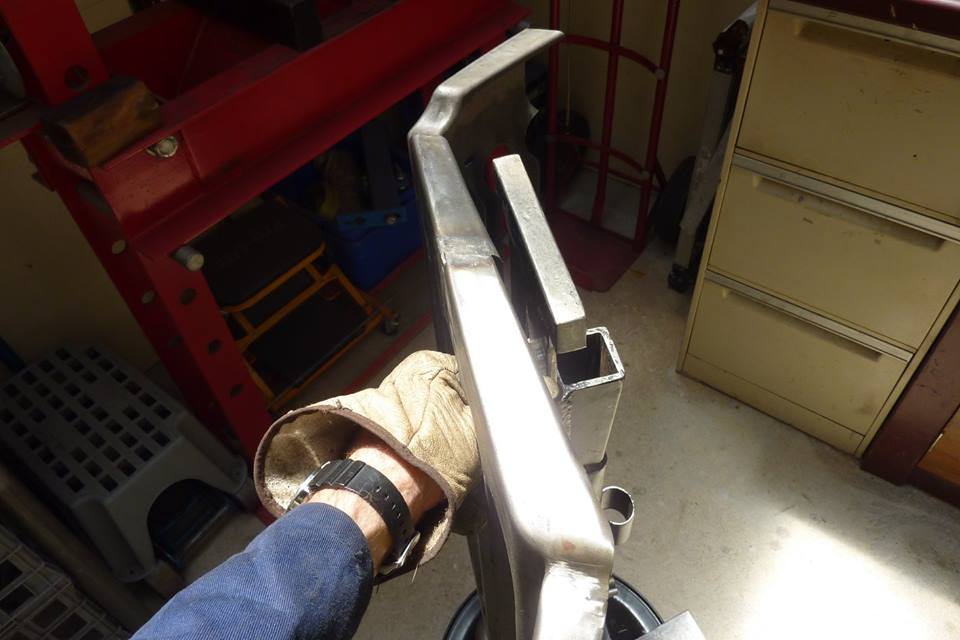
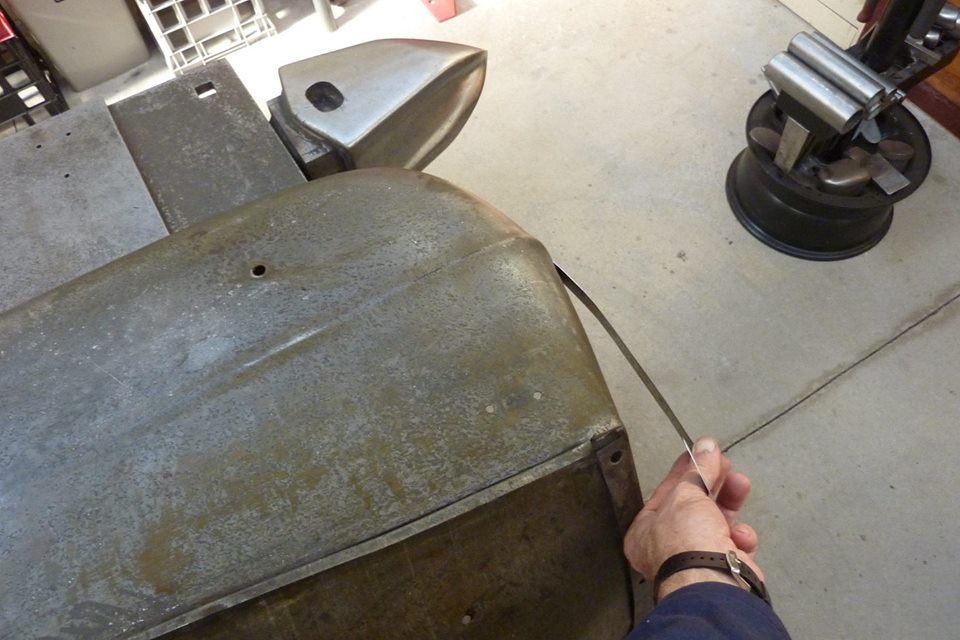
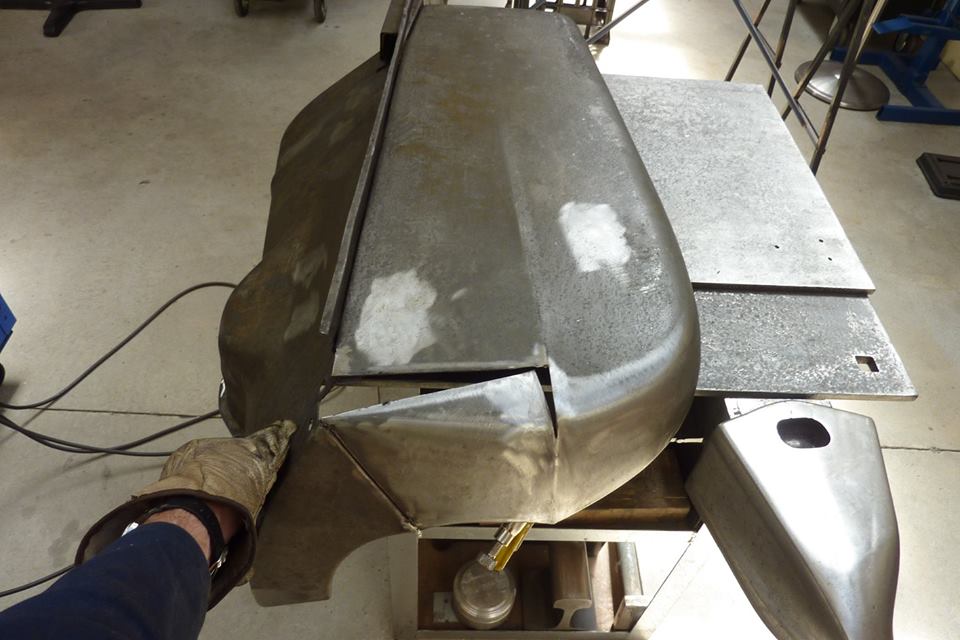
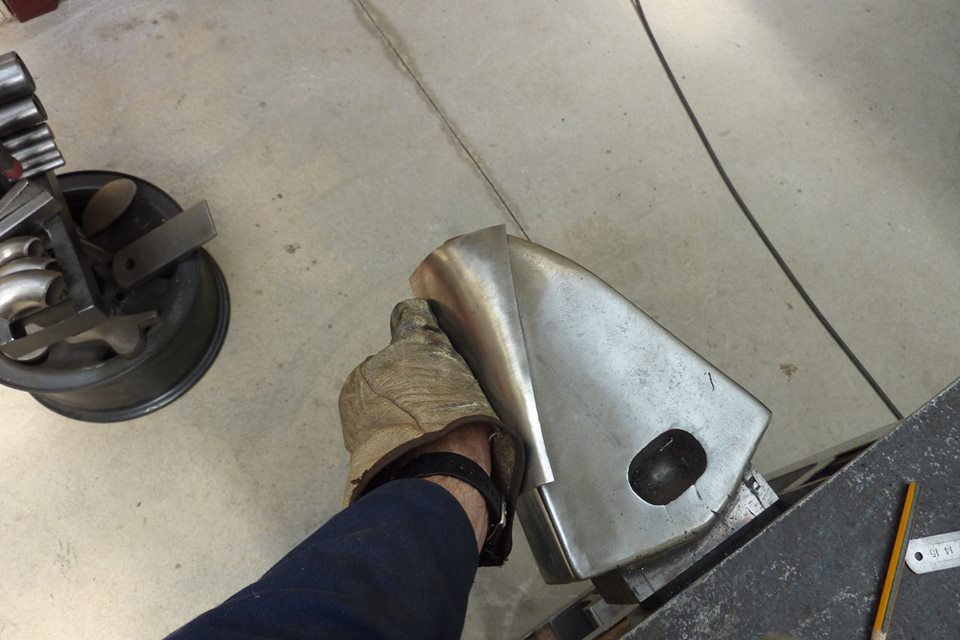
Scribed a line 90* to the outside of the guard where the panel just starts to curve downwards.
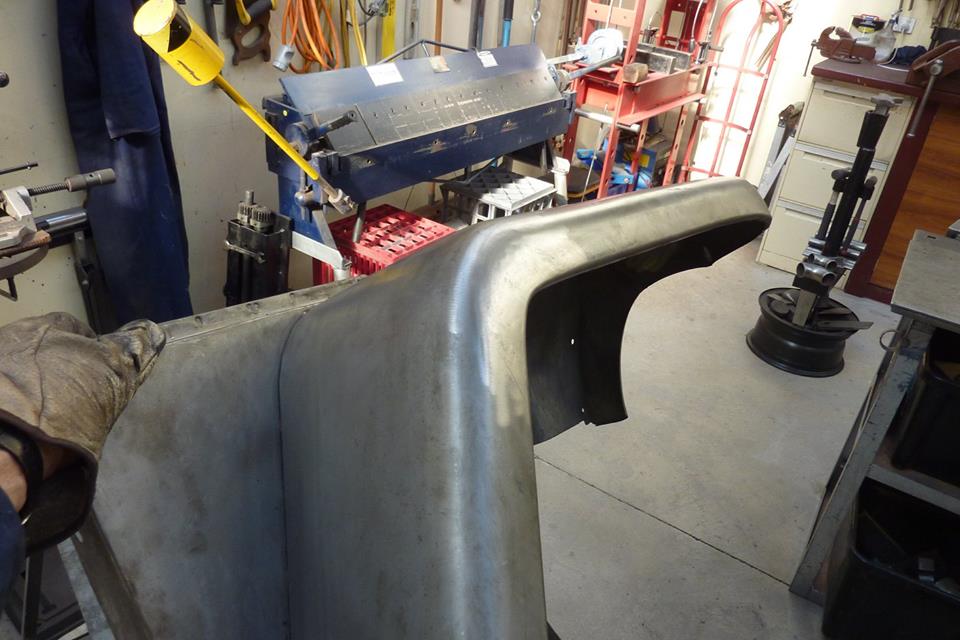
Cut along the line and forward along the centre crease line.
Also slit the bottom flange at the bottom of the crease line as well as the panel join so it could be pulled forward.
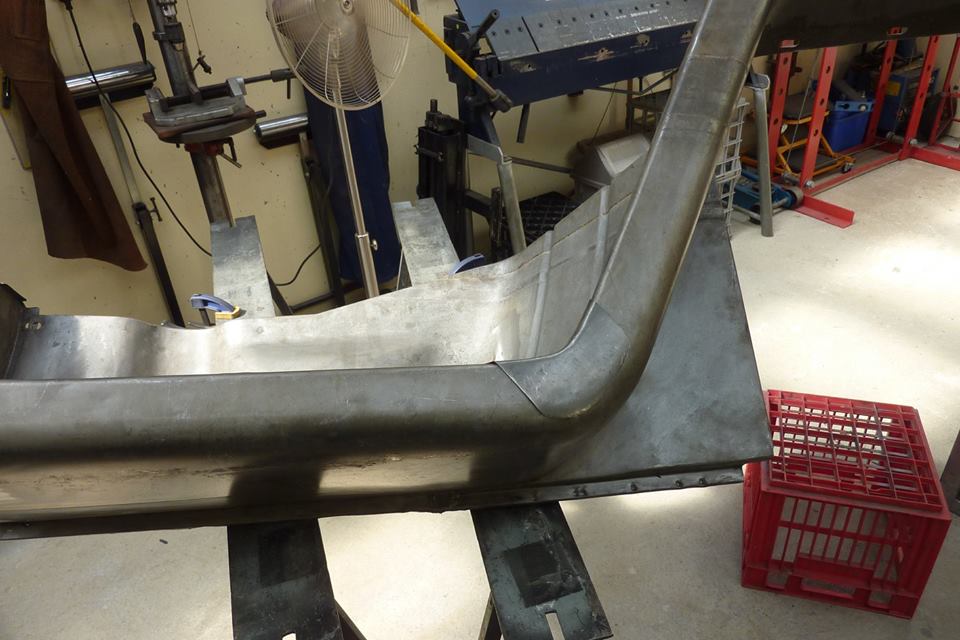
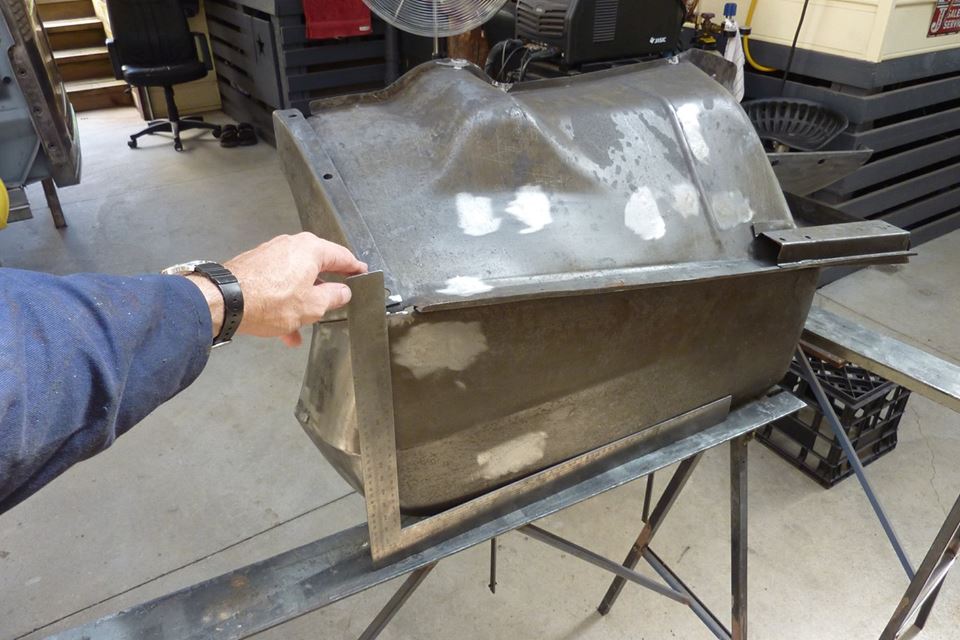
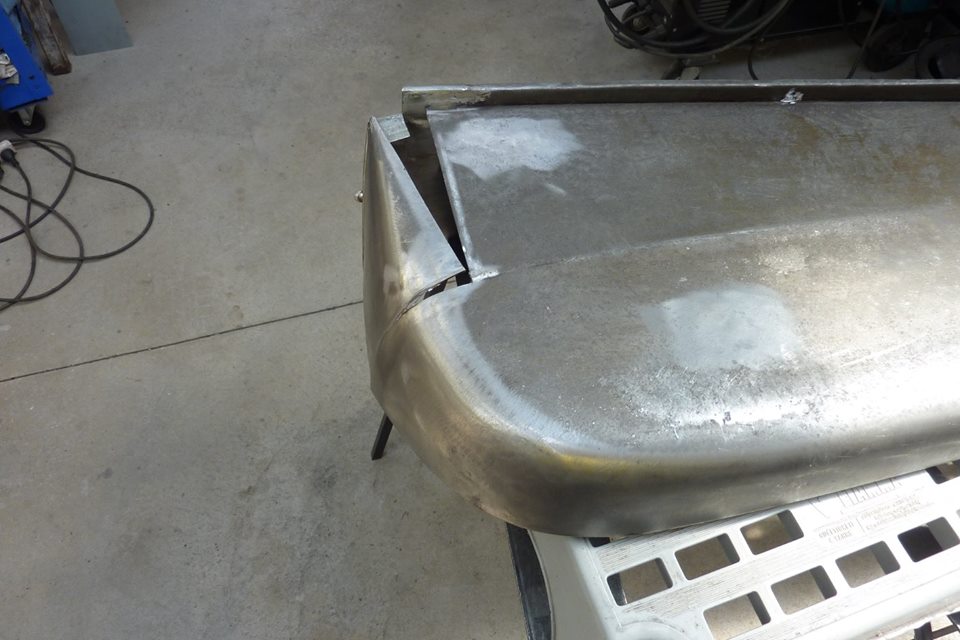
I didn't pull it right forward until straight as wanted some curve back left as thought it looked better and was a blend of the two styles as well.
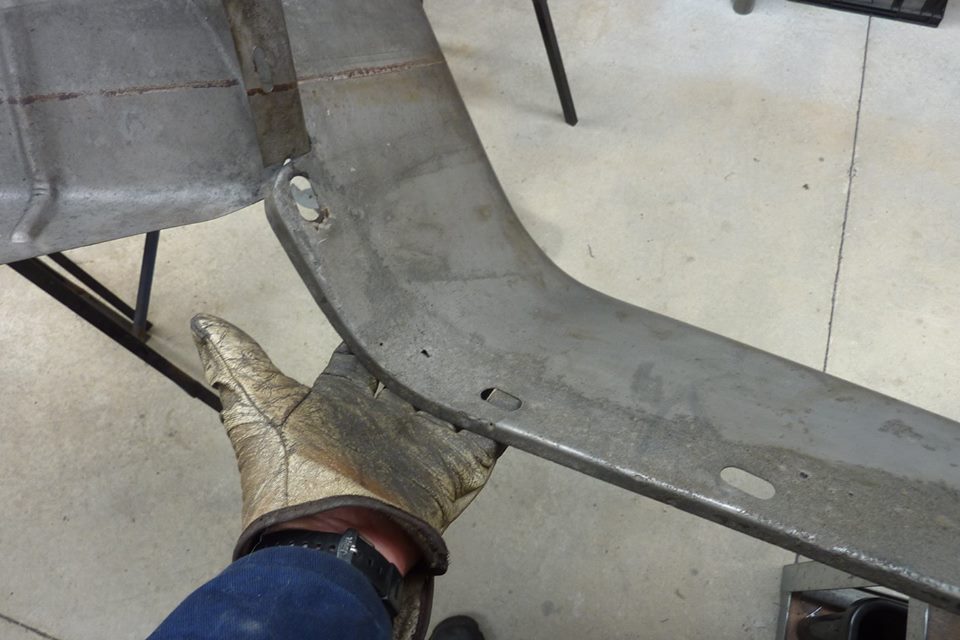
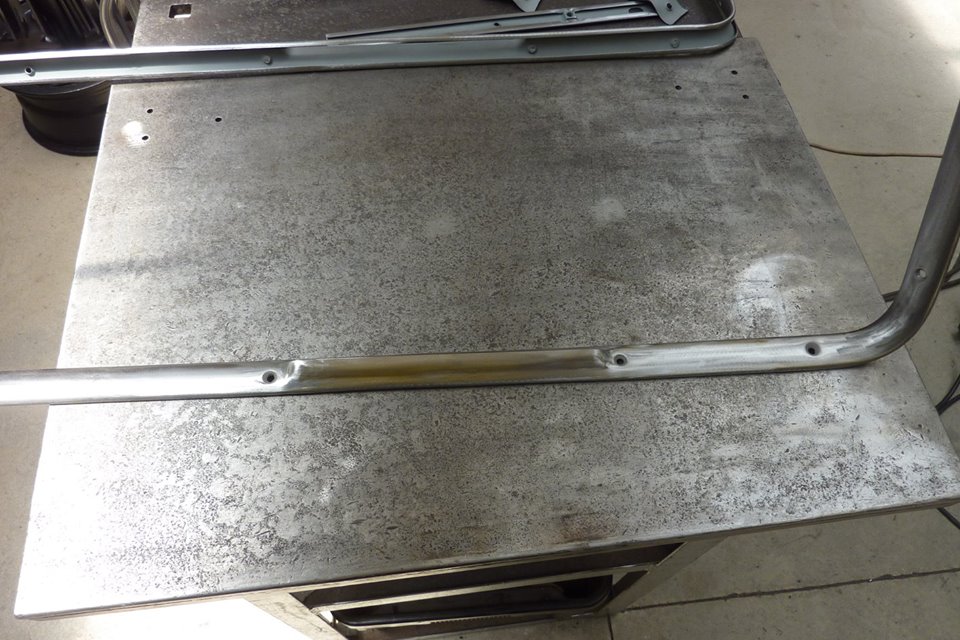
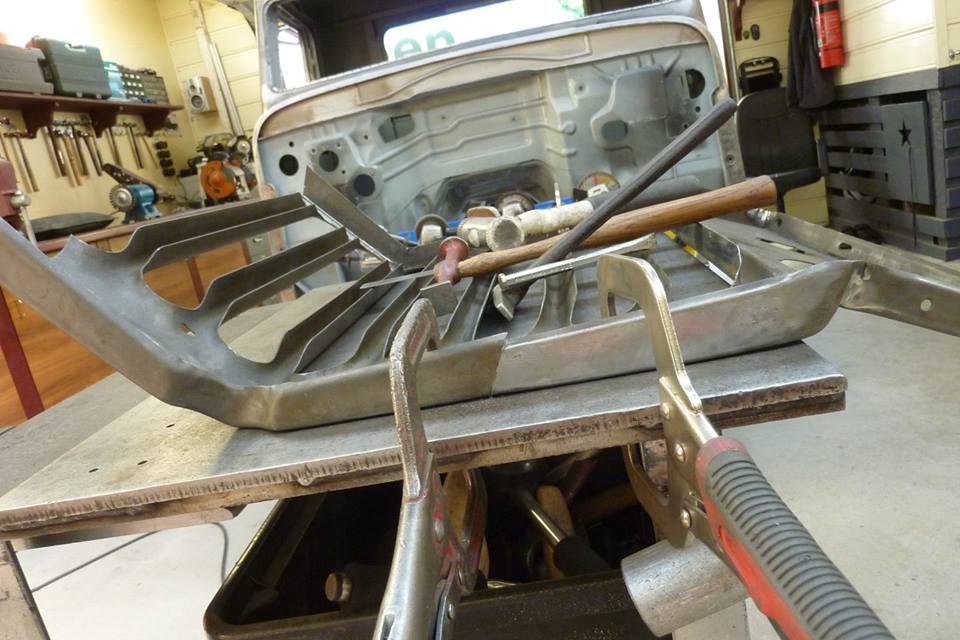
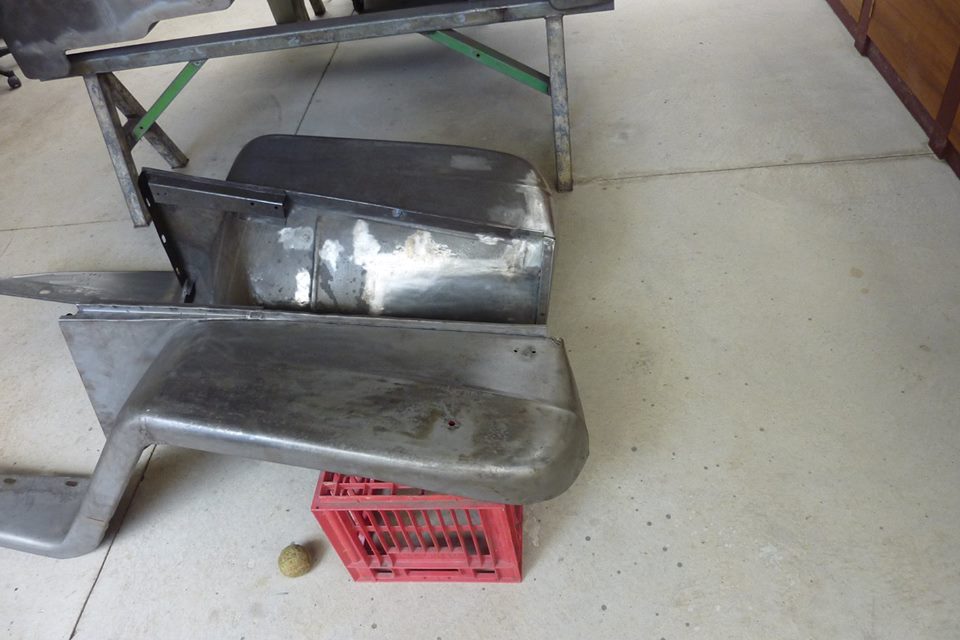
Need to extend the inner guard forward I decided I might as well remove the pressing for the shock mount that I no longer need. I started the shaping by just pushing over a T dolly that was a similar radius to the back half of the inner guard. The front half just needs a curve instead so left that alone.
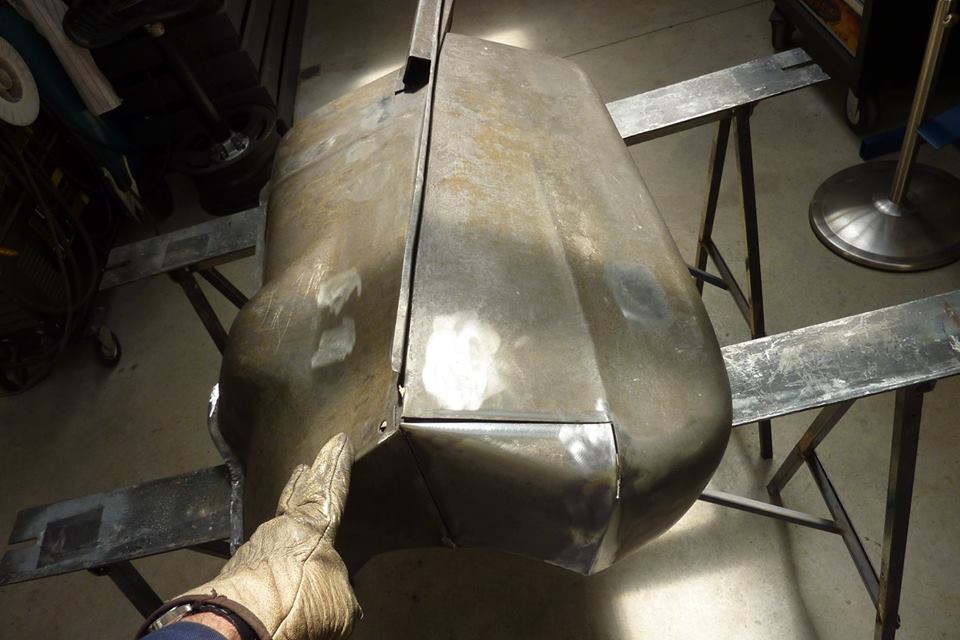
With the inner guard all welded in I could fill the gaps left.
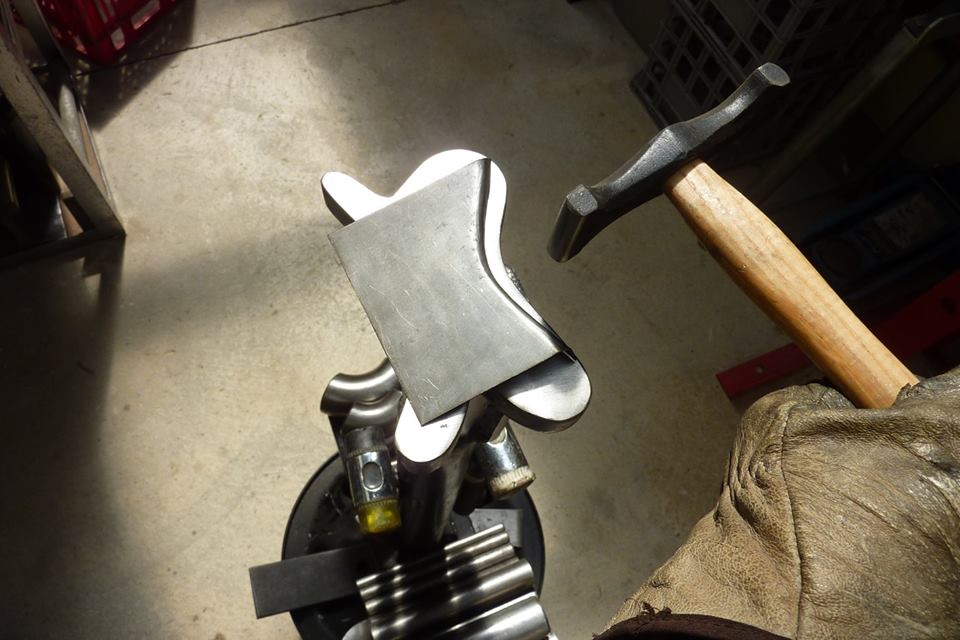
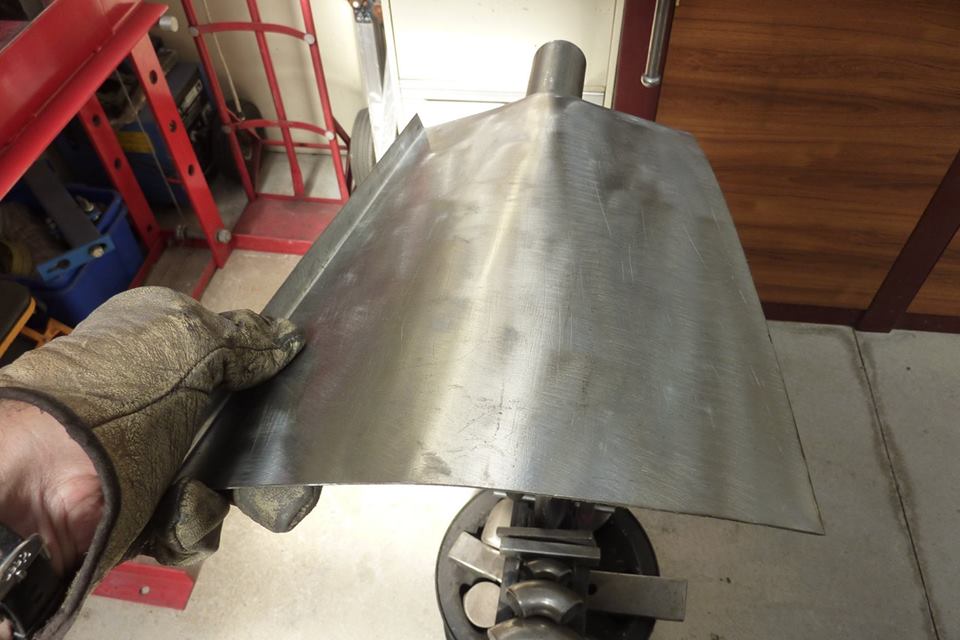
I radiused a compound curve over a steam pipe bend just using a nylon headed mallet.
Some truing up over the ripping tooth.
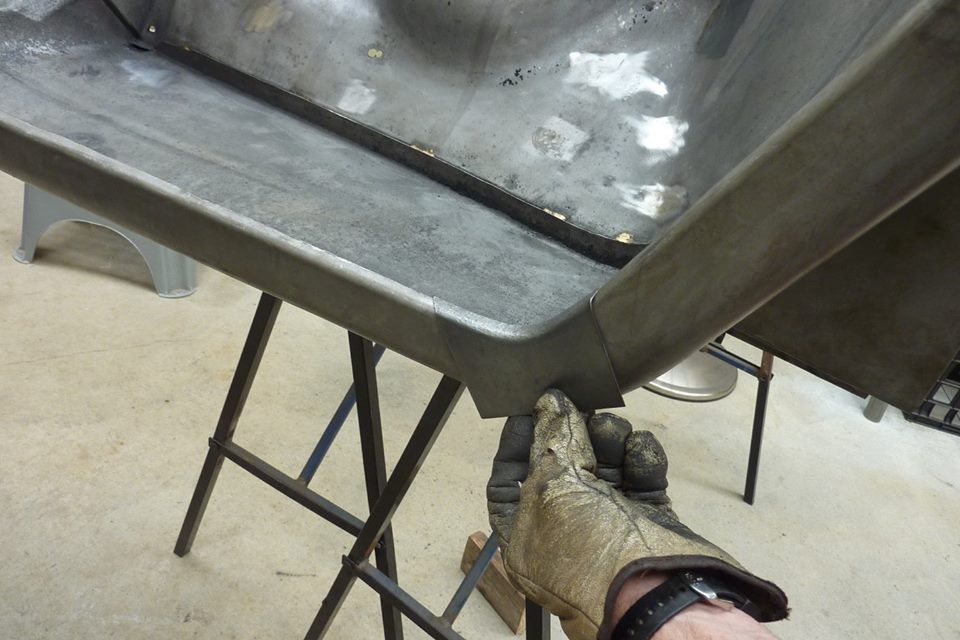
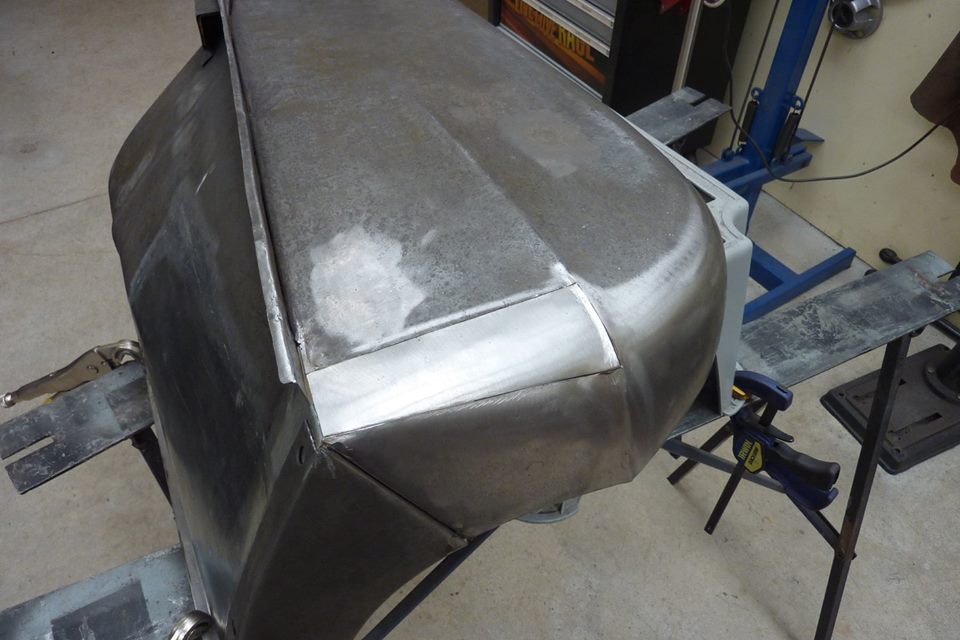
Bent the crease line up over the edge of the bench to match. I made the patch this big rather than try and weld in two triangular pieces as that would be more welding and coming together at a sharp point would distort badly.
I try to get it the best I can before tacking and welding into place.
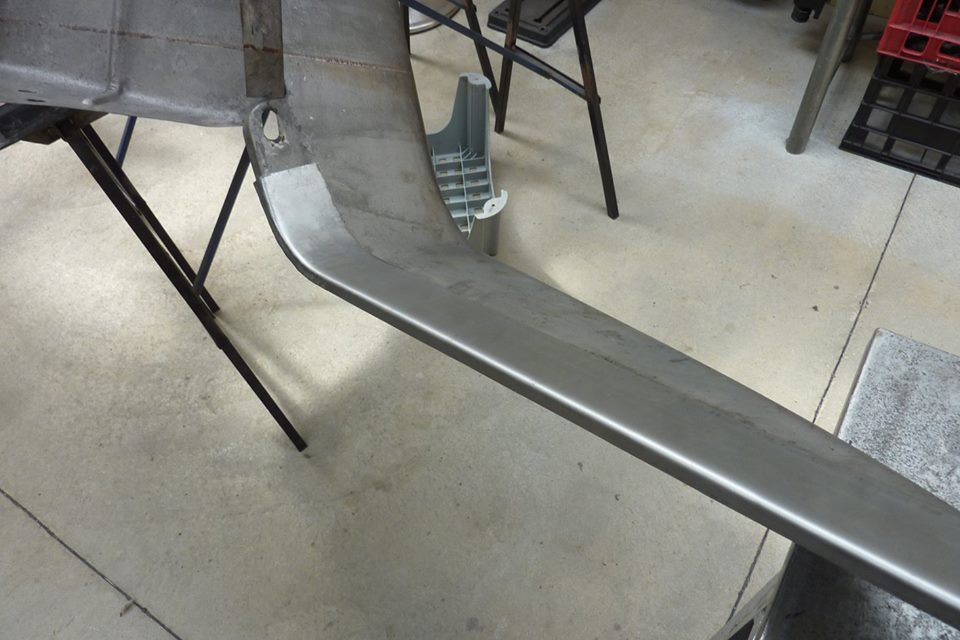
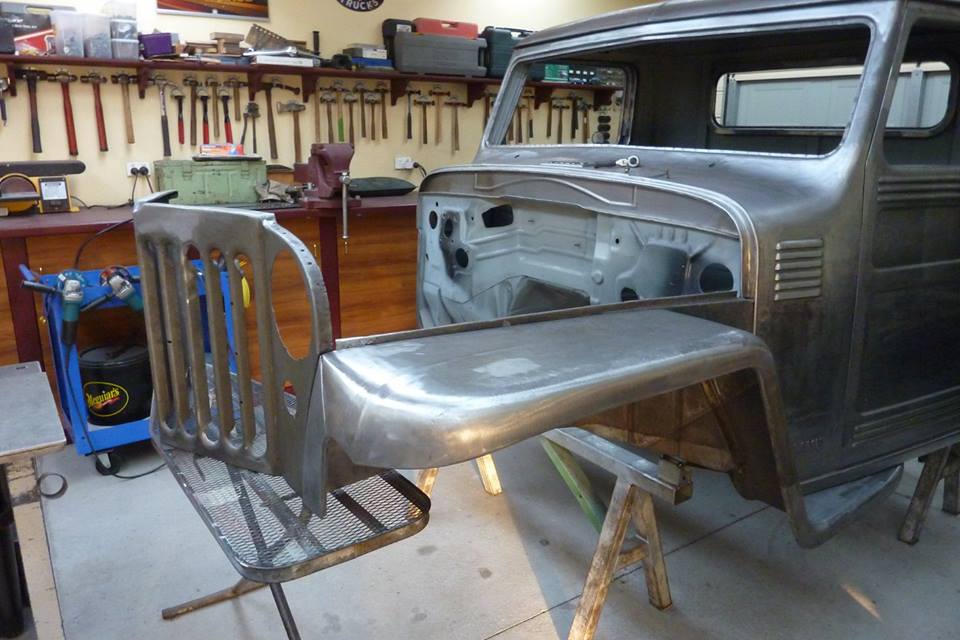
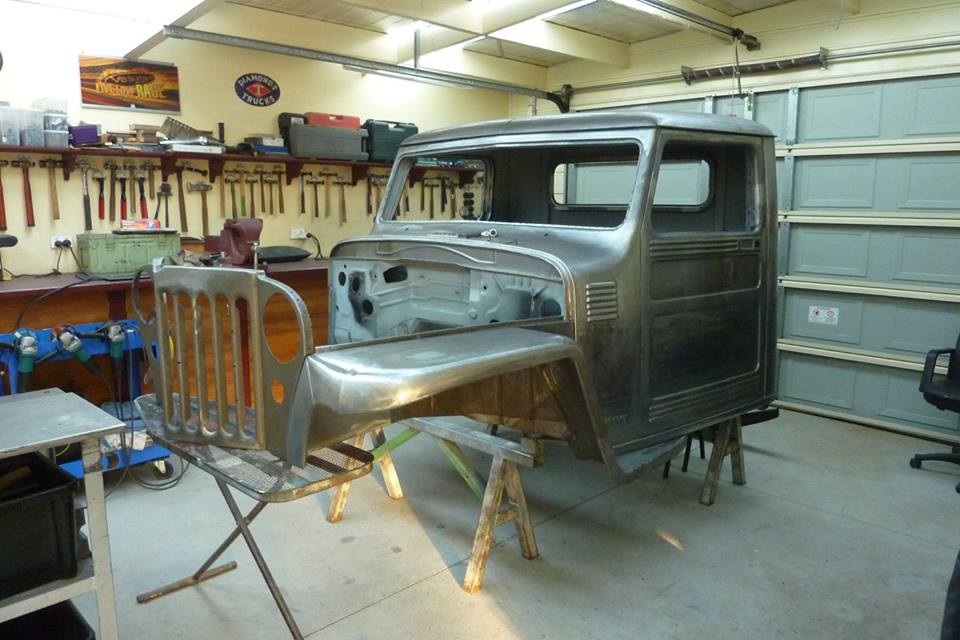
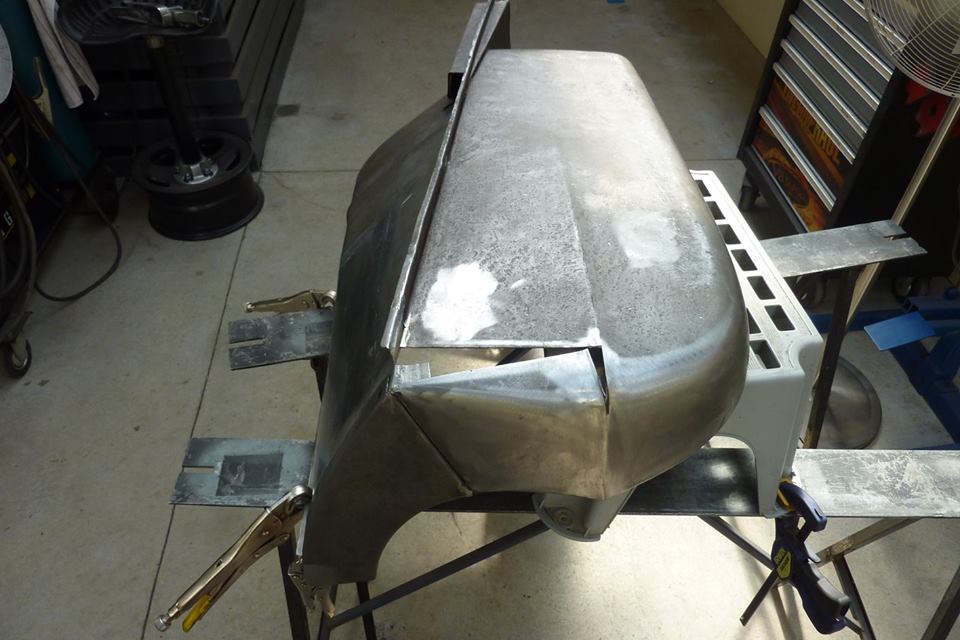
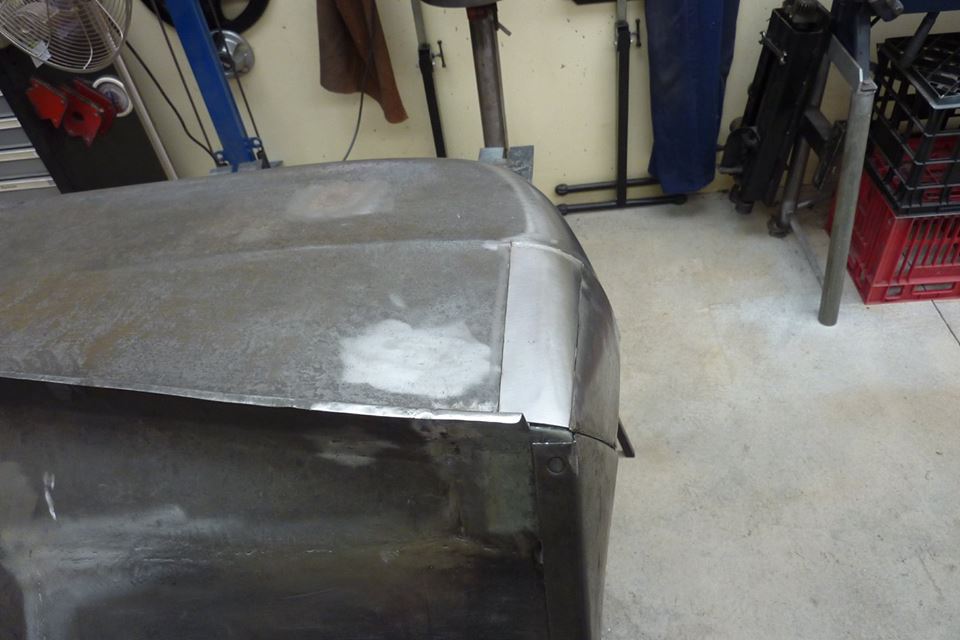
So longer one at the rear and stock one at the front.
I think it is subtle enough that most would never pick it yet it gives me 40mm-1.5" more room between the back of the fan and the front of the engine.
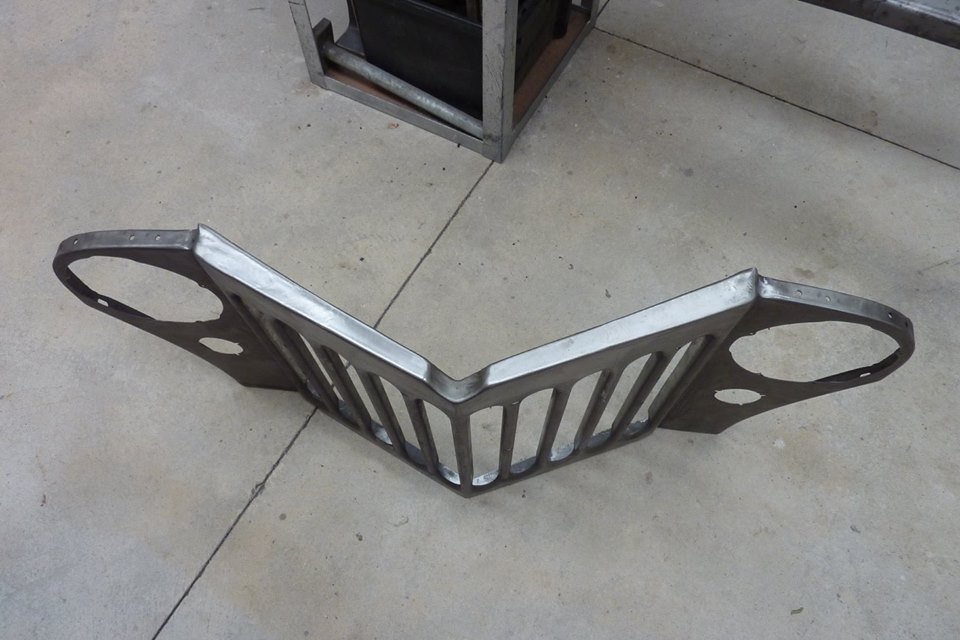
I think the longer bonnet to match will help with the proportions of the longer/wider cab as well. The bonnet in the middle to cover the bigger V in the wider grille adds another 40mm-1.5", making the total bonnet 80mm-3.2" longer overall.