agne2520
Well Oiled
Thanks for the reply, Marcus. Probably shouldn't have pulled the trigger on mine and did more research. Hopefully I'll be able to live with it. If not, I'll replace it later.


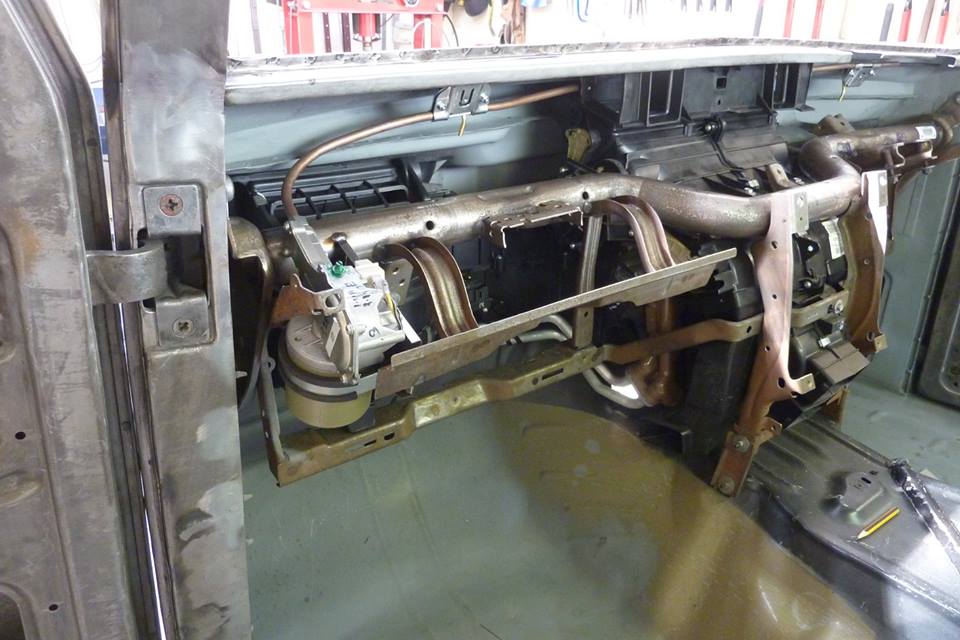
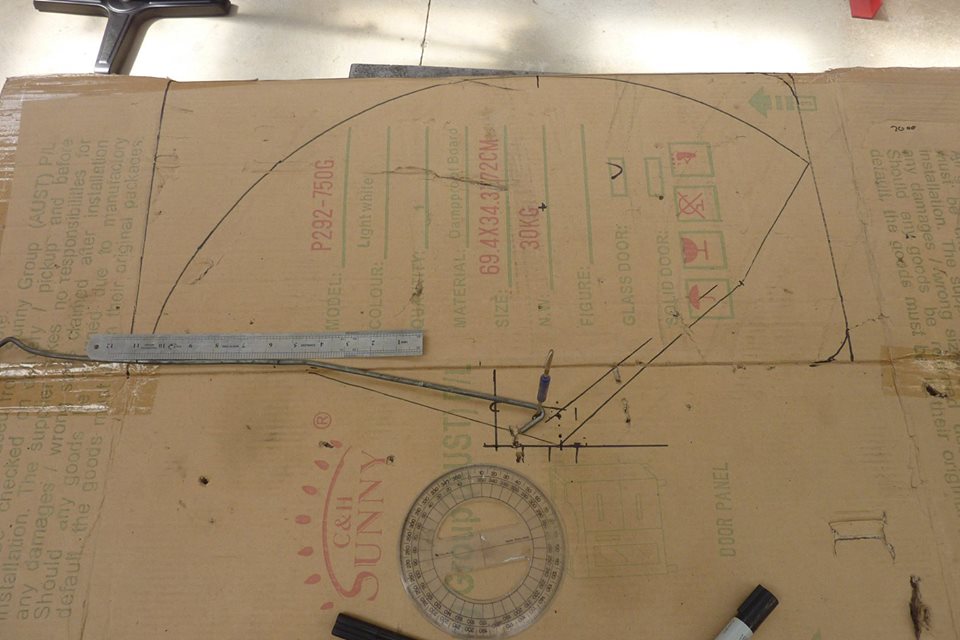
Nicely done. So you are still using an opposed setup, but moved the pivot points outboard to get a better sweep path?
Could the rack be mounted in a polypropylene or nylon tube to reduce noise and wear? It may need more attachment points for support.
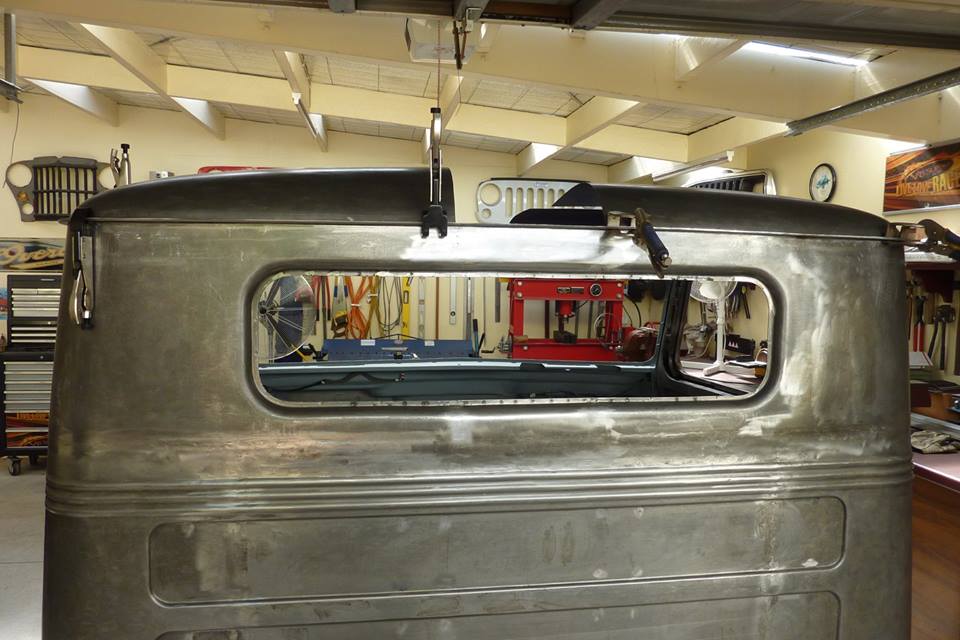
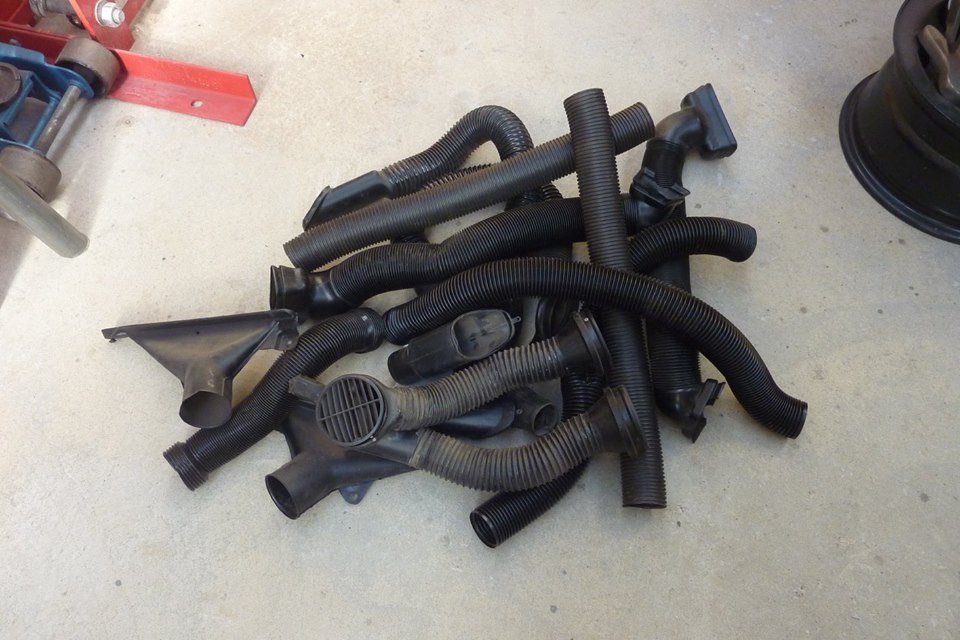
I used the specialty system in my truck and it works well. It takes a little time to do but it's worth it. It's important to grease the spiral wire inside the tubing very heavily to prevent it from wearing out the tube. I try not to use it much because my windshield is Marguard Lexan, so I put rainex on it. With a windshield so upright you don't have to go very fast for the water to blow off that's for sure. I think the rainex works better than the old vacuum system, especially going up hills! I have that same flaring tool, it's great. Marcus nice job as usual.
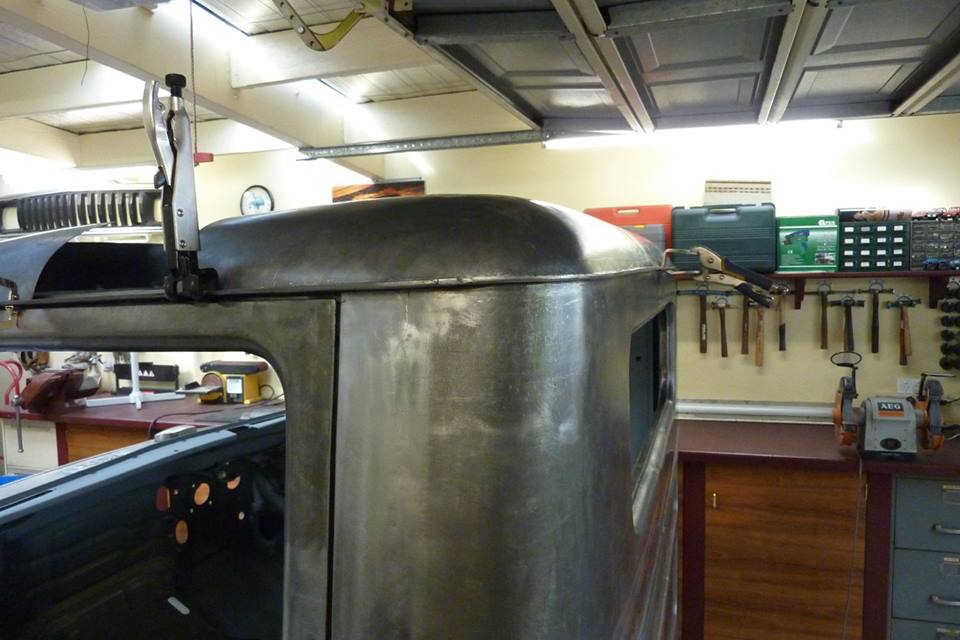
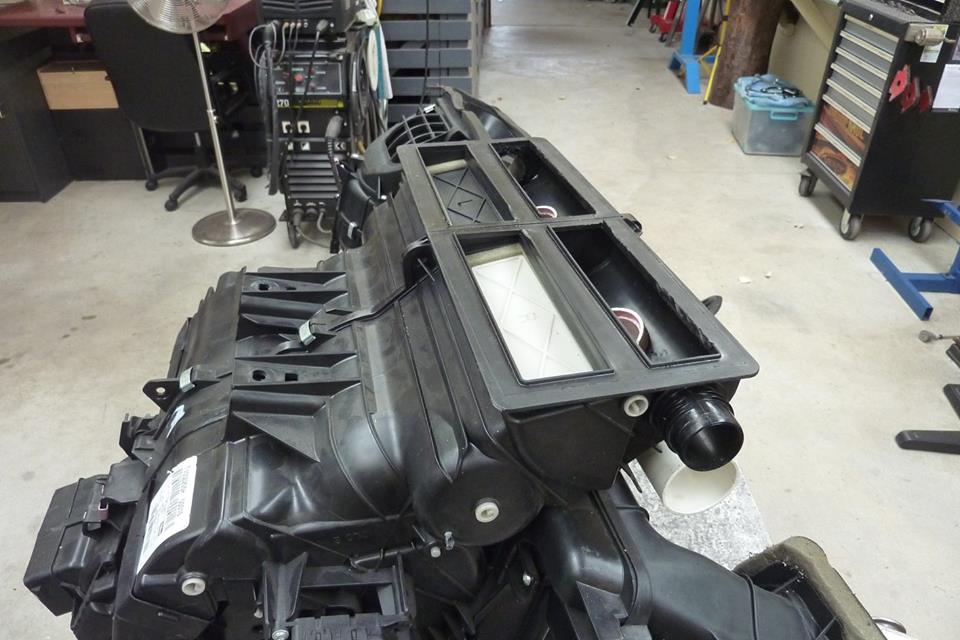
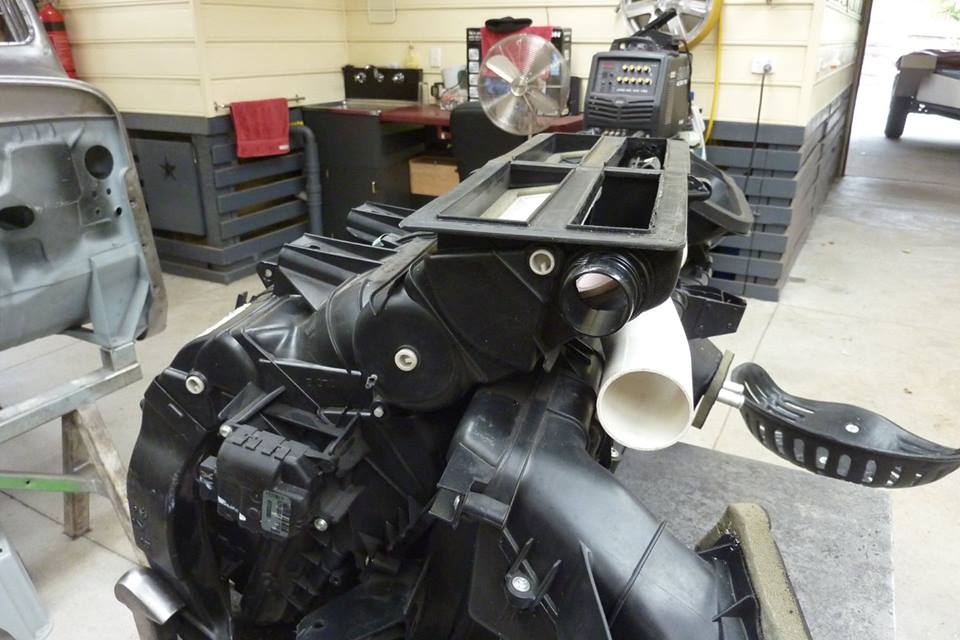
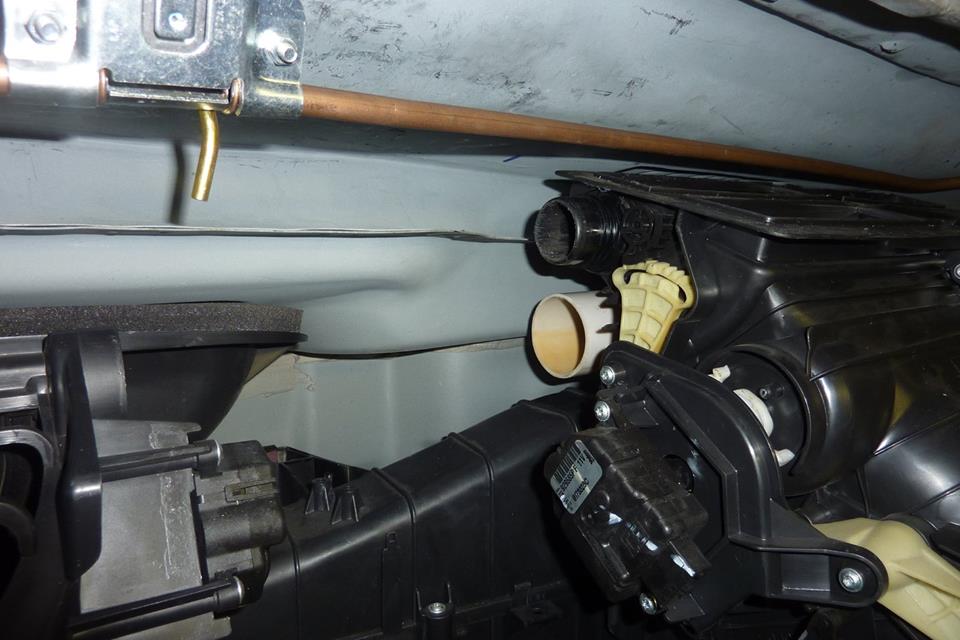
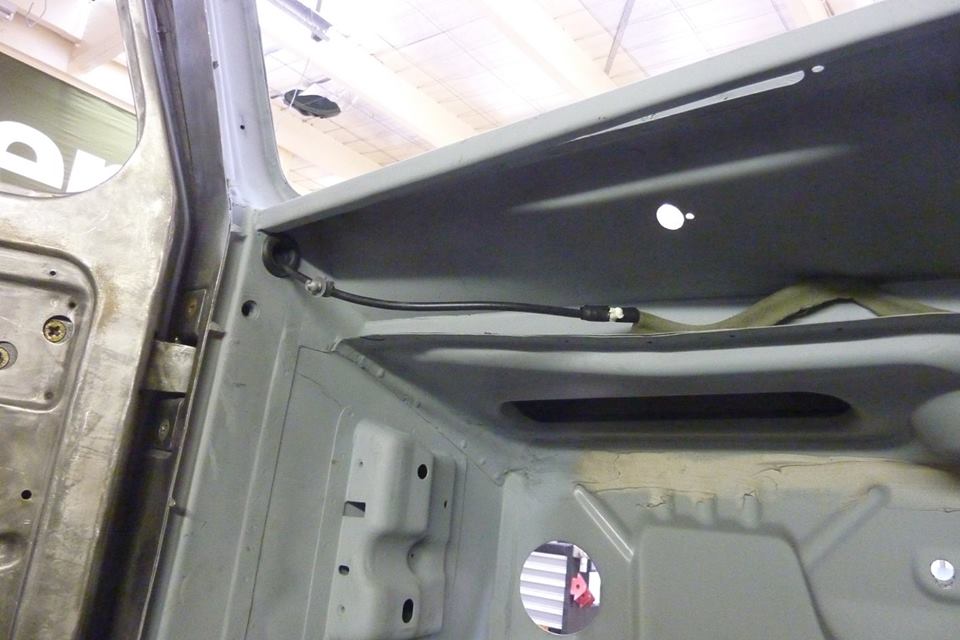
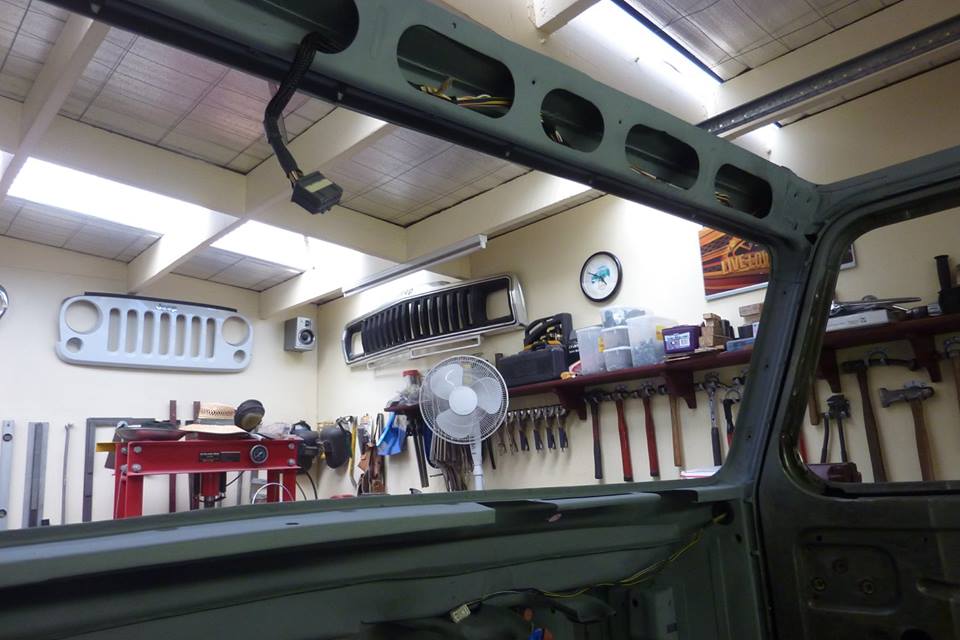
Their system winds up being a totally enclosed arrangement, just like Marcus has in the pics. The tubing runs from the motor to the first wiper gear then another tube goes to the next wiper gear and a short piece of tube is used after that to allow the spiral wire to extend past the second wiper gear and move back and forth without being out in the open to snag on something. The grease won't pick up dust and stuff because it's enclosed. The link below is their instructions to help make sense of what I'm trying to explain. Mine operates virtually silent. Defiantly can't hear it when the engine is running.
http://www.specialtypowerwindows.com/docs/universal_wipers.pdf
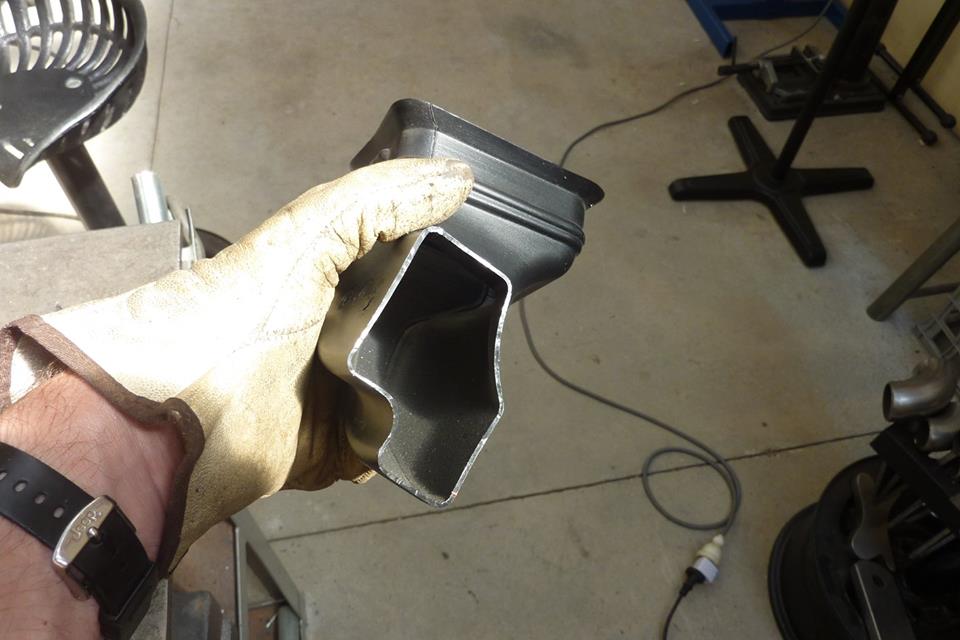
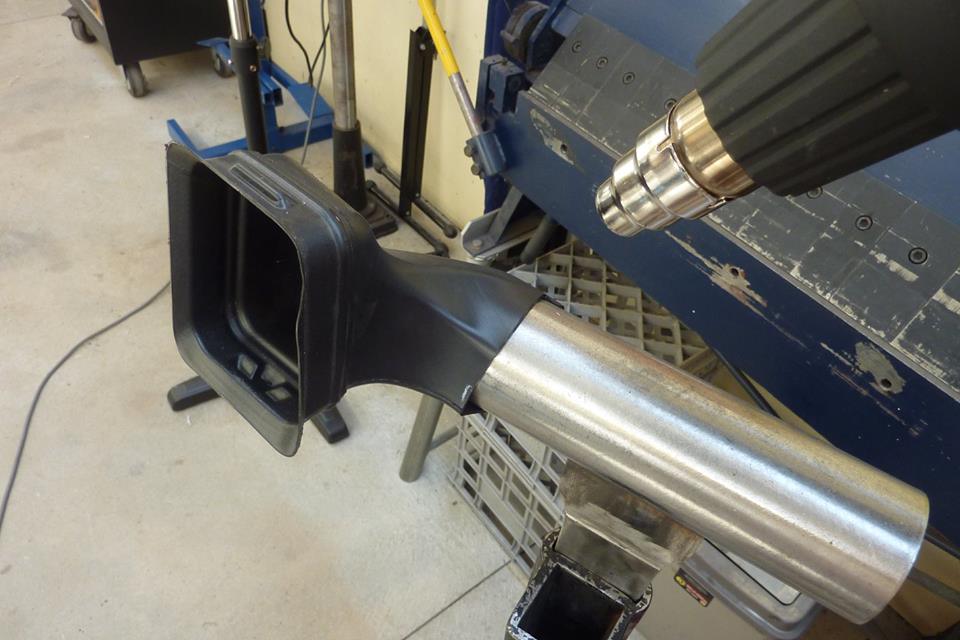
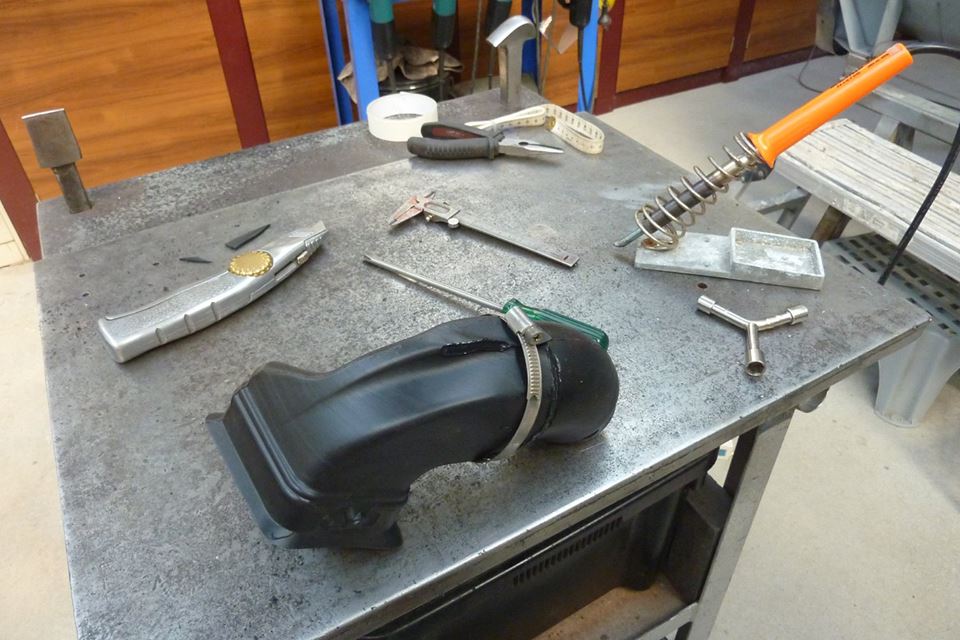
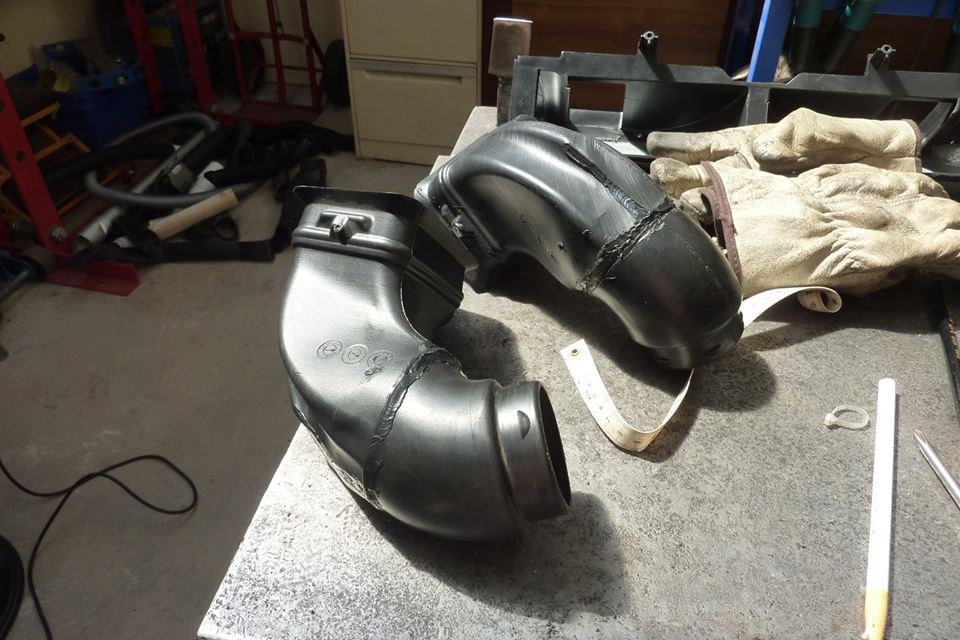
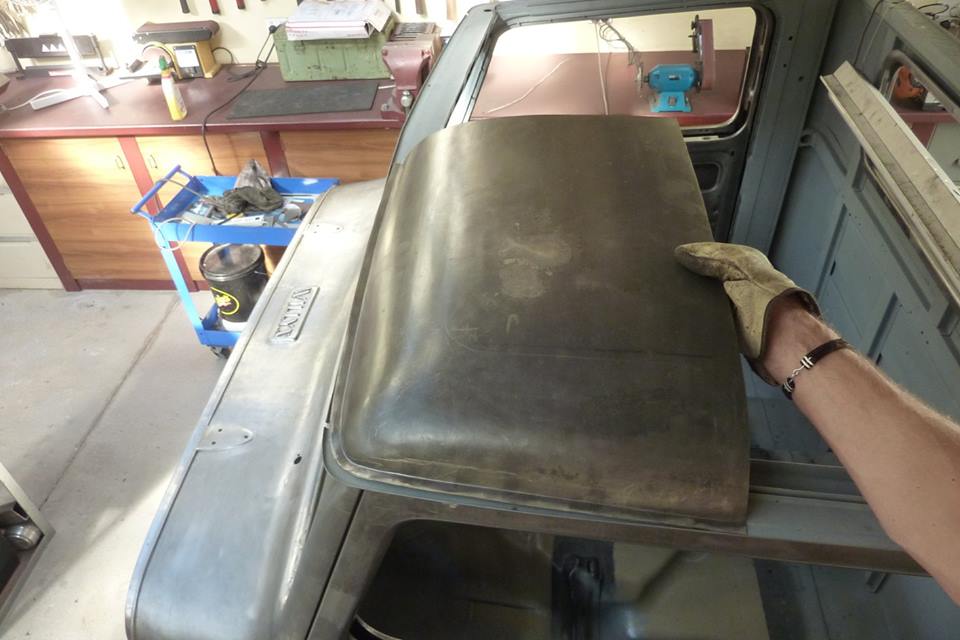
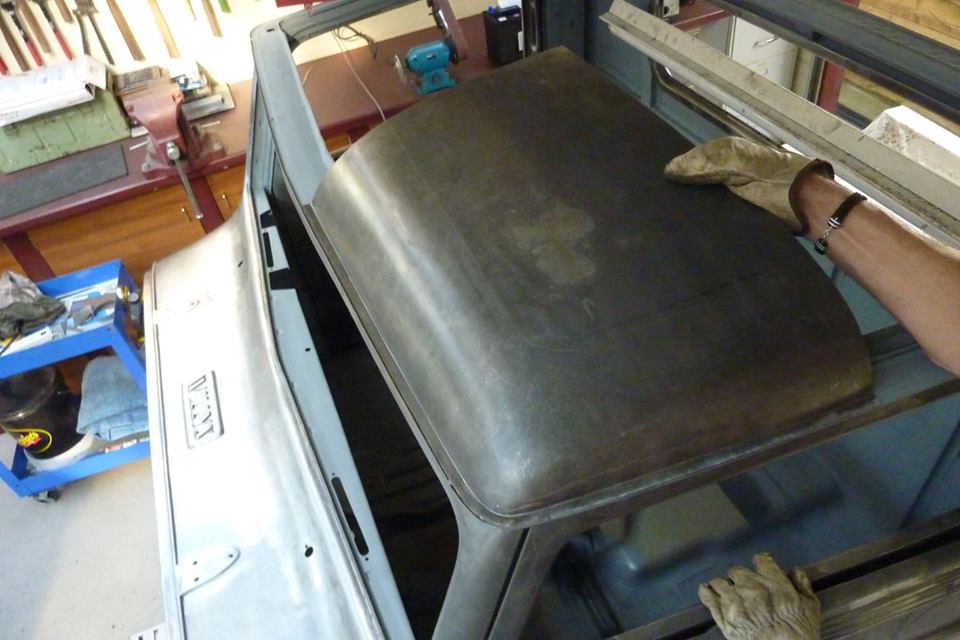
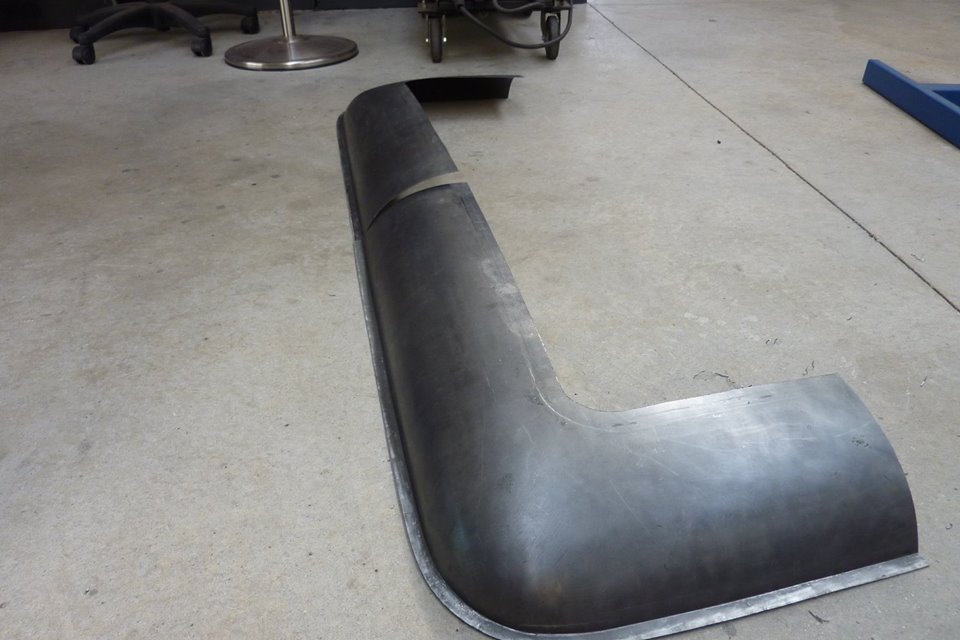
Don't want it too hot as leaves it brittle when it starts smoking a lot. Always have a fan going as the fumes are toxic.

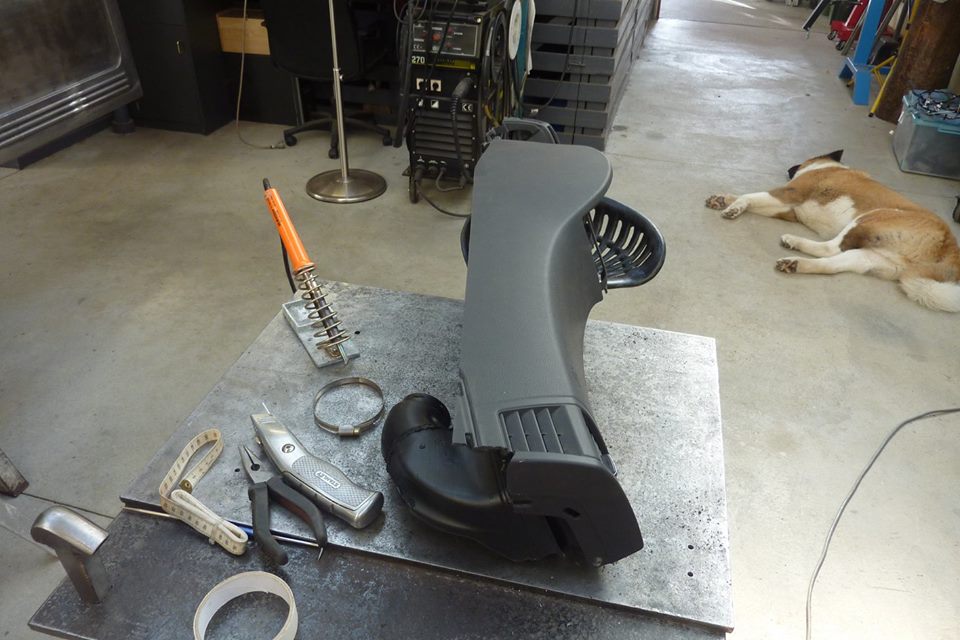
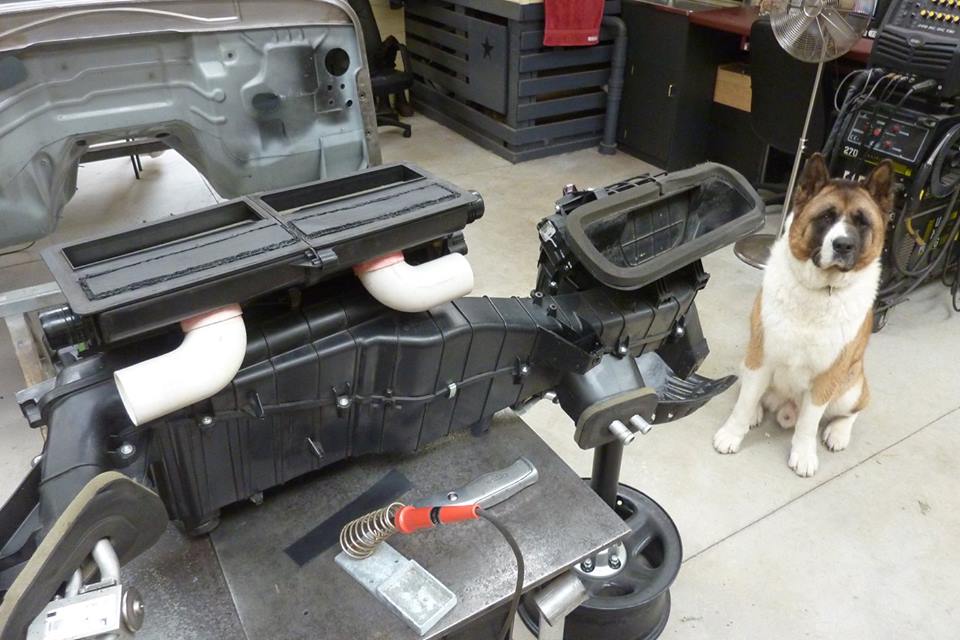
Oh No! You killed your Dawg?
Great work, as always, Marcus.
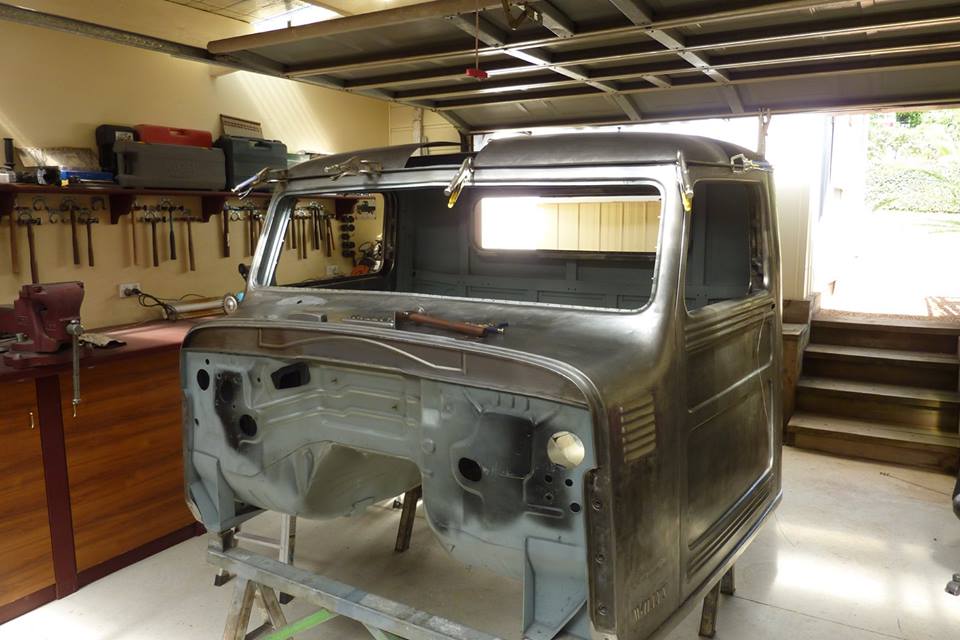
Where does paint fit into your assembly process? Will you assembly the vehicle, take it apart for paint, then reassemble; or leave it assembled and paint around components, etc.?