roundss 52 willys wagon build

roundss

Sharpest Tool
Nov 22, 2009
261
cleaning rust off something
Willys Model
Willys Year:
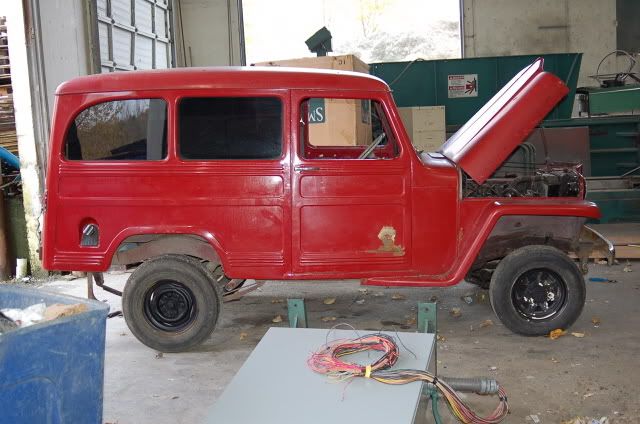
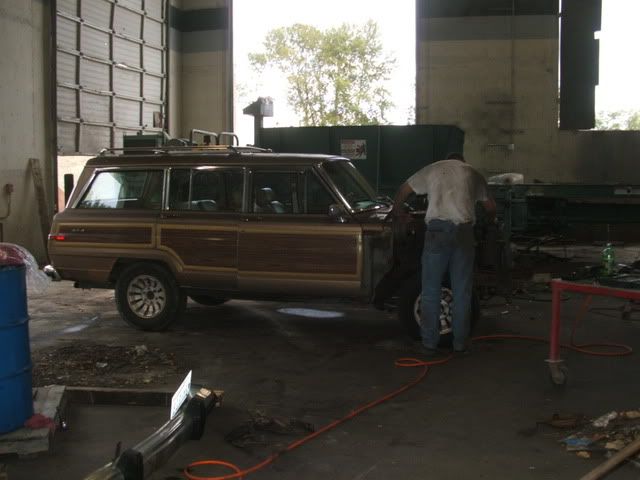
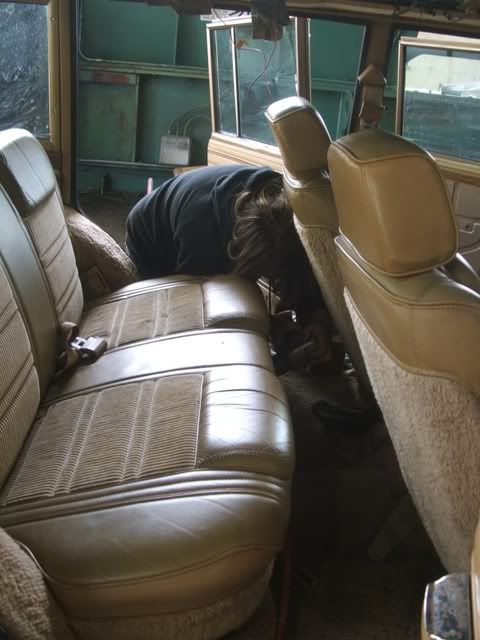
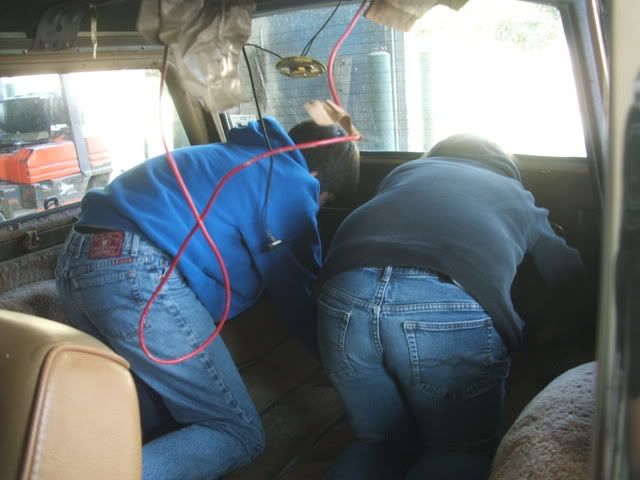
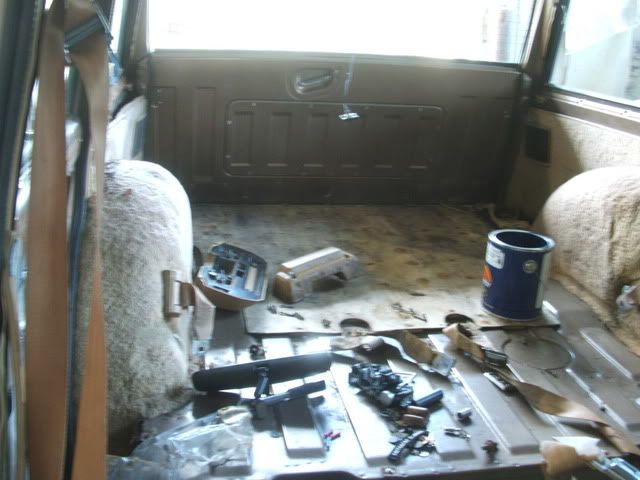
OK, so here is a my build page.
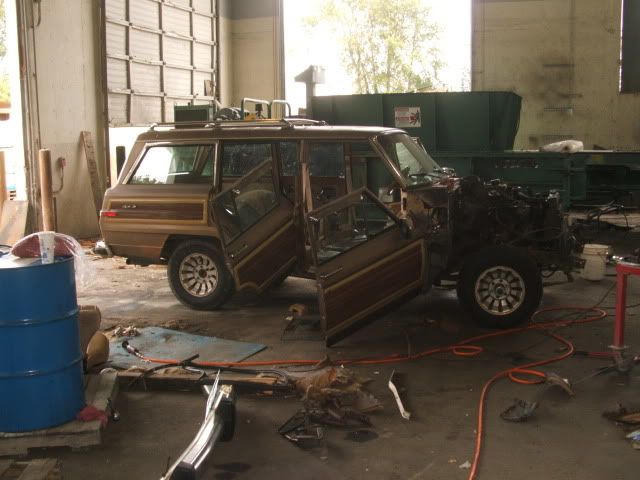
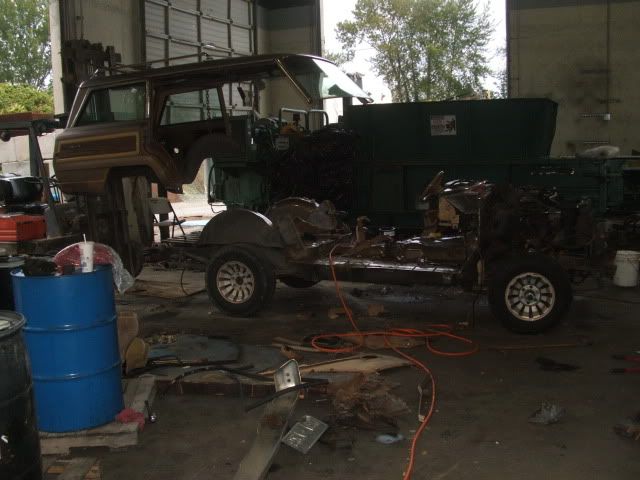
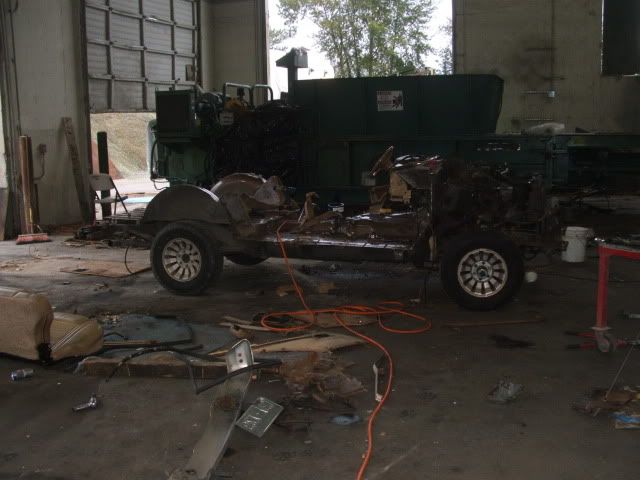
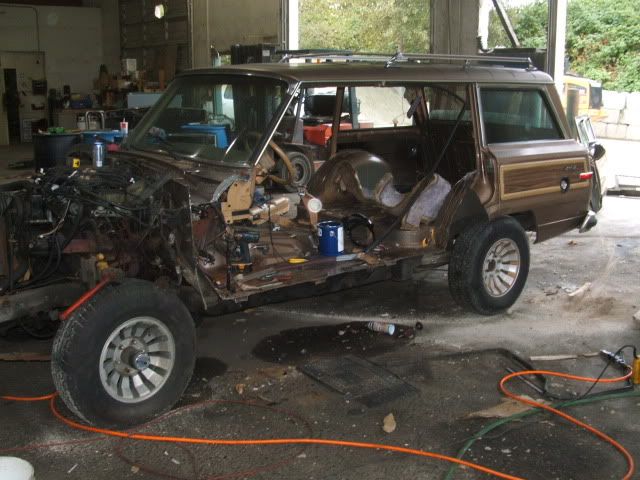
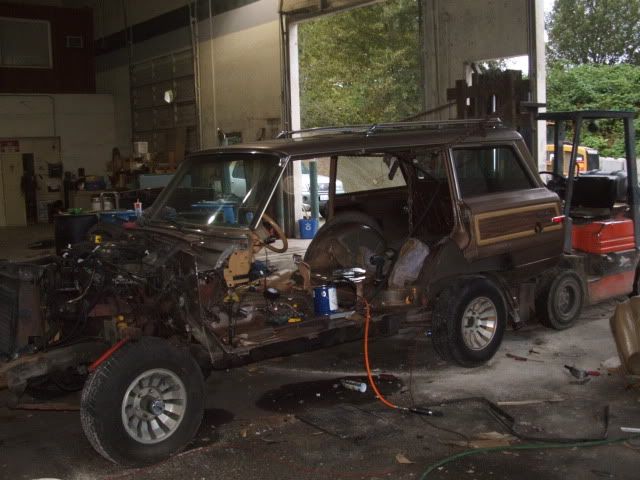
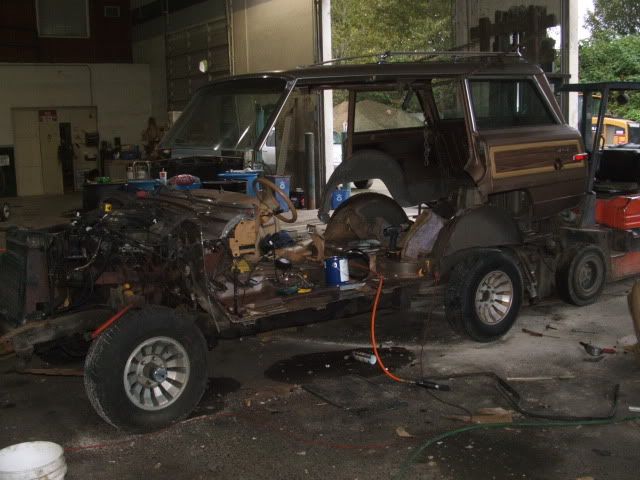
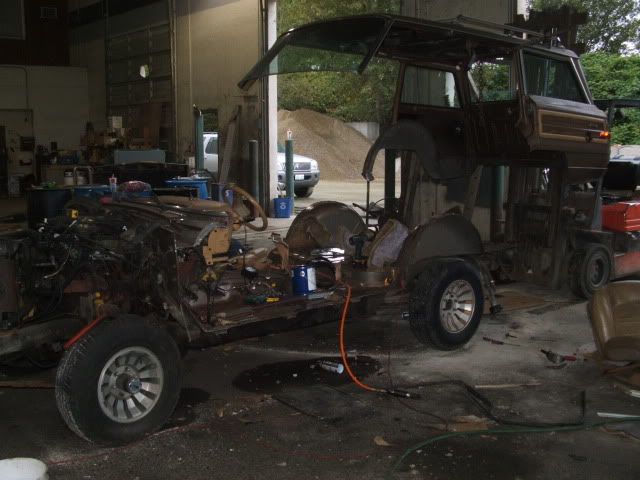
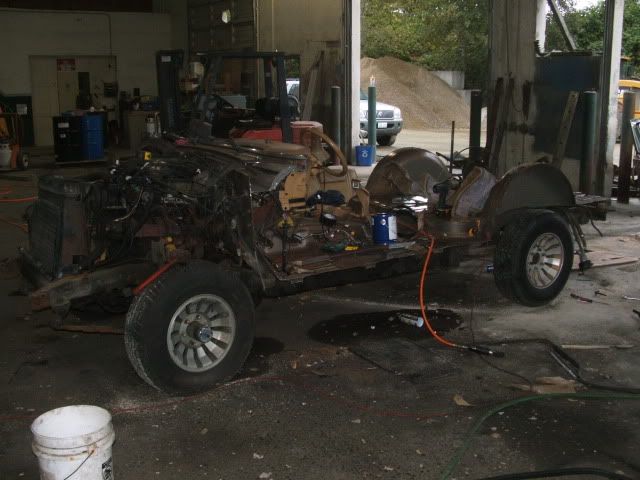
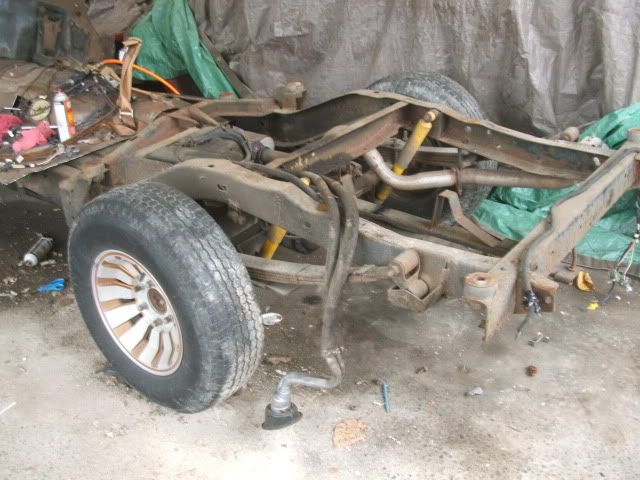
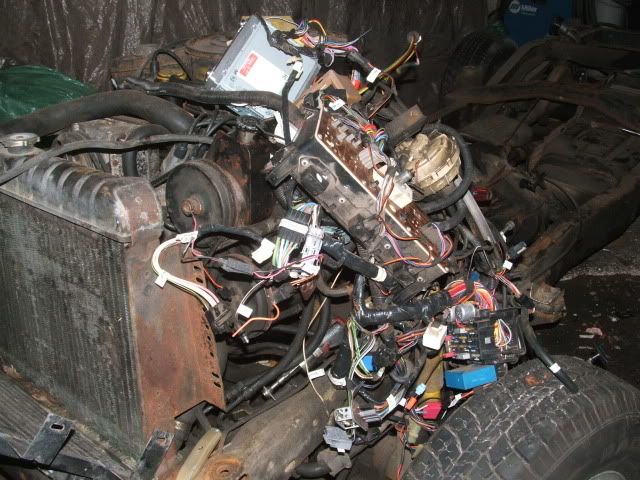
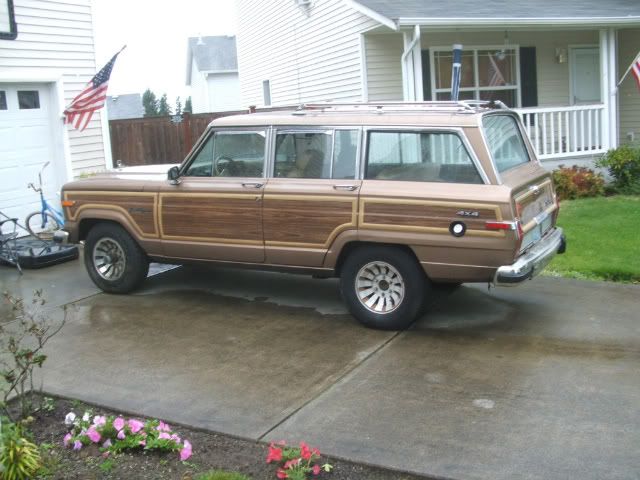
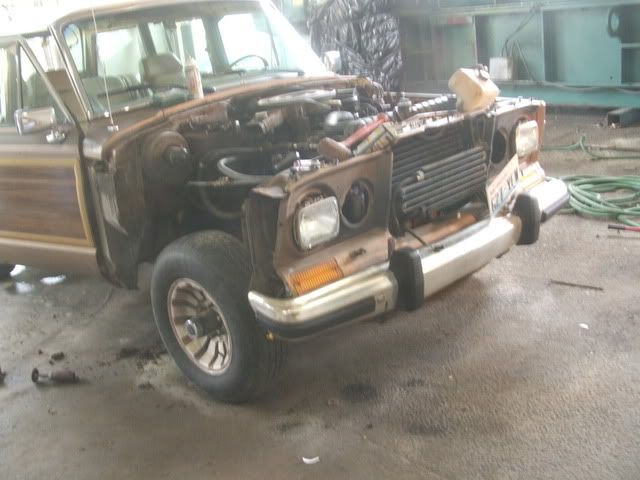
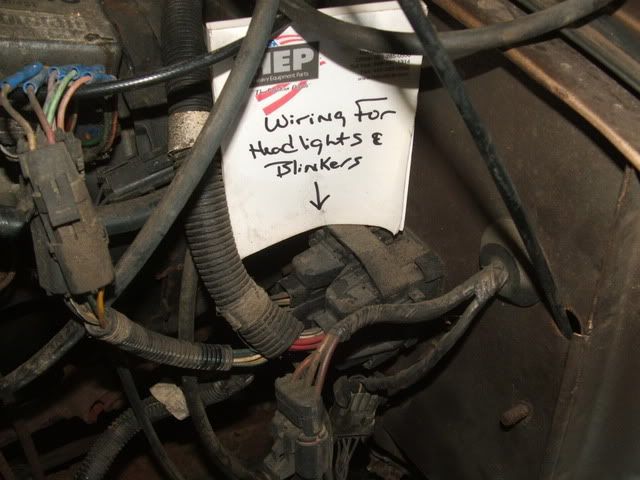
As some of you know I'm starting with a 52 that had a stock drivetrain and a 327. Since I've found that the cost of the 327 rebuild and getting some new axles would be the same as getting a wagoneer I've gone another route and purchased an 88 Jeep Grand Wagoneer(posted as 89 on c-list). It has an AMC360 (although anemic), auto tranny, dana 44's front and rear and the wheelbase is 4"+ than stock. Great for some bigger tires and rims.

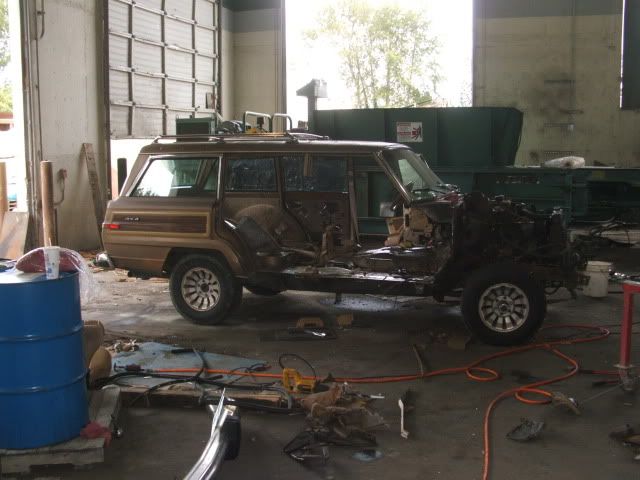
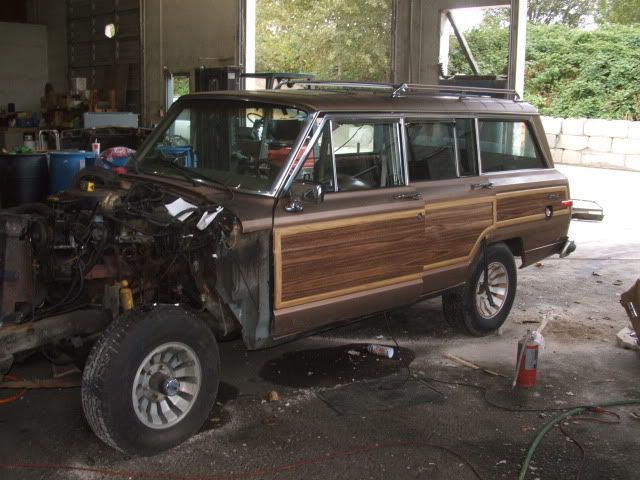
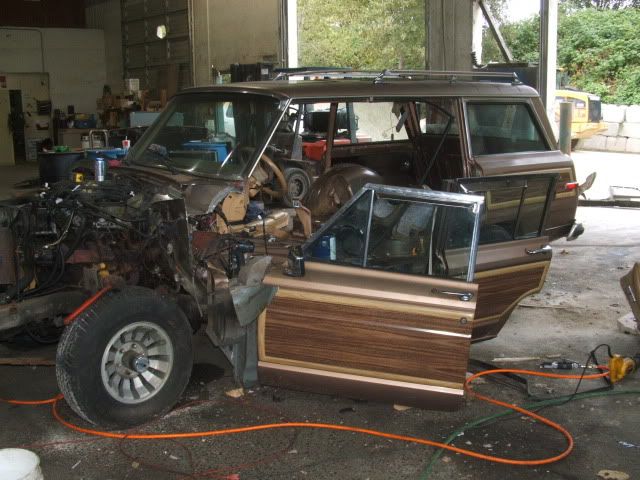
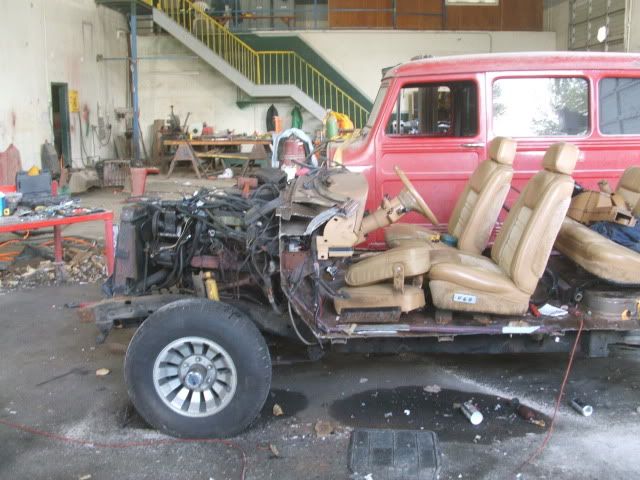
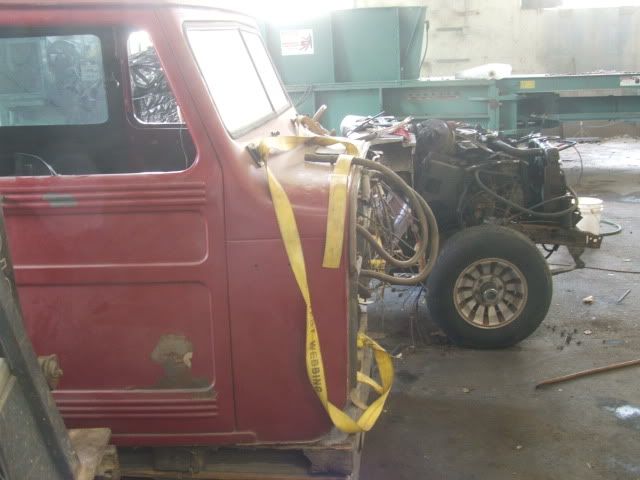
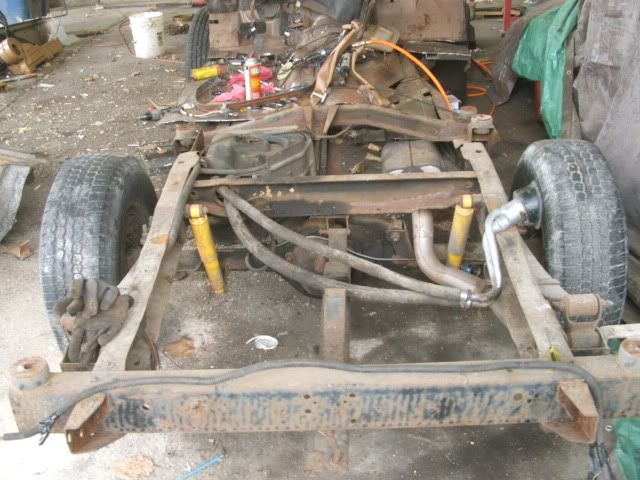
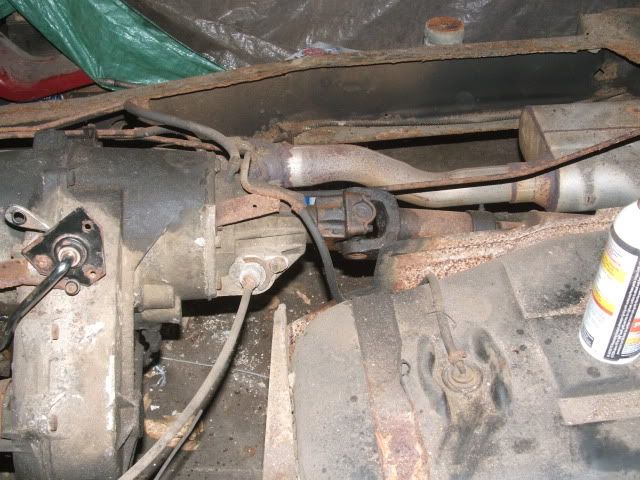
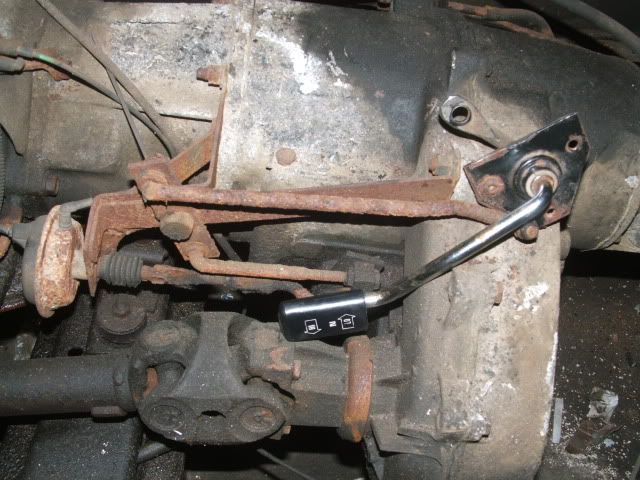
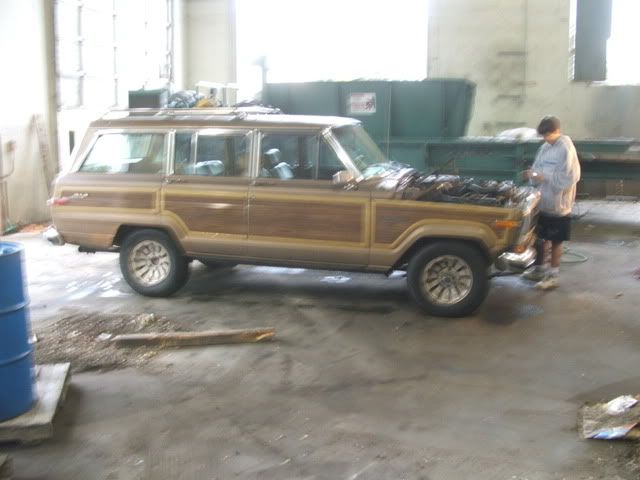
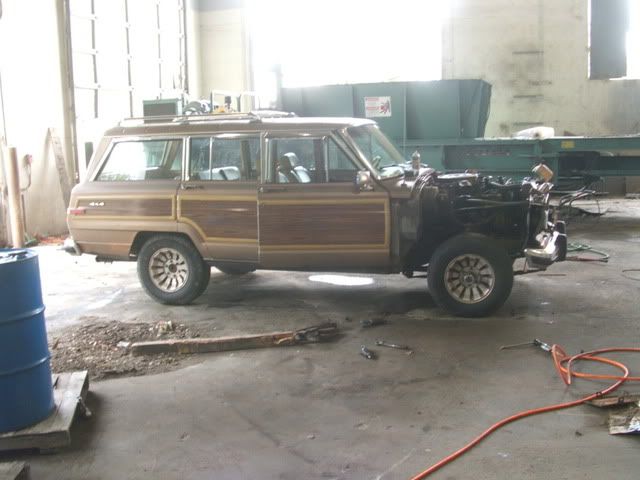
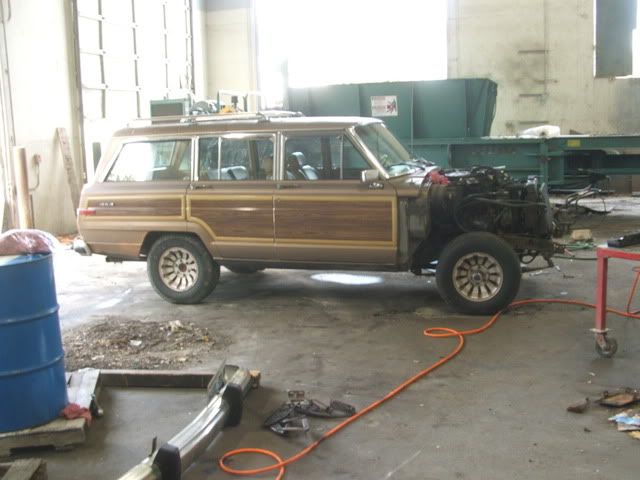
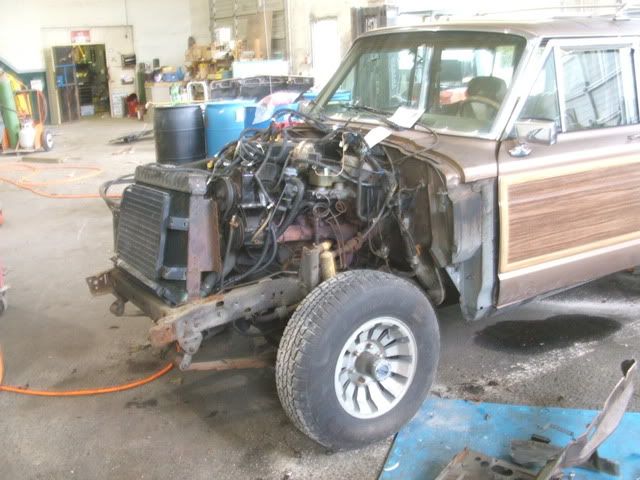
Since I'm going with the stock wheelbase of the wagoneer (108) I'm going to start my way from the back and work my way forward. The engine,trans,t-case will be moved back at least 4", maybe 6-7" just depends on how much of a PITA it is. That should give me enough room to get the grill and front fenders on with some extra in the front.

I gotta give props to "Midnightburn" Kevin & "WillysWorker" Ben. Ben and Kevin let me bend their ears and talk about my build and Kevin's was my inspiration for the FSJ with a 108 wheelbase and attention to detail. I hope it's 1/2 the wagon his is.

I hope to get a great deal of stuff done this weekend.
 
Will keep checking for when you start posting pics. Should be fun to watch.
 
Here are the vehicles
52 willys wagon

52willys11-23-09031.jpg


88 Grand Wagoneer

willyswaoneerproject003.jpg


willyswaoneerproject001.jpg
 
Pics will have to wait until tomorrow :evil: :evil: :evil: damn it!!!
I took plenty of pics but left my GD cable for it at work.
My son and I got the front clip off the wagoneer and all the wiring is labeled. Hopefully we'll get the body off tomorrow and the interior pulled out.
starting Monday I'd like to be able to set the body on and start moving the motor back.
 
OK Pics

Well I didn't get nearly as much done as I would have liked but it was partially due to a serious PITA seat.
The good news about electric seats is..........well they're electric. The bad part is when electric seats die and the seat is all the way back and down the screws are impossible to get to. I ended up finding a disconnected wire so I spiced it and woohoo it works. Oh ya, I also had to cut the mounting bar off one on the driver's side cuz the bolt was not coming out. I'll just weld it back together.

So here's the pics from yesterday and today.

wagoneerteardown001.jpg


wagoneerteardown002.jpg


wagoneerteardown013.jpg


wagoneerteardown008.jpg


wagoneerteardown015.jpg


wagoneerteardown011.jpg


wagoneerteardown010.jpg


Look what I caught!!
wagoneerteardown012.jpg


Just incase I forget what plug that mess of crap goes to.
wagoneerteardown009.jpg


I noticed some blue paint in spots on the hood and it got me wondering :?
Then there was a little damage to the right front fender :?
As I started getting deeper into the passenger side I saw the signs of previous damage :x
This is the front exhaust manifold. Normal, no big deal. There's something with the smog crap that recirculates the air from the exhaust. This is what it's supposed to look like.
wagoneerteardown007.jpg


Then there's this one..............not normal.
wagoneerteardown006.jpg


Then someone's attempt at a weld on the door jam. Not what I would call a great weld.
wagoneerteardown005.jpg


My daughter starting to undo the rear seat.
wagoneerteardown016.jpg


Rear seat is out and the little monkeys are taking out the carpet
wagoneerteardown020.jpg


Front all empty after many hours of swearing, sweating, and bleeding. Oh ya, I got the tunnel cut out too
wagoneerteardown021.jpg


The back all empty.
wagoneerteardown022.jpg
 
Great to see the updates. You must be lucky that the foot wells dont need replacing as would have left that attached from the doner otherwise. Is my plan and gives me seat mounts at the same time.
 
Looking good. Looks like you get to cheat and use a forklift to pick the heavy stuff.
 
cnsay said:
Looking good. Looks like you get to cheat and use a forklift to pick the heavy stuff.
Cheat? Nooooooooooooooooo, that's working smarter and not harder. ;)

Ya, I've got a cool boss that lets me play at work on the weekends and hide the mess during the week.
If I hadn't forgot my camera at work last night I'd post up my pics. :evil:
Without my "helpers" I got alot done in one day. I didn't make up for the time lost messing with the seats and getting the interior gutted, but I hope to be able to keep messing with it this week.
It seems the more I dive into this the more I wanna work on it. That makes my wife REAL happy. :x she's really quite understanding and not sure why she puts up with me and my "projects" at times.

PS THANKS to whoever fixed the pics. I resized on photobucket but not until after posting the big pics.
 
I spot a problem here....first the garage is to big and secondly you have young help...no fare!
 
New pics. I had to get office supplies so I thought I'd get a card reader. :D

Pass side
wagoneerteardown013.jpg


willyswaoneerproject004.jpg


willyswaoneerproject006.jpg


willyswaoneerproject011.jpg


willyswaoneerproject012.jpg


willyswaoneerproject014.jpg


willyswaoneerproject016.jpg


driver side
willyswaoneerproject007.jpg


willyswaoneerproject008.jpg


willyswaoneerproject009.jpg


willyswaoneerproject010.jpg


willyswaoneerproject013.jpg


willyswaoneerproject015.jpg


willyswaoneerproject017.jpg


Me being DONE for the day. Talk about tired.
willyswaoneerproject018.jpg


The only problem with a big work area is it means you spread your work, tools, crap out and don't stay organized.
The kids are a great help........................when they're not fighting, or bored, or tired, or texting, or...................... :lol:
I get on them at times but they're good kids and they WANT to be there so I need to be a little more patient with them. Hard to remember at times but I love the hell out of them and wouldn't want to do it without them.
 
Making good time. Now it is time for a test drive, throw a seat on that critter and go play for an afternoon. Nice of the boss to let you use the shop. My work cut that back after someone got hurt after shift. That sucked, some of the tools at work are much bigger than home, like forklifts, the press, ect.
 
Here's where the fun begins.

There IS in fact 9" diff between firewall with the willys sitting centered on rear tire. There's about 10" in the dash width. So there's more chopping in my future, moving the engine and stuff back about 5". If I can cut the dash and firewall off the wagoneer (leaving the steering wheel) I'll cut a hole in the willys firewall and slide in the steering wheel and pedals.Leaving a 4" gap between the motor and willys firewall. We'll see if that gets the fenders to cover the tires and radiator to fit. It should be just enough to get the radiator behind the headlights and hood to fit. A smaller radiator, and/or electric fan might be another option.

If it looks like the wheels are to far forward I'll use Ben's plan and cut 4" out of the frame and take the WB down to stock 104".

So, let the fun continue............. :thumbup:

2439c5a6.jpg


cefe6dc0.jpg
 
What are the attaching points on the front cowl? Can't tell what they are or how they attach. The body looks like it is in good shape. Are you going to cut out the floor and use the newer one?
 
The floor, firewall, most of the body (that I can see) is in pretty good shape. Ive got some probs with the door posts, some swiss cheese in the floor (about an 8"x8") area but nothing huge. I hope to just use some metal from the floor and graft into the willys. What I'll plan to do is cut out the hump and replace it with the one from the wagoneer too since that's the trans and t-case I'll be using.
 
I am jelouse you only have 8x8 rust spots. The one I'm working on now had almost no floor that you couldn't push right through. Was almost Flintstone powered. Hopefully you can use the firewall and floor out of the new wagon to make it work.
 
cnsay said:
Was almost Flintstone powered. .

yabba dabba doo
Like I said though "that I can see" I'm sure between the rear fenders is nasty and there's the potential for some fun under it and along the drip rail but since the interior has been ripped out I don't see any of the tell tell signs of "I've been beat, bent, has holes, or welded on." Nothing like the front side of the wagoneer. I'm just keeping my fingers crossed and waiting for that sinking feeling ya get when you see something you know isn't right.
 
Not sure how I'll deal with the gas lines from the filler neck to the tank. I don't think it will be a problem with them both running on the same side as the exhaust but not sure I like it either. If I get rid of the spare spare it should free up enough room to move the exhaust to the driver side and tuck the fuel lines in the cross member.
0ef9104b.jpg


8a74a3c1.jpg


I will have JUST enough room to move everything back 5 13/16" and clear the tank.
8c940677.jpg


This is kinda strange. See the 4 bolts (trans c-member), and the 4 holes to the right.
e09047cb.jpg

The space between the center of bolt holes are the same it is just 5 13/16" further back......................fine by me. Mount that beeotch right there and throw some motor mounts down. Maybe that's the diff between stick and auto? Or it got moved and not stock dunno yet. Any idea there Ben with your frame?

Thank goodness for a labeling machine.
3c59f4aa.jpg

Only bad new is there were still a few that me or my son didn't get labeled and I don't know what they go to. :oops:

This is for the t-case to shift into high neutral or low. I might need to get creative to get this to work. The actual switch is on the dash.
a371b47d.jpg


So, there's a little more work with fuel lines and etc but I'll be replacing as many fuel and brake lines as I can so shortening them up won't be a problem just one more thing to do.

Hopefully tonight I'll get the area cleaned up and maybe the body on tomorrow to see how it looks before I just dive right into moving the motor and stuff.
 
Well since you have so many things going on this project you could just relocate the filler hole on the body to the drivers side. Cut out the panel on both sides the same size and you already have a patch peice. May be a pain to smooth it all up so it looks original, but think of the looks on the faces of the few that know where it should be. :D

Looking good so far.
 
Back
Top