GrandWillys Project

Sorry but posting is going to be all over the place, or nothing at all for a while. I have to keep changing from one thing to another while waiting for parcels to arrive due to the lock down still on in my state. Longest running in the world now!

Anyway, rather than waiting until I can show completing things in a logical order, I can post as little thing get done in the meantime.


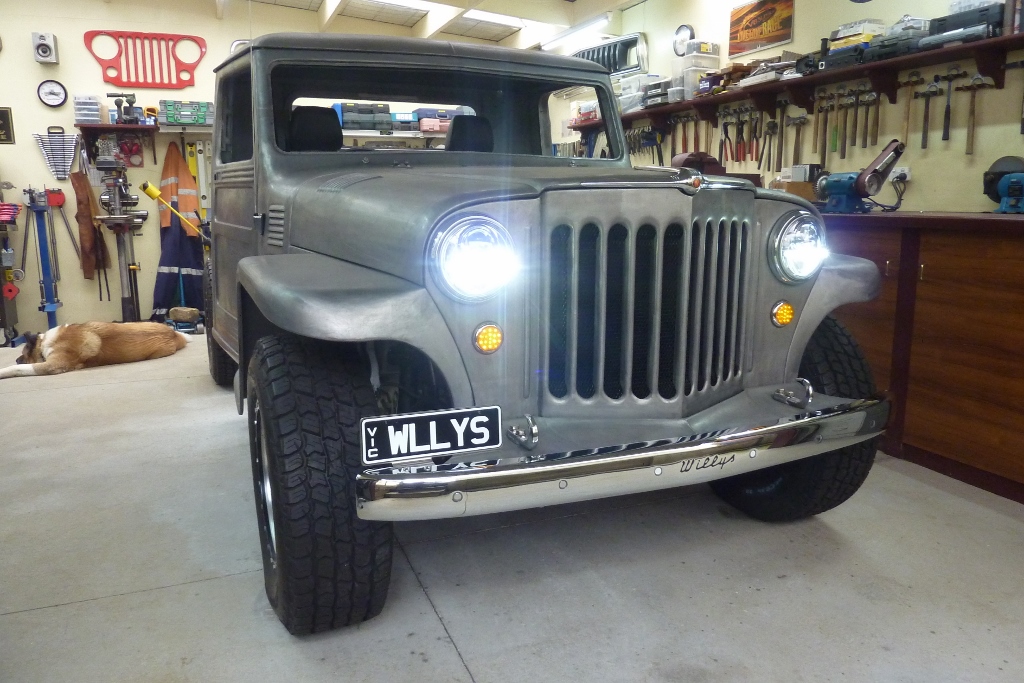
I ran into a problem when I tried the new H4 LED headlights for the first time. They would not change from low to high after converting from the donor twin bulb setup. Fortunately help from good friend at Jeep R Us, Richard Curly, suggested to try a CANBUS Error Cancelation Module, preferably one that works with Jeeps PWM, Pulse Width Modulation, system. I found these from STEDI and it fixed the problem completely. https://www.stedi.com.au/h4-canbus-cancellation-module-for-led-conversion.html I have mounted them to the radiator support as these do generate heat.

Willys2187.jpg

I wired the DRL, Day Time Running Lights, as my parkers as only use them while driving at dusk, dawn and foggy conditions. Before adding the module they would strobe once turned on, but for some reason that got fixed as well which is a bonus.

Willys2188.jpg

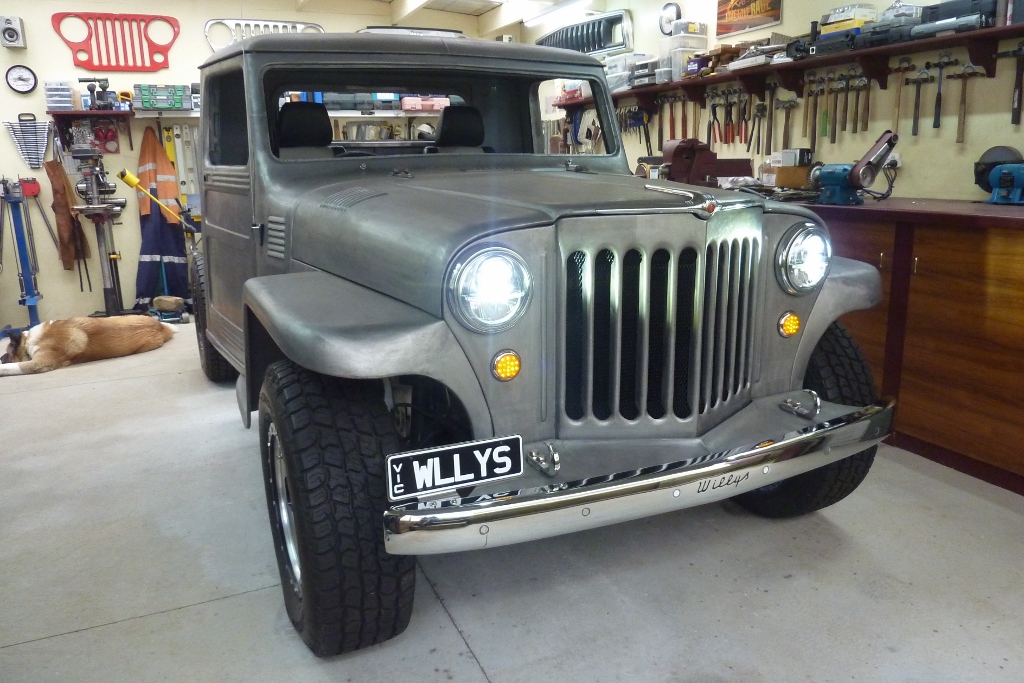
The NARVA inserts use a LED projector for low beam. Notice also that my LED indicators are also glowing dimly which they shouldn't. Adding a 6 Ohm load resistor fixed that.

Willys2189.jpg

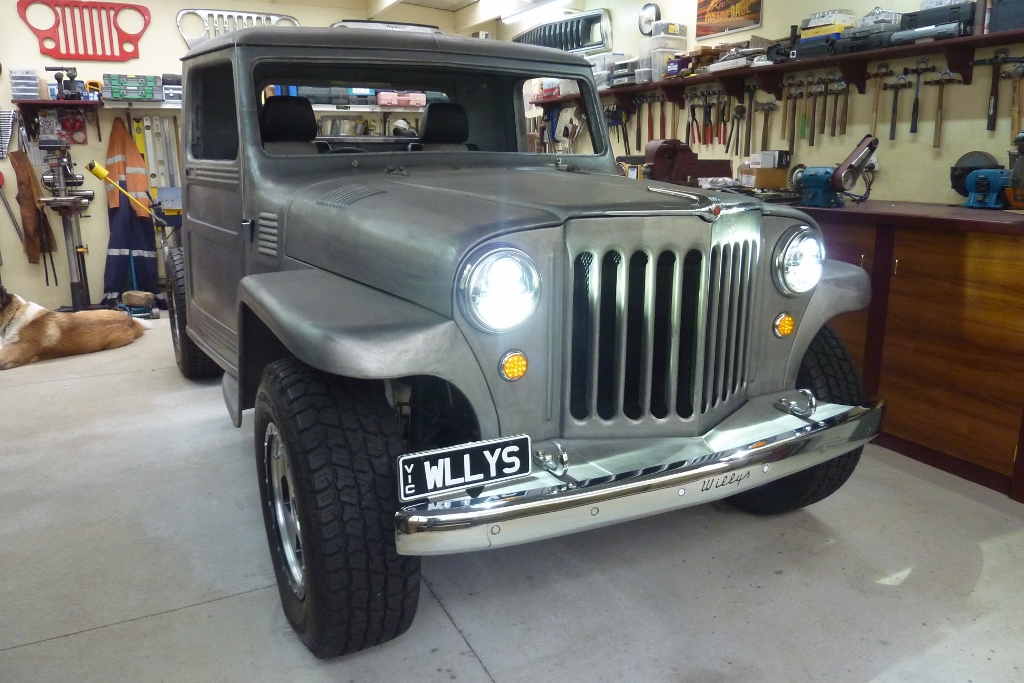
When on high beam the low beams remain on as well. The lights give a very clean cut off so wont blind oncoming drivers.

Just as a random aside, we recently bought a new family car, our first with LED headlights. They do have a very cleanly delineated line where the low beams are "cut off" at the top. However, I've found that I don't like the qualities of the light produced. While it is very bright and piercing, it also seems "thin," like skim milk rather than whole milk, and cold. I find it irritating and wish I could change the bulbs to something more full-spectrum.
 
Just as a random aside, we recently bought a new family car, our first with LED headlights. They do have a very cleanly delineated line where the low beams are "cut off" at the top. However, I've found that I don't like the qualities of the light produced. While it is very bright and piercing, it also seems "thin," like skim milk rather than whole milk, and cold. I find it irritating and wish I could change the bulbs to something more full-spectrum.
Comes down to reflector design and also the chip manufacture. I run them on my KK Cherokee and really like them.
 
To the herd of astonished, enthused, and motivated followers(including me) of this magnificent build; it just occurred to me that Master Marcus is one of only a few craftsmen on the OWF that COULD build this project from scratch, without ANY donor vehicles! And perhaps he is the only guy who WOULD! What a wonderful opportunity for us to “sit in” on the Master’s Class and watch a dream car come to life. Thanks for sharing this adventure with the forum Marcus.
 
To the herd of astonished, enthused, and motivated followers(including me) of this magnificent build; it just occurred to me that Master Marcus is one of only a few craftsmen on the OWF that COULD build this project from scratch, without ANY donor vehicles! And perhaps he is the only guy who WOULD! What a wonderful opportunity for us to “sit in” on the Master’s Class and watch a dream car come to life. Thanks for sharing this adventure with the forum Marcus.
Completely agree. If I grow up, which is unlikely, I want to be just like Marcus.
 
Has anyone replaced the weather strip that was only on the inside of the window trim along the bottom? I'm thinking using the same as on the outside of the door but looked like the inside may have been some sort of felt? The rest of the window trim just presses against the bailey channel so doesn't need anything, just along the bottom where the glass comes up out of the door on the inside had anything.
 
Yes, the inboard side has the same steel-backed "fuzzy," as used on the outside. It comes in straight sections which must be radiused for that last little J-shaped turn-up to the rear, to follow the garnish shape - and then trimmed to fit of course. I chose to rivet it on (1/8" steel rivets) versus the original stapled attachment.

(The bare steel piece shown below is simply the remnants of the original piece, its fuzzy material long gone.)

20200529_144831.jpg

20200529_154426.jpg

When installed, it meets and fully fills the distance between the vertical channel at the rear, and the divider post forward.
 
Last edited:
Yes, the inboard side has the same steel-backed "fuzzy," as used on the outside. It comes in straight sections which must be radiused for that last little J-shaped turn-up to the rear, to follow the garnish shape - and then trimmed to fit of course. I chose to rivet it on (1/8" steel rivets) versus the original stapled attachment.

(The bare steel piece shown below is simply the remnants of the original piece, it's fuzzy material long gone.)

When installed, it meets and fully fills the distance between the vertical channel at the rear, and the divider post forward.

Excellent Don. Good to see that is actually the way it was done that I was thinking of. I only had one frame that had some felt glued on, the rest had nothing at all. I riveted the outside ones as well.
 
A lot of time spent but little to see. That is what wiring is all about! Only noticed when done badly. ;)
I'm keeping it brief so I don't bore the socks off people.

Willys2206.jpg

Time to sort out the door wiring. It is just as well I have a workshop manual with over 9000 pages to follow the circuits etc! Printed out 60 pages by the end of it just for the doors!

Willys2207.jpg

Top is stock and the bottom is what I thinned it out to. Most of the wires removed were from the remote mirror adjustment as well as for the extra window circuits. Have to be very careful though because CANBUS systems can service more than one circuit.

Willys2208.jpg

I found these soldering pliers to be quite useful. Each end of the wire sits under a spring clip to hold it in place.

Willys2209.jpg

I unfortunately could not use the donor electric window motors or tracks. They just would not fit unless I made the whole door wider! Problem was though that the CANBUS wiring only works with the donor switches and motors as well. They use 6 wires where my aftermarket ones only use two. Days of trying to get the two wire motors running on that system failed in the end. Much studying later I thought I would try the same style of switch from a Dodge Dakota. They look the same and fit in the same holder I had made my armrests to suit.

Willys2210.jpg

Why I thought these might work was the terminal pins are much larger unlike the small CANBUS ones. I didn't have a wiring diagram for the Dodge switch so worked out what wires go where by studying the circuit boards and using a meter to compare them. Got there in the end and even the central locking switch works and lights up etc.

Willys2211.jpg

With the master switch I had the same problem but the rear window switches are not operated through the CANBUS. The motor also are only two wires. I could have covered the front set or left all 4 window switches visible and just wired the windows to the rear pair. After the success of the passenger side I thought I would buy the drivers master switch from a Dakota as well. It also fitted in the Jeep switch holder.

Willys2212.jpg

Can see how the larger pins for the rear windows are larger than the front CANBUS windows on the left one shown. All the pins are large on the Dakota one on the right. I was successful in working this out and even have auto down for the passenger side. Normally the drivers side on the LHD's these are made for.

Willys2213.jpg

Even though this will be painted later, I thought I would add some sound deadening in the doors as the inside of them is already painted anyway. Nothing worse than a hollow sounding door when closing it, also when you have speakers mounted in them for the audio quality. This is RESOMAT brand made in Australia and used in our military vehicles and even in Audi, BMW and Mercedes Benz vehicles etc. https://trufitauto.com.au/category/resomat-premium

Willys2214.jpg

This is not a butyl/bitumen based so odour free. Lighter and thinner too than the popular ones with better performance. Just peel and stick and can even be pulled back and stuck back down again! I am only applying to the large flat surfaces and cut it out on the outside to make it easier before sticking inside. I keep a selection of lids for my circle templates. Turns out my peanut butter jars are the right radius for the corners. :)

Willys2215.jpg

This stuff is great to mould into place and no heat guns needed. I worked it over the mirror reinforcement plate using a trim stick.

Willys2216.jpg

I bought a set of rollers to get it nice and flat for the rest of it. The difference it made to the sound of the door was very noticeable!
 
In the end it's all about the details. You really take those to the highest level. As always, keep up the great work, always interesting to see your progress and innovative solutions.
 
Back
Top