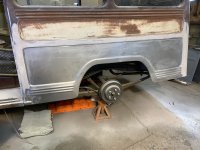
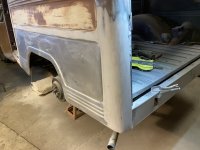
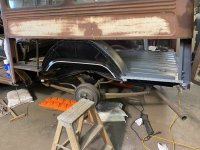
I installed both side panels and wheel wheels wells. As prior described, the replacement panels "are not an exact fit! " or even close on the ends. I watched one u-tube body panel ( don't remember site name ) fabricator who cut out most of the existing panel ( left about a 6" lengthwise segment below top body line ) then clamped the new panel up against old, used a air grinder, thin cut blade, using the panel edge to guide lengthwise edge cut ( at 45degree angle ), which left a good weld able seam. He was then able to pull the remaining old panel segment out from the inside ( ends were loose ) leaving the clamped panel in place. I used that process and it worked for me. I did vertically cut the rear ( new ) panel, ( at taillight line as I recall ) pulled back section under forward and overlapped it approx 3/4 " and re-weld, this done to pull the overlength panel up to the rear post and get the tailgate lip set in, rather then cut off and attempt to re- bend that mess! Bondo'd the overlap seam, seam sealer squeezed into inside overl-lap to close off rust prone area, worked good for me. Obviously, lot of time spent on the joint welding. If I do it again, think I would put an inside lap plate along the weld lines- panel bond in ? then weld the line???
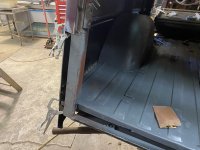
Like the angle iron to floorboard idea. Had some rusted sections along the floor at the panel and wheel joints that I cut and pasted new segments into, there is a downward lip on the floor,so I drilled holes thru the new panel along that line and plug welded.
Total newby to body repair, so relied on this site and some u-tube instructors. Also did front floor, intimidating until you get started, it's why I called my build thread " building confidence!"


 p
p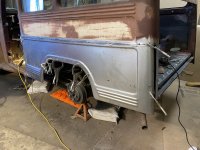
")