Gojeep
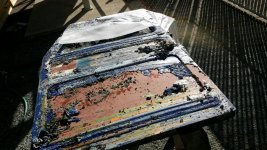
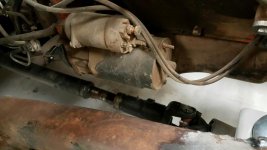
Well Oiled
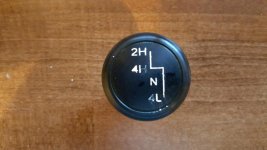
They are completely shot anyway to just carefully pry them out with a screwdriver.

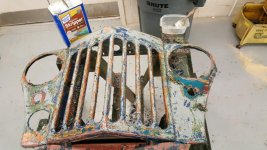
Whew! You just cannot buy this kind of fun.
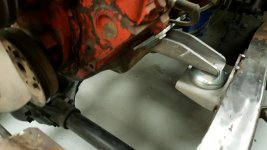
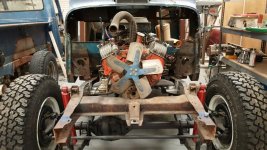

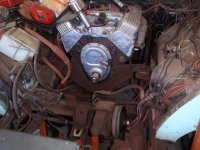
I tacked in the frame perches I had made and installed the engine. Like the Novak site had suggested I achieved 5 degrees taking my readings from the intake manifold. At this point I think I will let it sit and see if anyone one the forum notices any potential issues.

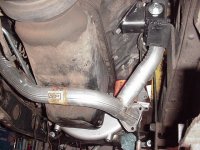
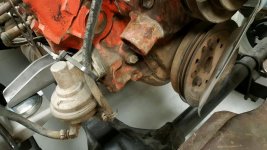
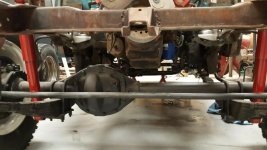
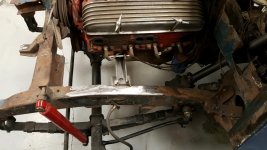
Kevin it looks like your front mount achieves the same goals that I was looking for. They are both a biscuit mount style. It looks like our engines are setting in about the same position. Adequate clearance around the engine. I see that you also are using the factory rams horn exhaust. Take a look at this Walker Y pipe. Walker part # 42087. It hugs the pan allowing some breathing room for the front driveshaft and differential.